Getting Started
The VisionEval software framework is written in the R programming language for statistical computing and graphics. The purpose of the model system and framework is to enable models be created in a plug-and-play fashion from modules that are also distributed as R packages. A simple R script is used to implement a model by initializing the model environment and then calling modules successively.
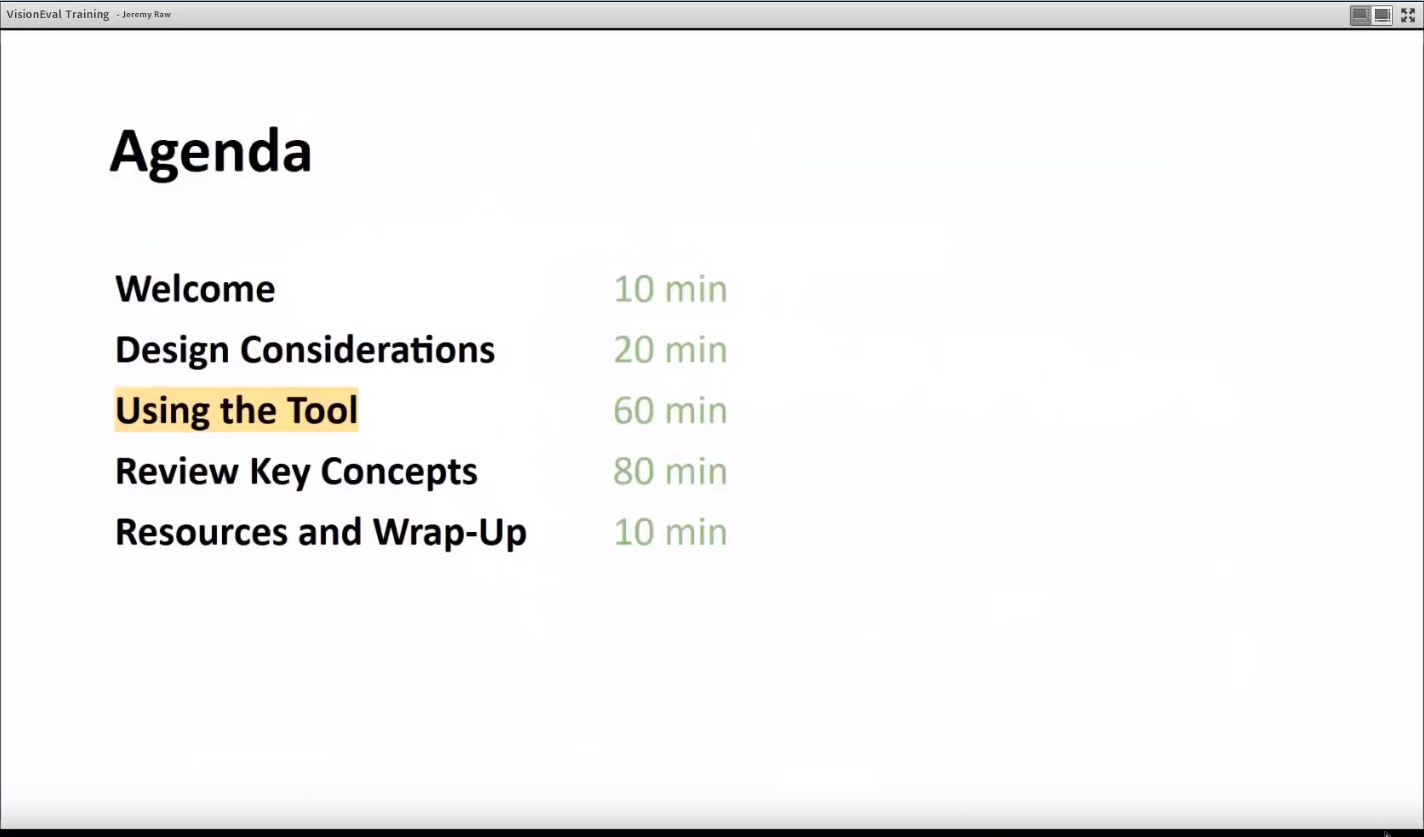
This 45 minute video was recorded during a VisionEval Training at Portland State University in September 2019:
There are two paths to getting VisionEval running:
-
Install from stand-alone Windows installer Download a zipped folder with all dependencies include, for a specific version of R. This is the simplest way to quickly get VisionEval on your computer. This uses the installers on the Releases page and further details are available on the Downloads page of visioneval.org. This currently is designed for the Windows operating system. This path is described first.
-
Clone or fork repository If you area a Mac/Linux user, or if you are interested in contributing to the development of VisionEval modules, models, framework, or visualizer, choose this path. Instructions for setting up the VisionEval development environment can be found in the VE-Installer repository.
Note: 583 Mb download! Packaged for R 3.6.1
See this page for other R versions, 3.4.4 - 3.6.0
After installing R 3.6.1 and downloading the VE Installer from the link above, unzip the folder to the destination folder of your choice.
The link above will download a .zip file containing the following:
- The VisionEval framework code
- VE-RSPM, VE-RPAT, VE-GUI, VE-State and VE-ScenarioViewer
- All necessary R packages
To complete the installation and start VisionEval, simply:
- Double-click VisionEval.bat
Once you have been welcomed to VisionEval, you can follow the instructions under "Running VE Models" on the Getting Started page. Your destination folder contains everything you need from the VisionEval "sources" folder.
The installation also creates some convenience functions which will run the model test scenarios or start the VE GUI:
- vegui() to start the GUI (navigate to your destination folder to find the scenario run scripts)
- verpat() for the VERPAT test model
- verpat(scenarios=TRUE) to run multiple scenarios in VERPAT
- verpat(baseyear=TRUE) to run the alternate VERPAT sample scenario
- verspm() for the VERSPM test model
- verspm(scenarios=TRUE) to run multiple scenarios in VERSPM
If the above installation steps did not succeed, ensure that you have downloaded the appropriate version of VisionEval to match the version of R that you have installed.
The current version of VisionEval is built for the latest version of R, 3.6.1. If you currently have another version of R installed, you can go to the GitHub release page to download VisionEval for R.
You can find the R 3.6.1 installer for Windows here.
Many users find that RStudio is a more user-friendly version of the standard R interface. RStudio is particularly recommended if you plan to clone and explore the Visioneval source code from GitHub.
See the VERPAT tutorial for more information on running models.
After installing from the stand-alone installer (path 1, above), you can run the VEGUI using the helper functions vegui().
After installing from the stand-alone installer (path 1, above), you can run the multiple scenarios examples using the helper functions verpat(scenarios = T) and verspm(scenarios = T).
After you run the multiple scenarios tests, you can explore the relationship between input scenarios and results using VEScenarioViewer. You can try the example interactive VERPAT and VERSPM scenario viewers (visualizers) online.
See the VERPAT tutorial for more information regarding the visualizers.
- Getting Started
- VisionEval Primer
- Concepts Primer
- VisionEval Models
- VERPAT Tutorial
- VERSPM Tutorial
- VE-RSPM Training
- VE-State Tutorial
- Developer Orientation
