Web View Cpp
The Web-View-cpp application serves as a demonstration and as a starting point for your own project. With the configure script you can easily include an OSC-CC module or OpenCV. Despite Web-View-cpp is written in C++, you can also configure a C project.
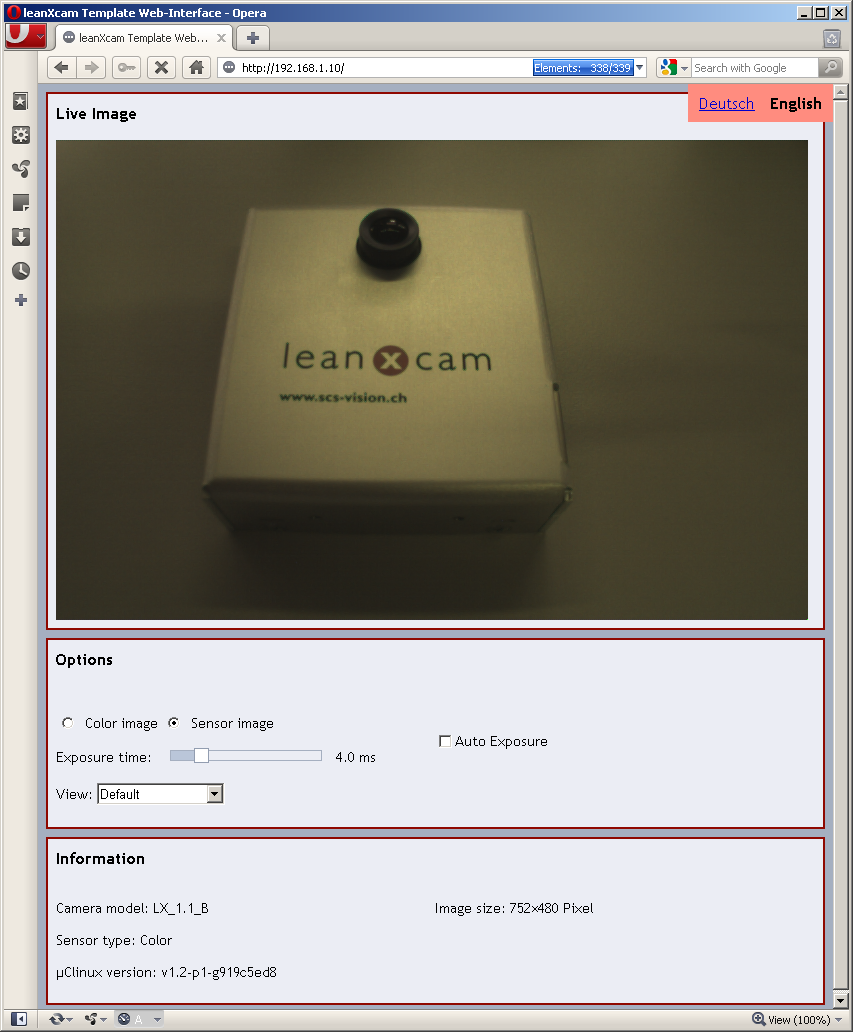
With a browser you can see a live image stream from the leanXcam:
- uClinux v2.0-p1 or higher (how to find out the currently installed version and how to update uClinux you find in the uClinux users guide)
- Oscar v2.1 or higher
- OSC-CC module LeanCV
First the application has to be configured. It is a good idea to copy the folder oscar (version 2.1) and osc-cc into your application directory. Then you will have the least problems with paths. If you have not installed g++ yet, install it:
$ sudo apt-get install liblzo2-dev g++
In the terminal change to the application directory and type:
$ ./configure
You will be asked some questions (The default value is between the square brackets. Just use the enter button if you want to use that value):
Is the Oscar Framework already in the folder ./oscar? (y/n) [n]:
If the oscar framework is inside the application directory, say y. Otherwise say n and enter the path to the framework in the following question:
 Enter the path to the Oscar Framework. [../oscar]:
 Enter the IP Address of the target device. [192.168.1.10]:
 Do you want to enable debugging symbols? (y/n) [y]:
If you want to be able to debug your application, say y here.
Do you want to enable IO simulation on the target? (y/n) [n]:
If IO simulation is enabled, the application does not read the camera picture, but a picture from the file test.bmp.
Use g++ compiler instead of gcc? Say no if this is a C only project. (y/n) [n]: y
If your project is a C only project, say n, otherwise the C++ compiler will be used. For Web-View-Cpp say y. If you want to use OpenCV you have to say y here (but you are still able to use C only Code).
Are you using OpenCV? (y/n) [n]:
If y you have to enter the path to OpenCV:
 Enter the path to the OpenCV Library. [./opencv-2.x.x]:
 Are you using Oscar Code Collection? (y/n) [y]: y
The Oscar code collection contains different modules. If you say y you will be asked for the path (For Web-View-Cpp you have to say y):
Enter the path to the Oscar Code Collection. [../osc-cc]:
Choose for every module in Osc-CC whether you want to enable it. For Web-View-Cpp you have to enable the leancv module.
Select the board you are using (Mesa-SR4k/leanXradio/leanXcam/indXcam). [leanXcam]:
Now your application is configured and you should see the necessary steps to compile the application on the output:
If you enabled OpenCV then make sure it is compiled. You can do that with:
$ make opencv
Build the Oscar Framework:
$ make oscar
If you chose to use Osc-CC, compile it:
$ make osc-cc
Finally compile your application:
$ make
Important: If you move your application or the framework to another folder you have to configure your application again.
After you compiled the application you have two options:
- Run it locally on the computer
- Send it to the leanXcam and run it there.
First copy the HTML files to the local webserver's folder:
$ make install
Execute the application:
$ ./app_host
The application is now running. It contains a web server and streams camera pictures.
To see this, open a browser and go to the address http://localhost.
The application in the console can be stopped using ctrl-c.
Copy the application to the leanXcam:
$ make deploy
This command first creates the web-archive www.tar.gz with the html files and the cgi application. Together with the main application and the run.sh script, it will be sent to the LeanXcam to the folder /mnt/app/<APP_NAME>.app.
Now you can login to your leanXcam with telnet or ssh and execute the application manually by starting the run.sh script. Another way is to directly execute the application:
$ make run
The run.sh script first terminates the application if it is already running. Then it extracts the html files to the webserver's root directory /home/httpd and starts the application.
Enjoy the output of the application: open a browser and go to the address http://192.168.1.10. If you have configured your leanXcam to an other IP address, you the appropriate one.
You can stop the make run script with ctrl-c in the console. The application will continue running on the leanXcam.
For debugging the Data Display Debugger (ddd) is used. The invocation differs slightly between target and host. Make sure you enabled the debugging symbols.
Note: On the host the application requires a file called gpio_in.txt. To generate a dummy file:
$ echo '! Time IN1 IN2' > gpio_in.txt
Start the debugger:
$ ddd app_host &
Run the program:
run
To pause the program press Ctrl+C. You can add breakpoints with
 b function-name
 b file-name:line-number
Debugging on the target is done over the Ethernet. For that reason, a debugging server needs to be started on the board, to which the debugger on the host can then connect. On the board, type:
 # cd <application folder>
 # gdbserver <ip-adress>:7777 app
Then start up the debugger on the host. Because the application has been cross-compiled for the DSP, the ddd also needs to use the cross-debugger:
$ ddd app_target.gdb -debugger bfin-uclinux-gdb
In the ddd, connect to the debug server running on the target:
target remote <ip-address>:7777
Continue the execution of the program:
c
Apart from that, the handling is the same as on the host.
The application is split into four bigger classes. Every of it is in a different file and has a certain functionality.
The CMain class is defined in the main_class.cpp file. It contains the initialization of the OSCAR framework, calls the camera initialization with default values and defines the main loop.
This class contains camera-related functions: The initialization, capturing the pictures and change of most common camera parameters.
The CIPC (Inter-Process Communication) class handles the web-requests that come from the cgi (Common Gateway Interface) application. Every request is parsed by the function ProcessRequest. To change camera parameters and read images, the CCamera class is needed.
This class can be used for image processing. Every image that is requested by the browser is processed by this class. In the Web-View application, nothing is done here.
To start your own project using the Web-View-Cpp application as a basis you have several options:
- Take the whole code and change the project name. That's the easiest way. You only have to change one variable in the file Makefile:
APP_NAME := <your_project_name>
- Start with your own code: Copy the following files into your project folder:
- configure
- configure.in
- configure.local
- Makefile
- app folder (with run.sh script and application link)
- cgi and www folder if you want web-functionality.
SUB_PRODUCTS := cgi
in the file Makefile to
SUB_PRODUCTS :=
To use OpenCV in a project, you have to use the g++ compiler. Just configure the application and answer with y when asked for the compiler option and specify the path to OpenCV afterwards. The rest will be done by the Makefile.