Tutorial: Use Speedment with Java EE
When developing distributed applications that communicate over the web it is useful to have a solid framework as the foundation. In this tutorial, you will see how easy it is to integrate Speedment into a new Java EE application.
In this tutorial, we use Netbeans IDE bundled with JDK 8 and Java EE. You can use any major IDE, but you might need to change some of the steps in the tutorial to better fit that environment.
In this example, we use a Glassfish server preinstalled on the development machine. Speedment requires a JDBC connection to work. A guide on how to set up a JDBC connection in GlassFish is available here.
If you want to use some other server software than Glassfish this should work just fine, but you might have to do some minor adjustments to the instructions in this tutorial.
In the Netbeans menu, navigate to File -> New Project and select Maven -> Web Application in the popup wizard. Press Next.
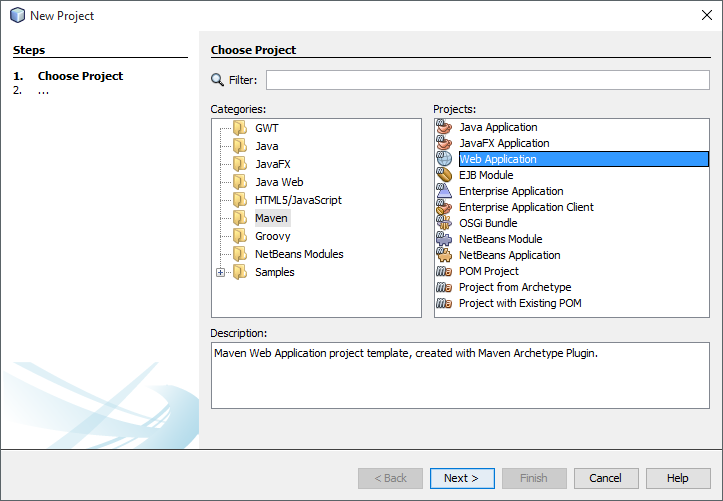
Choose a name for your application and optionally select a group id and version. Click Next.

Make sure GlassFish Server is selected and that the Java EE version is set to at least Java EE 7 Web. Press Finish to close the guide.
If you open up your new project's pom.xml-file you can see that Netbeans has added a lot of code to help you get started. Make sure the <source> and <target> tags are set to 1.8. Then add the following lines:
<build>
    <plugins>
        ...
        <plugin>
            <groupId>com.speedment</groupId>
            <artifactId>speedment-maven-plugin</artifactId>
            <version>3.2.2</version>
        </plugin>
        ...
    </plugins>
</build>
<dependencies>
    ...
    <dependency>
        <groupId>com.speedment</groupId>
        <artifactId>runtime</artifactId>
        <version>3.2.1</version>
    </dependency>
    ...
</dependencies>Now when you have added the Speedment dependencies to your POM you can select the project root node in the Netbeans Projects panel and look for two new Maven goals in the Navigator panel. It should look something like the picture below:
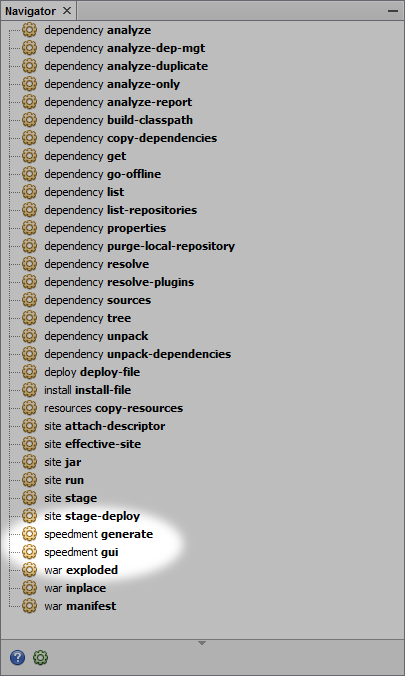
Double click the speedment:tool goal to open up the UI.
A complete guide on how to use the Speedment UI is available here.
When you have generated your domain model using the Speedment UI your project tree should look something like this:
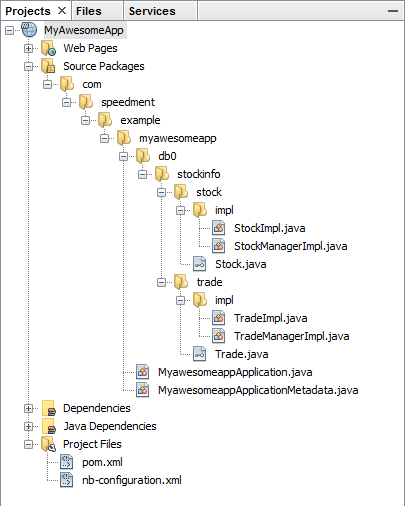
Now you are ready to get your hands dirty! Right-click on the myawesomeapp package (or what you choose to name it earlier) and select New -> Java Enum.... Name the file to App.java and press Finish.
In this file, we will create a Singleton to hold our Speedment instance. We can also put some utility methods for accessing the generated managers.
public enum App {
    INSTANCE;

    private final MyawesomeappApplication app;

    App() {
        this.app = new MyawesomeappApplicationBuilder()
            .withBundle(MySqlBundle.class)
            .withPassword("pass1234")
            .build();
    }

    public StockManager stocks() {
        return app.getOrThrow(StockManager.class);
    }

    public Manager<Trade> trades() {
        return app.getOrThrow(TradeManager.class);
    }
}
We can now access the managers for the tables Stock and Trade from anywhere in our application. This also means that we can share the MyawesomeappApplication instance between sessions and threads.
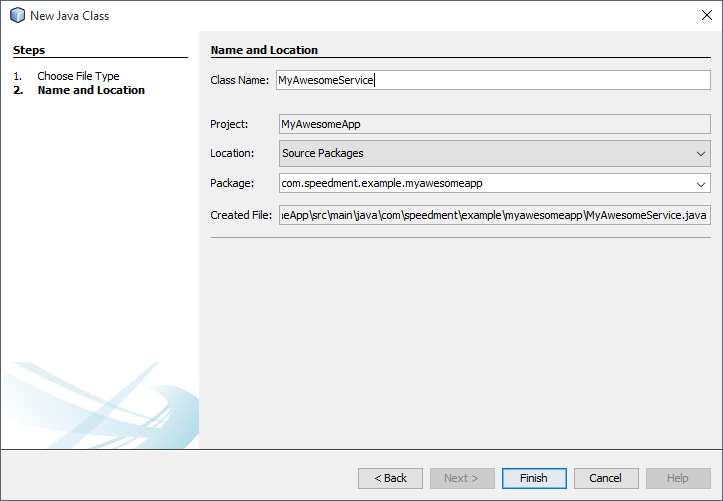
Now it's time to actually do something. Let's create a service that lists all the trades that has been registered in the stock market the last hour. Right-click the myawesomeapp package again and select New -> Java Class.... Name the class something appropriate for your new service, for an example MyAwesomeService.java.
Define a new public method with a String as the return value, to be the entry point of our new service. Mark the class with the @Path annotation and the method with @GET, @Path and @Produces.
@Path("/trades")
public class MyAwesomeService {
@GET
@Path("/recent")
@Produces("application/json")
public String getRecentTrades() {
// TODO
}
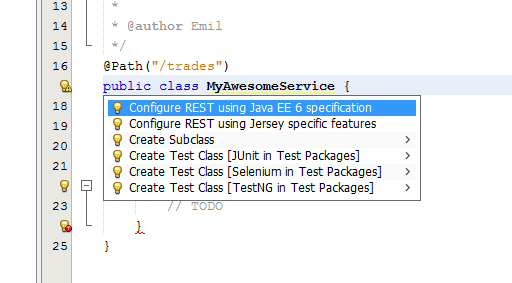
}Now you will see a yellow warning-flag appearing next to the class declaration. This is because Netbeans will need to configure the project for Java EE the first time you create a service. To do this, simply press the Configure REST using Java EE 6 specification option.
Implementing the business logic with Speedment is easy! We simply call the trades() method in the App singleton we created earlier and filter out the rows added during the last hour. Speedment entities also has a convenient toJson()-method that we can use.
@Path("/trades")
public class MyAwesomeService {

    @GET
    @Path("/recent")
    @Produces("application/json")
    public String getRecentTrades() {
        final long oneWeekAgo = (System.currentTimeMillis() / 1000) - 60 * 60;
        return "[" +
            App.INSTANCE.trades()
                .stream()
                .filter(Trade.DATE.greaterThan(oneWeekAgo))
                .map(JsonEncoder.allOf(App.INSTANCE.trades())::apply)
                .collect(joining(",")) +
            "]";

    }
}
This is great, but you might want to be a little more specific than that. What if you only want to show a certain amount of trades for a specific stock?
@Path("/trades")
public class MyAwesomeService {

    @GET
    @Path("/recent/{stock}/{start}/{limit}")
    @Produces("application/json")
    public String getRecentTrades(
            @PathParam("stock") int stock,
            @PathParam("skip") int skip,
            @PathParam("limit") int limit
            ) {
        final long oneWeekAgo = (System.currentTimeMillis() / 1000) - 60 * 60;
        return "[" +
            App.INSTANCE.trades()
                .stream()
                .filter(Trade.DATE.greaterThan(oneWeekAgo))
                .filter(Trade.STOCK.equal(stock))
                .skip(skip)
                .limit(limit)
                .map(JsonEncoder.allOf(App.INSTANCE.trades())::apply)
                .collect(joining(",")) +
            "]";

    }
}
If you run the application and browse to /trades/recent/120/0/100/ you will get a list of up to 100 trades for the stock with id 120 that has occurred during the last hour. The query that will be sent to the database looks like this:
SELECT * FROM `trade`
WHERE `trade`.`date` > ?
AND `trade`.`stock` = ?
LIMIT ?, ?;
The results will then be parsed into the following JSON object:
[
    ...
    {
        "id" : 376512,
        "stock" : 120,
        "date" : 1445378528,
        "value" : 115
    },
    ...
]