Getting Started usage
After having successfully installed (click if not) OSPOS and logged in, OSPOS will display a main menu screen.
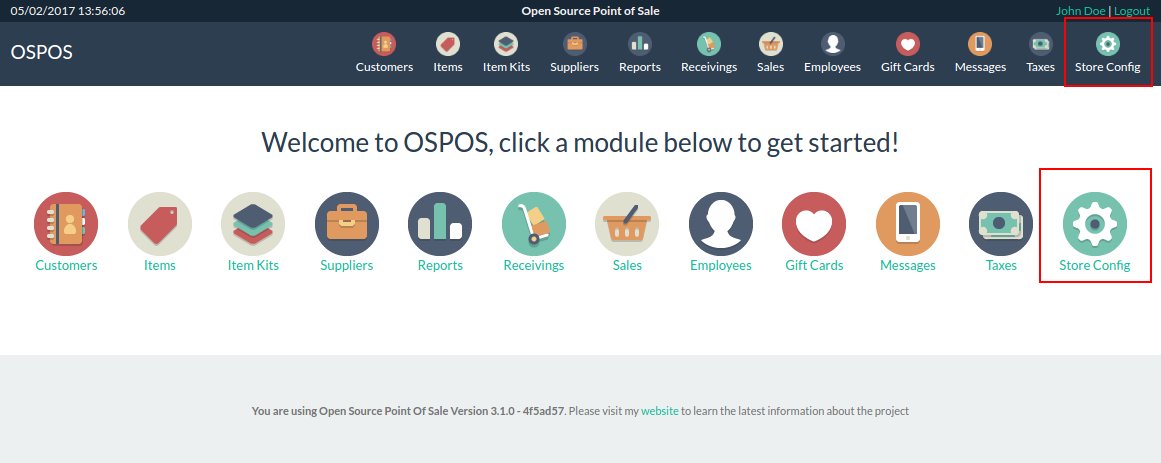
All those icons are Modules that can be enabled or disabled for each Employees. The complete list of features per modules are described in the OSPOS-complete-feature-datasheet wiki page.
The first step is to configure the store at the Office module as the screen capture shows: Please refers to the Configuration wiki page to learn how to do that.

Older versions of the OSPOS don't have the Office module icon so will be as the following screen:
The second is minimal employee users that can login in the store. Since OSPOS 3.2.0 the Employee module are in the back Office store configuration interface. Go to the Office module and click on the Employee icon module as show here:

Please refers to the Employees wiki page to learn how to do that.
There are several tabs related to inventory control. Before you can add inventory items into the system, though, you have to do some prep work.
This module lets you load in the Items and Kits. This its a very complex module, Open Source Point of Sale are well integrated, from the Sales module, for instance, you can create new Inventory Item on the fly. Also a special Sale module its the Return sale mode that can manage also the Inventory Stock that can be covert in the next module documentation.

Allow to employee load a product to the inventory so then have some stock. Start by clicking the Items button. This will load up your list of items if there any loaded. Please refers to the Inventory Items wiki page to learn how to do that.
Allow to employee group products from inventory so then can sell as combo product by example. Start by clicking the Items Kits module button. This will load up your list of item kits if there any configured. Please refers to the Inventory Kits wiki page to learn how to do that.
This module lets you ring up Sales and Returns. This its a very complex module in the Open Source POS, due implicates many artifacts and modes, methods of payments and expend receipts. Also of course can print those. There's also a temporary item feature, that can be detailed in the Temporary-Item specify page wiki.
Open Source Point of Sale includes a Cash Register / Point of Sale module. Please refers to the Sales Modes wiki page to learn how to do that.
The OSPOS can be enabled to with a little change work as a POS system for Restaurant sale, by the Table feature. Please refers to the Sales Restaurant wiki page to learn how to do that.

Since 3.2.0 there's a minimal but functional Expenses module, const of simple registration of the expenses, no accounting are linked on or any accounting operations. Please refers to the Expenses wiki page to learn how to use it.

