Part 4. Initial State
We want to stream all of our refrigerator data to a cloud service and have that service turn our data into a nice dashboard that we can access from our laptop or mobile device. Our data needs a destination. We will use Initial State as that destination.
Go to https://iot.app.initialstate.com and create a new account.
Install the Initial State Python module onto your Pi:
At a command prompt (don’t forget to SSH into your Pi first), run the following command:
$ cd /home/pi/
$ \curl -sSL https://get.initialstate.com/python -o - | sudo bash
Security Note: The above command has some important anatomy that the user should be aware of. 1) There is a preceding
\beforecurl. This is important to ensure no alias ofcurlgets run if one was created. This helps mitigate risk of the command doing more than intended. 2) The command is a piped command, so when running, you are piping the output of a script that is being retrieved fromhttps://get.initialstate.com/pythoninto the commandsudo bash. This is done to simplify installation, however, it should be noted thathttpsis important here for helping ensure no man-in-the-middle manipulation of the install script, especially since the script is being run with elevated privileges. This is a common way to simplify install and setup, but if you are a little more weary there are some slightly less convenient alternatives: you can break the command out into two steps and investigate the bash script being downloaded from the curl command yourself to insure it's fidelity OR you can follow the pip instructions, you just wont get an automatically generated example script.
After Step 2 you will see something similar to the following output to the screen:
pi@raspberrypi ~ $ \curl -sSL https://get.initialstate.com/python -o - | sudo bash
Password:
Beginning ISStreamer Python Easy Installation!
This may take a couple minutes to install, grab some coffee :)
But don't forget to come back, I'll have questions later!

Found easy_install: setuptools 1.1.6
Found pip: pip 1.5.6 from /Library/Python/2.7/site-packages/pip-1.5.6- py2.7.egg (python 2.7)
pip major version: 1
pip minor version: 5
ISStreamer found, updating...
Requirement already up-to-date: ISStreamer in /Library/Python/2.7/site-packages
Cleaning up...
Do you want automagically get an example script? [y/N]
(the output may be different and take longer if you have never installed the Initial State Python streaming module before)
When prompted to automatically get an example script, type y. This will create a test script that we can run to ensure that we can stream data to Initial State from our Pi. You will be prompted:
Where do you want to save the example? [default: ./is_example.py]:
You can either type a custom local path or hit enter to accept the default.
You will be prompted for your username and password that you just created when you registered your Initial State account. Enter both and the installation will complete.
Let’s take a look at the example script that was created.
$ nano is_example.py
On line 15, you will see a line that starts with streamer = Streamer(bucket_ .... This lines creates a new data bucket named “Python Stream Example” and is associated with your account. This association happens because of the access_key=”...” parameter on that same line. That long series of letters and numbers is your Initial State account access key. If you go to your Initial State account in your web browser, click on your username in the top right, then go to “my account”, you will find that same access key at the bottom of the page under “Streaming Access Keys”.
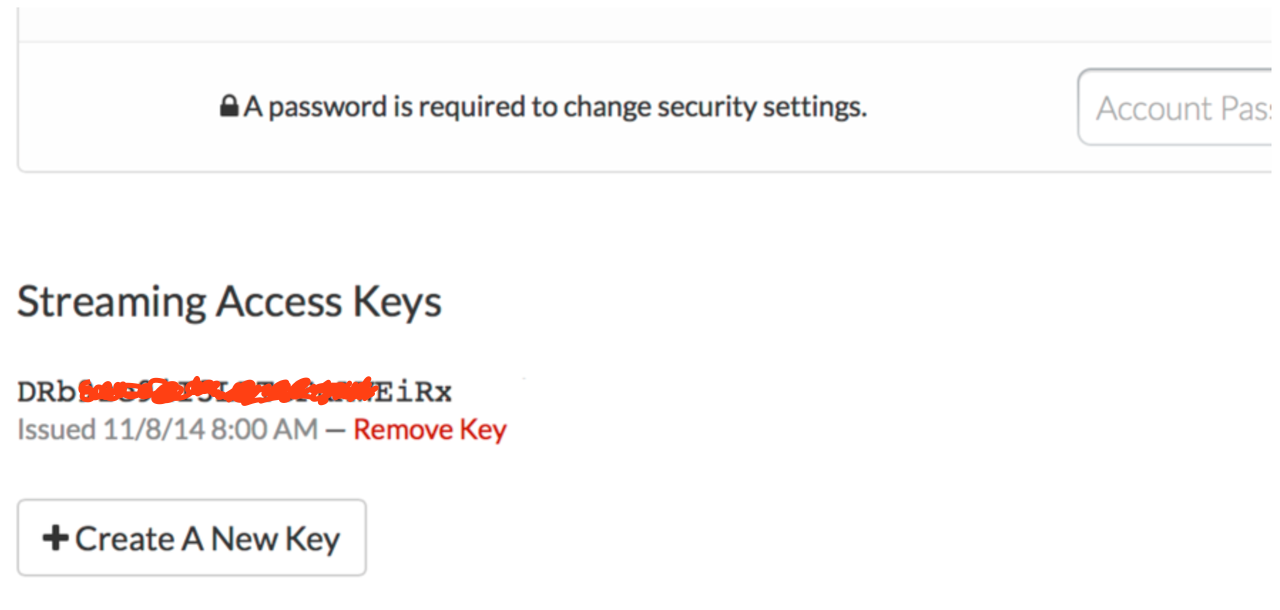
Every time you create a data stream, that access key will direct that data stream to your account (so don’t share your key with anyone).
Run the test script to make sure we can create a data stream to your Initial State account. Run the following:
$ python is_example.py
Go back to your Initial State account in your web browser. A new data bucket called “Python Stream Example” should have shown up on the left in your log shelf (you may have to refresh the page). Click on this bucket and then click on the Waves icon to view the test data.
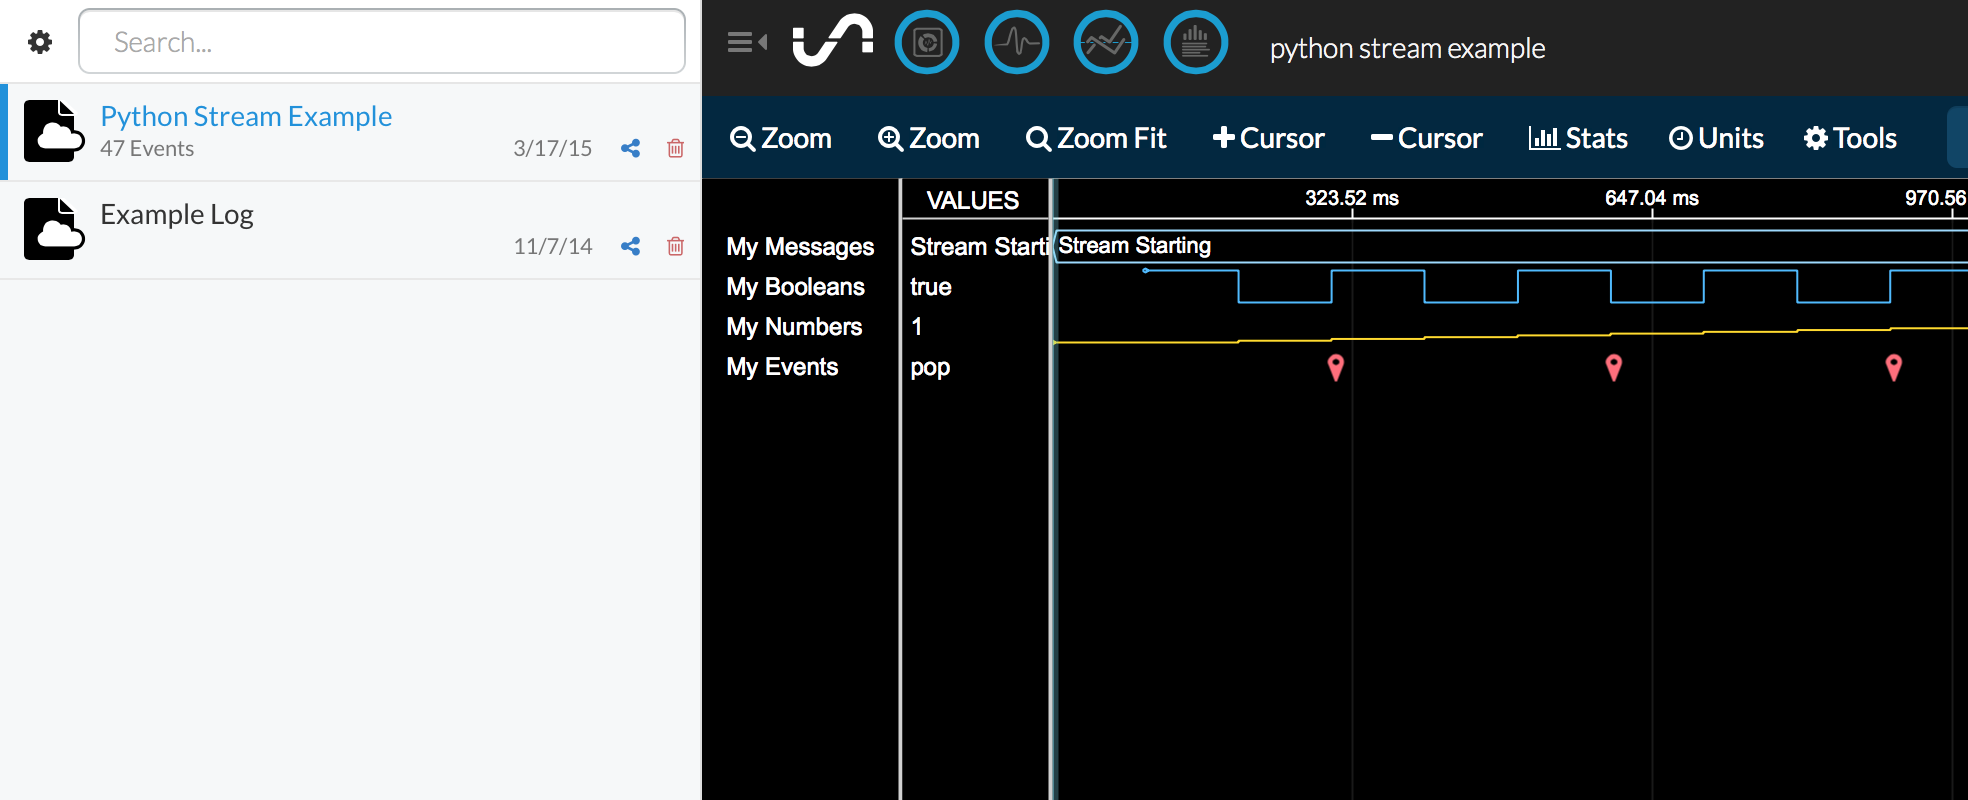
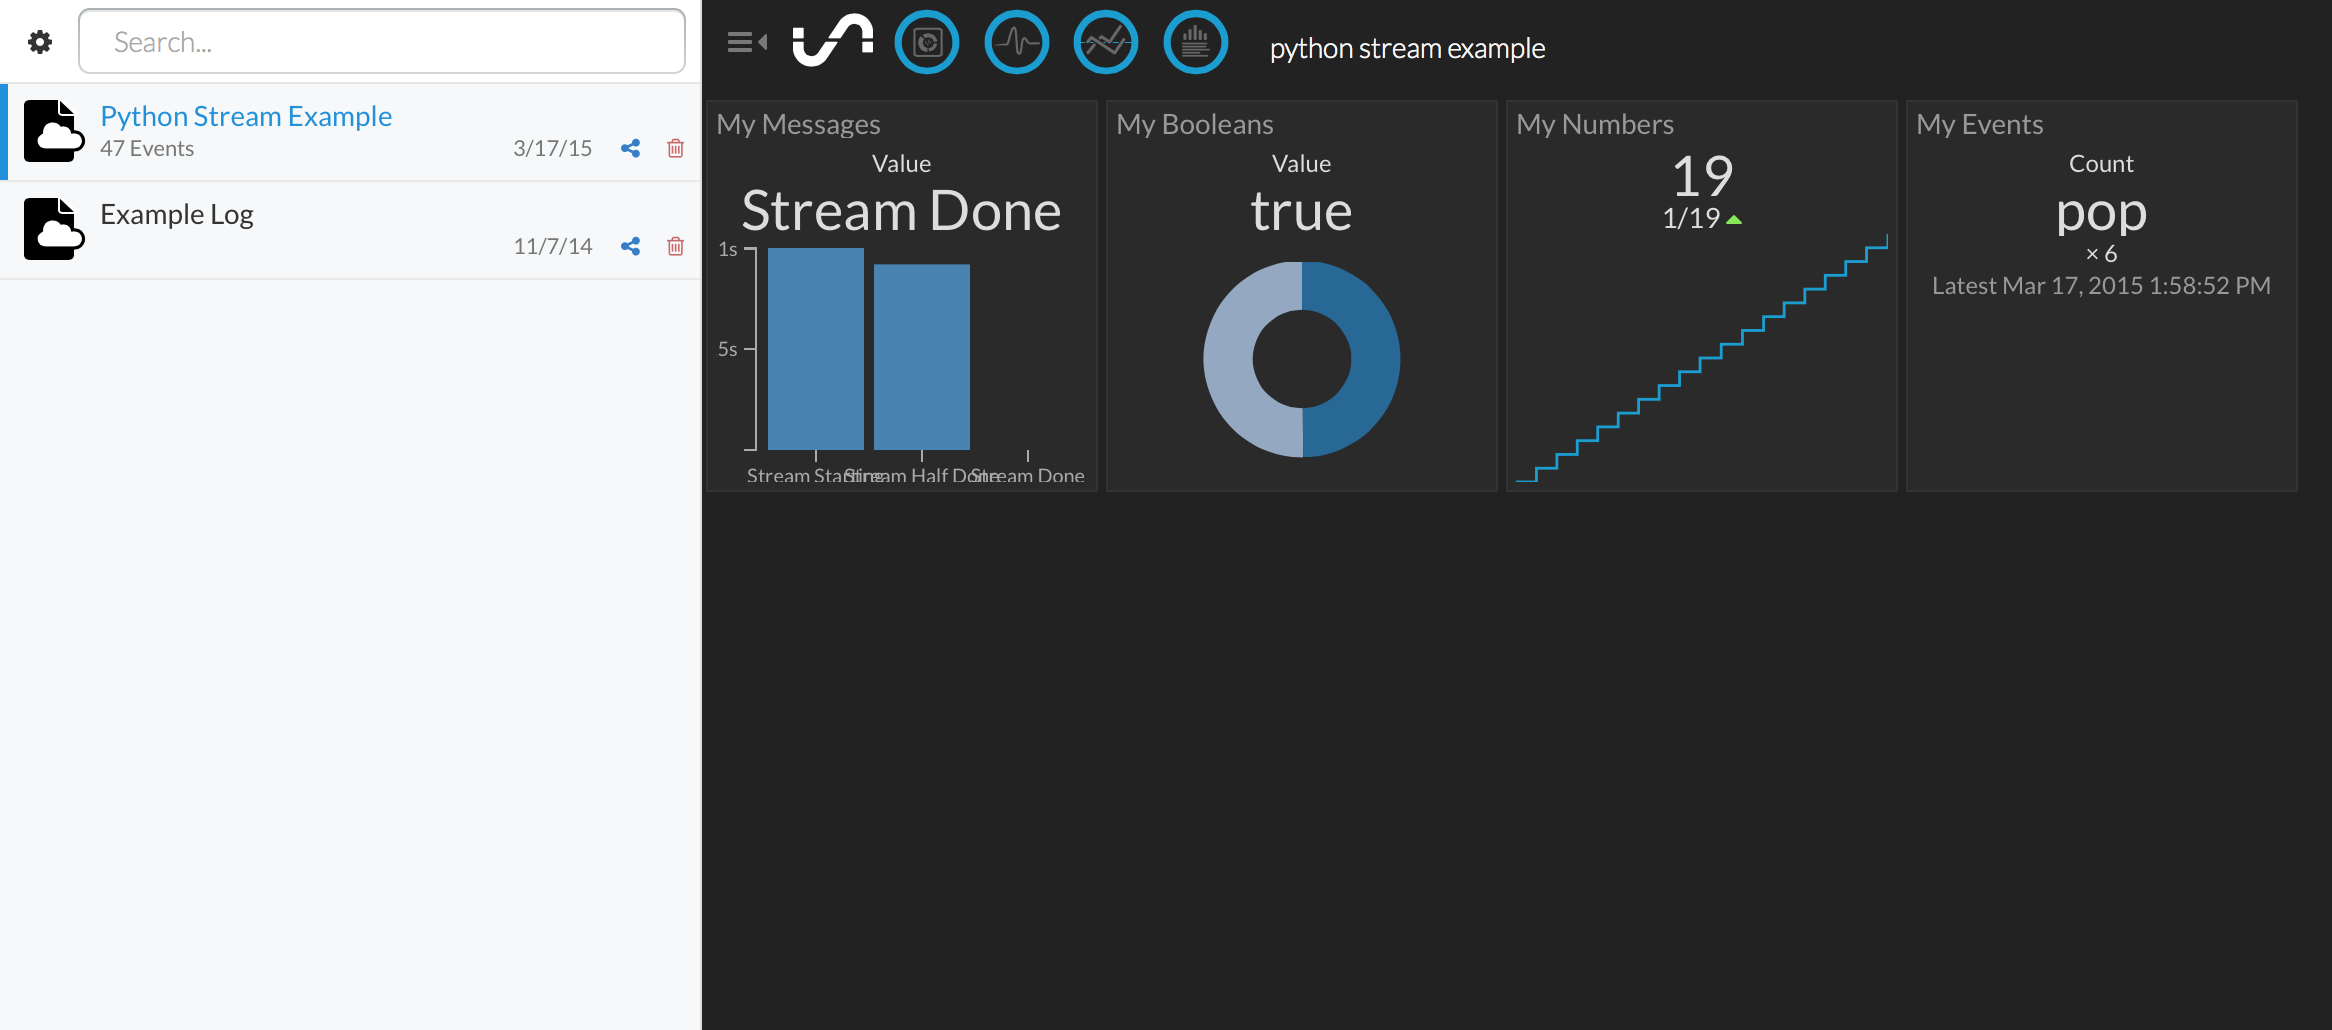
You will want to step through the Waves tutorial to familiarize yourself with how to use this data visualization tool. Next, view the data in Tiles to see this same data in dashboard form.
You are now ready to start streaming real data from your refrigerator.
<< Part 4: Putting it All Together - Part 4: The Final Script >>