Mapping Templates
If you have many collections with the same CSV column format, you are strongly encouraged to use a mapping template to accelerate your work. Templates can be created two ways:
From when you start your first upload job: Select "Save as New Template" after specifying your mapping, then enter a name for the new template.

From the Mappings submenu: Select "Create New Mapping Template". Then the following screen appears:
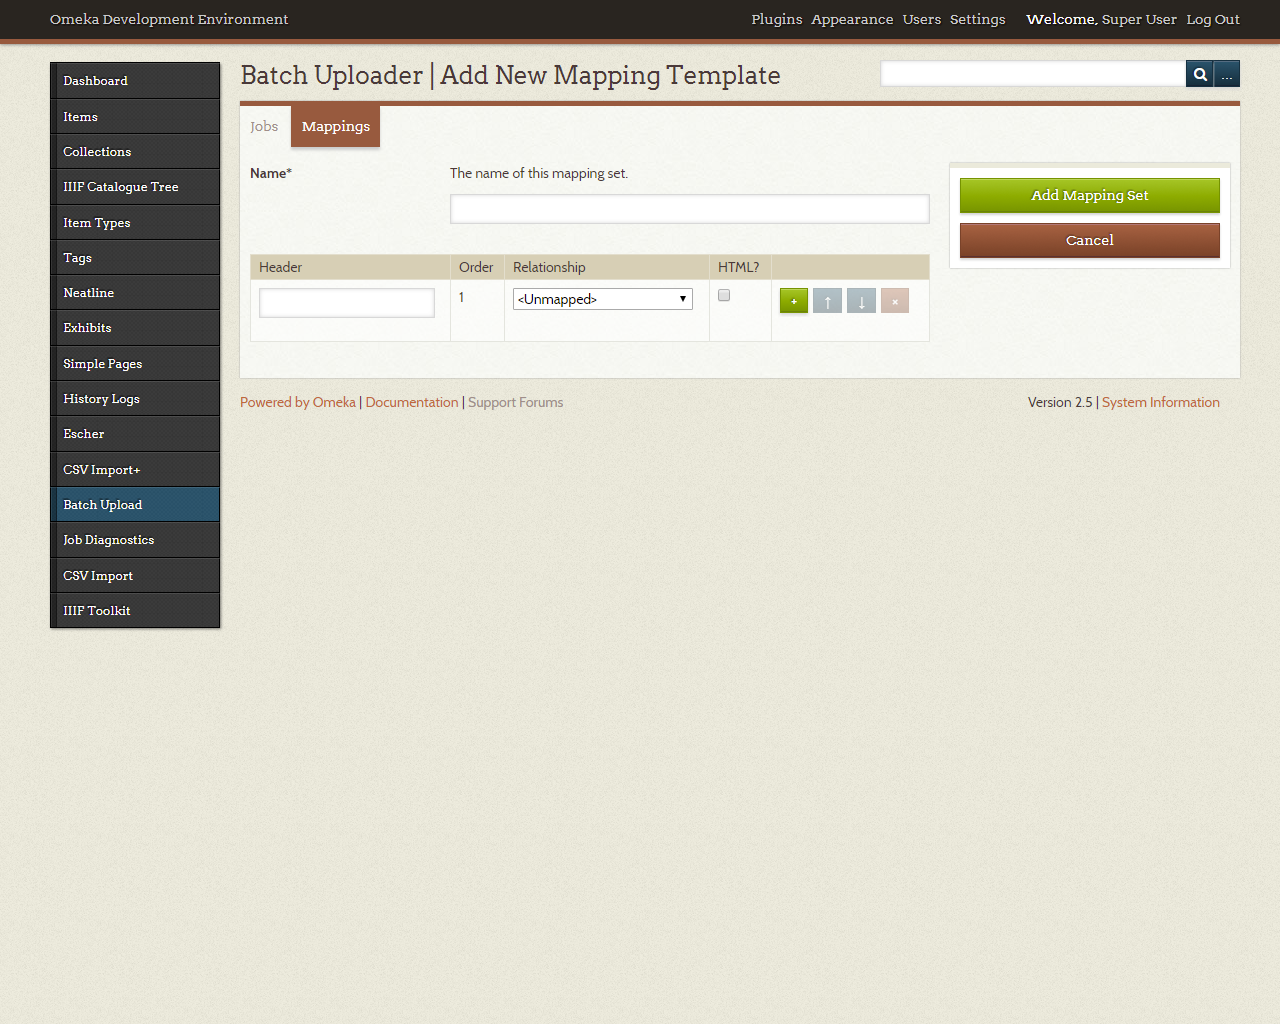
Enter the name of each header and the property/metadata element that they map to. If you plan to use the template on data without headers, you can name it anything that helps you organize.
You can use the + button to add new mapping pairs, the arrows to move the pair up or down, and the X button to remove the mapping pair. Here is an example with 3 pairs:
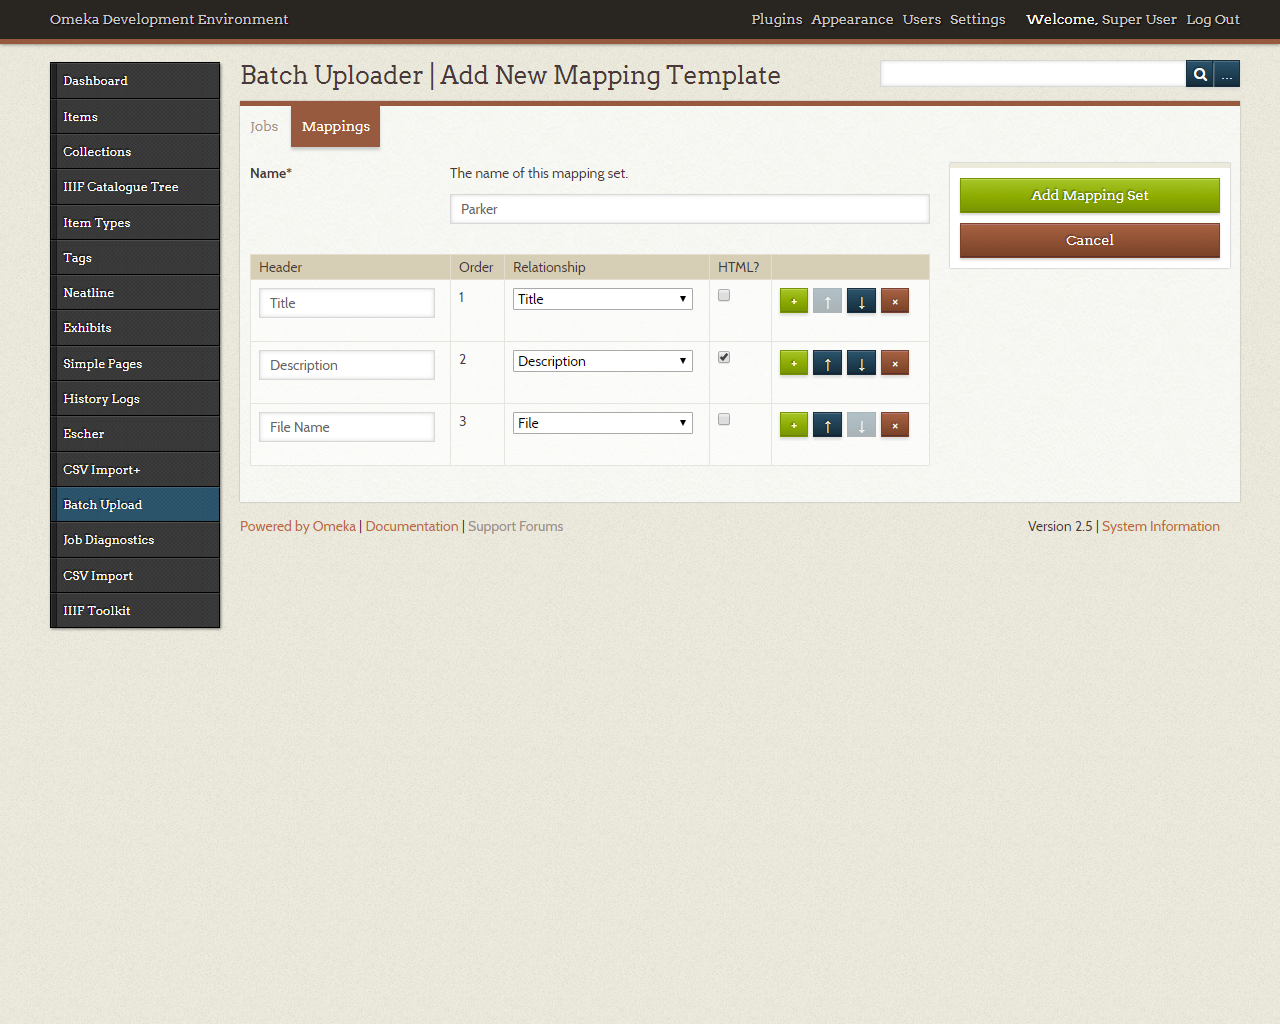
Click "Add Mapping Set" to finish.
Once you have created a mapping template, you can download a CSV Template with the headers already filled.
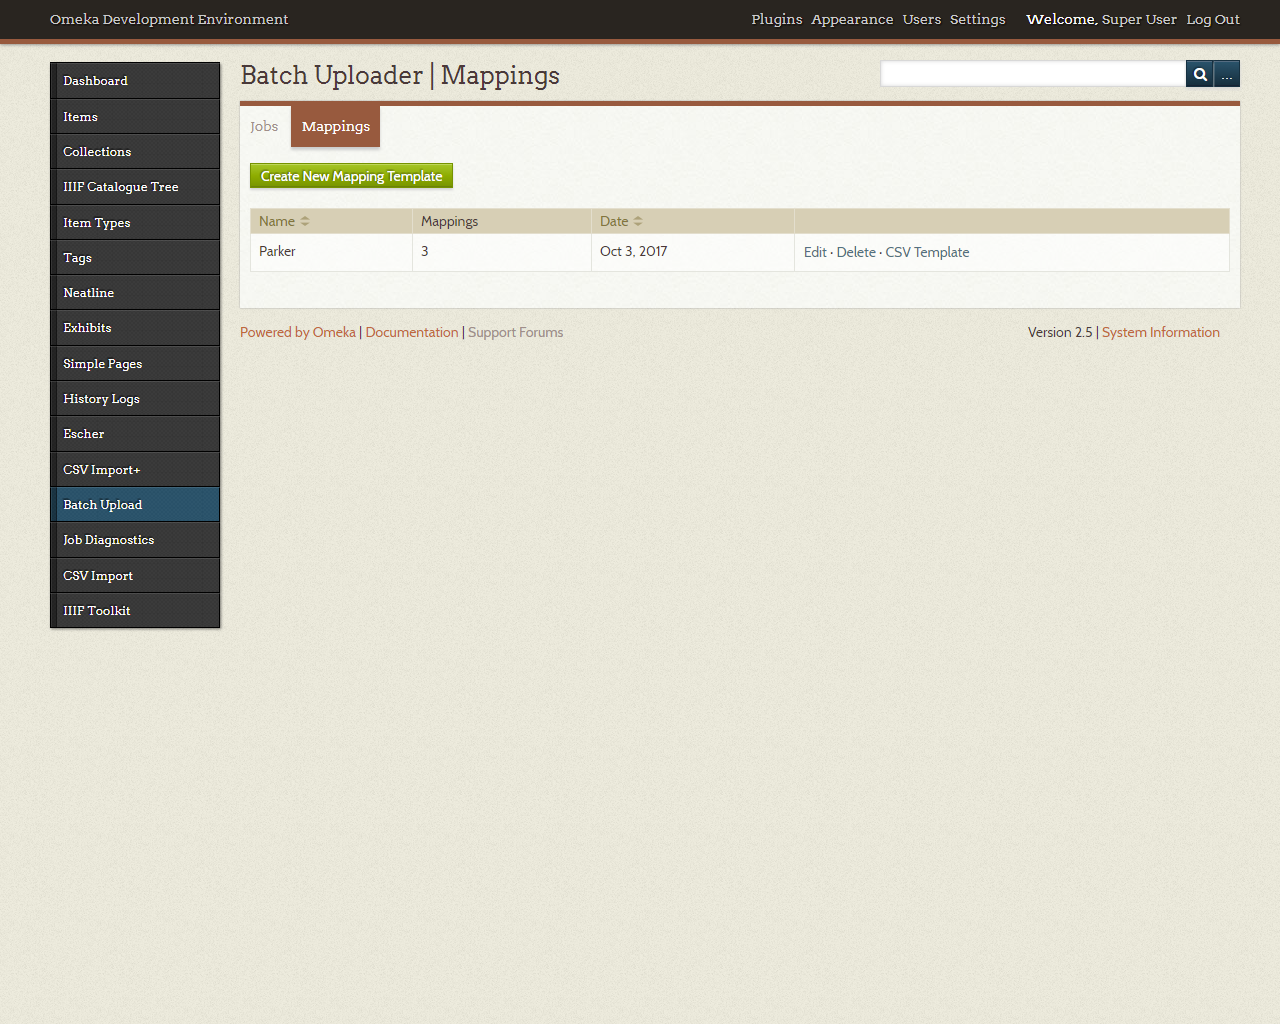
On the Mappings listing page, click "CSV Template" on the row for the mapping template that you want. If it has no mapping pairs corresponding to the special property "File", it will download immediately. If it has any, the following screen appears:
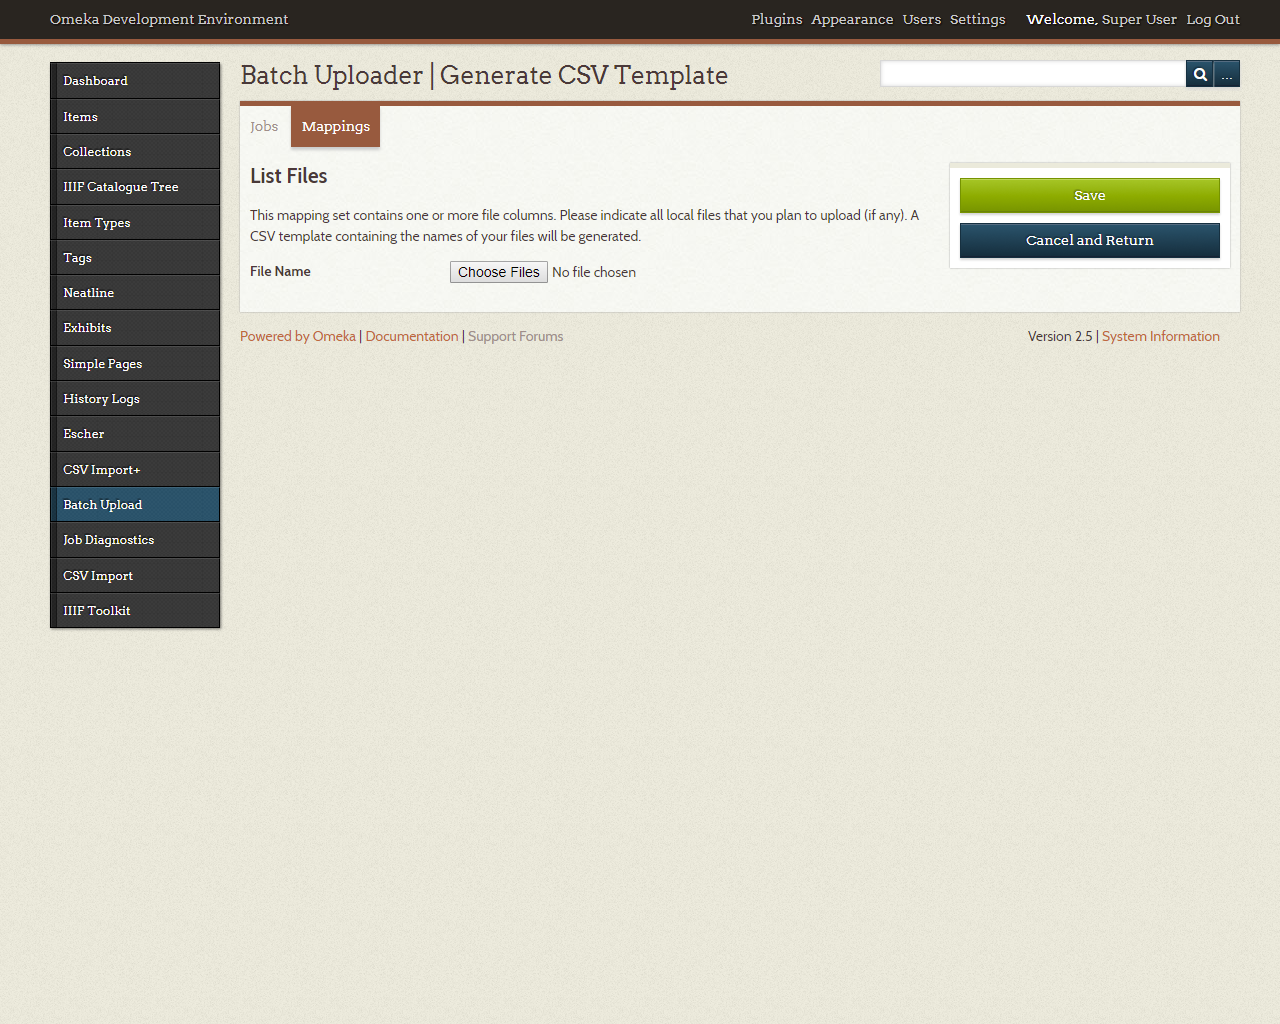
Use the file browser to select all the files that you plan to use with this template in a future upload job, then click "Save". The download will then contain the names of the files you selected as rows, allowing you to fill in metadata alongside them later.
Once a mapping template is created, you can quickly reuse them in future upload jobs. After selecting the CSV, select the template in the "Apply Mappings" dropdown and click "Apply".
