This is a version of GitHub Readme Stats by Anurag Hazra that I have stripped back and modified to meet my own needs.
Some parts have been entirely refactored (e.g., consolidating data fetching and processing from multiple files per type into one Fetcher class per type) or rewritten (e.g., using custom web components to generate the cards), others have been reused as-is or with minor modifications (e.g., the top languages algorithm, caching, API request implementation with retries, error handling, much of the donut and pie chart rendering logic); some have been removed (stats card, Wakatime card, themes, some card options/variations I don't intend to use).
The general design of the cards is based on the original, with some enhancements (e.g., language bar and listing multiple languages on repo cards; adding support for languages to Gist cards; line clamping of repo descriptions to ensure consistent height of cards; single colour scheme that mostly works with both light and dark modes). I have also refactored everything to use TypeScript and added Storybook for local development and testing.
You are welcome to fork and use this project as you see fit, but support is not guaranteed. That said, I'd love to see what you do with it!
The first thing you'll need to do after forking the repo is edit src/constants.js to set your GitHub username, and set any language or repository exclusions you want to apply.
Next, you'll need to grab a GitHub Personal Access Token (Classic) with repo and read:user scopes enabled, and add that to a .env file locally and in the relevant location in your production environment. See Deployment for more information.
Documentation for the cards and options available is via Storybook when developing locally. See Local Development for details on how to set this up.
Important
The Top Languages card currently looks at the content of public repositories that you own, including archives but not including forks, and excluding any languages and repositories specified in the src/constants.js file. It also merges specific languages into one count.
To adjust what is counted and which languages get merged, you will need to adjust the GraphQL query and/or refinement methods in src/fetchers/TopLanguagesFetcher.ts.
The following algorithm is used to calculate the language percentages:
ranking_index = (byte_count ^ size_weight) * (repo_count ^ count_weight)Use the algorithm option to weight the language usage calculation:
&algorithm=byte_count- orders by number of bytes of code in a language; equivalent to&size_weight=1&count_weight=0in the original&algorithm=repo_count- orders by number of repos the language is used in; equivalent to&size_weight=0&count_weight=1in the original&algorithm=both- Uses both byte and repo count, equivalent to&size_weight=0.5&count_weight=0.5in the original
More details about the algorithm can be found here.
You can tweak how GitHub itself calculates a repository's language breakdown by adding a .gitattributes file to the root of your repository and using Linguist overrides. Note: This will affect your stats GitHub-wide.
To exclude files or directories because they are generated code (e.g., SCSS to CSS, TypeScript to compiled JS), vendor libraries, or documentation:
dist/** linguist-generated
docs/** linguist-documentation
vendor/** linguist-vendored
You can also override the language that specific file types are interpreted as in that repo. For example, I have a repo where the Blade files contain very little PHP and are mostly HTML, so to treat them as the latter I use:
*.blade.php linguist-language=HTMLAnd for some repos that use Styled Components, I set those files to be interpreted as CSS like so:
*.style.ts linguist-language=css
*.style.tsx linguist-language=cssFor built-in TypeScript support, Node 22.18.0 or newer is required.
For deploying your own instance of GitHub Readme Stats, you will need to create a GitHub Personal Access Token (PAT). Below are the steps to create one and the scopes you need to select for both classic and fine-grained tokens.
- Go to Account -> Settings -> Developer Settings -> Personal access tokens -> Tokens (classic).
- Click on
Generate new token -> Generate new token (classic). - Scopes to select:
- repo
- read:user
- Click on
Generate token, copy it, and paste it into your local.envfile and in the relevant location in your production environment asGITHUB_TOKEN.
Step-by-step guide on setting up your own Vercel instance
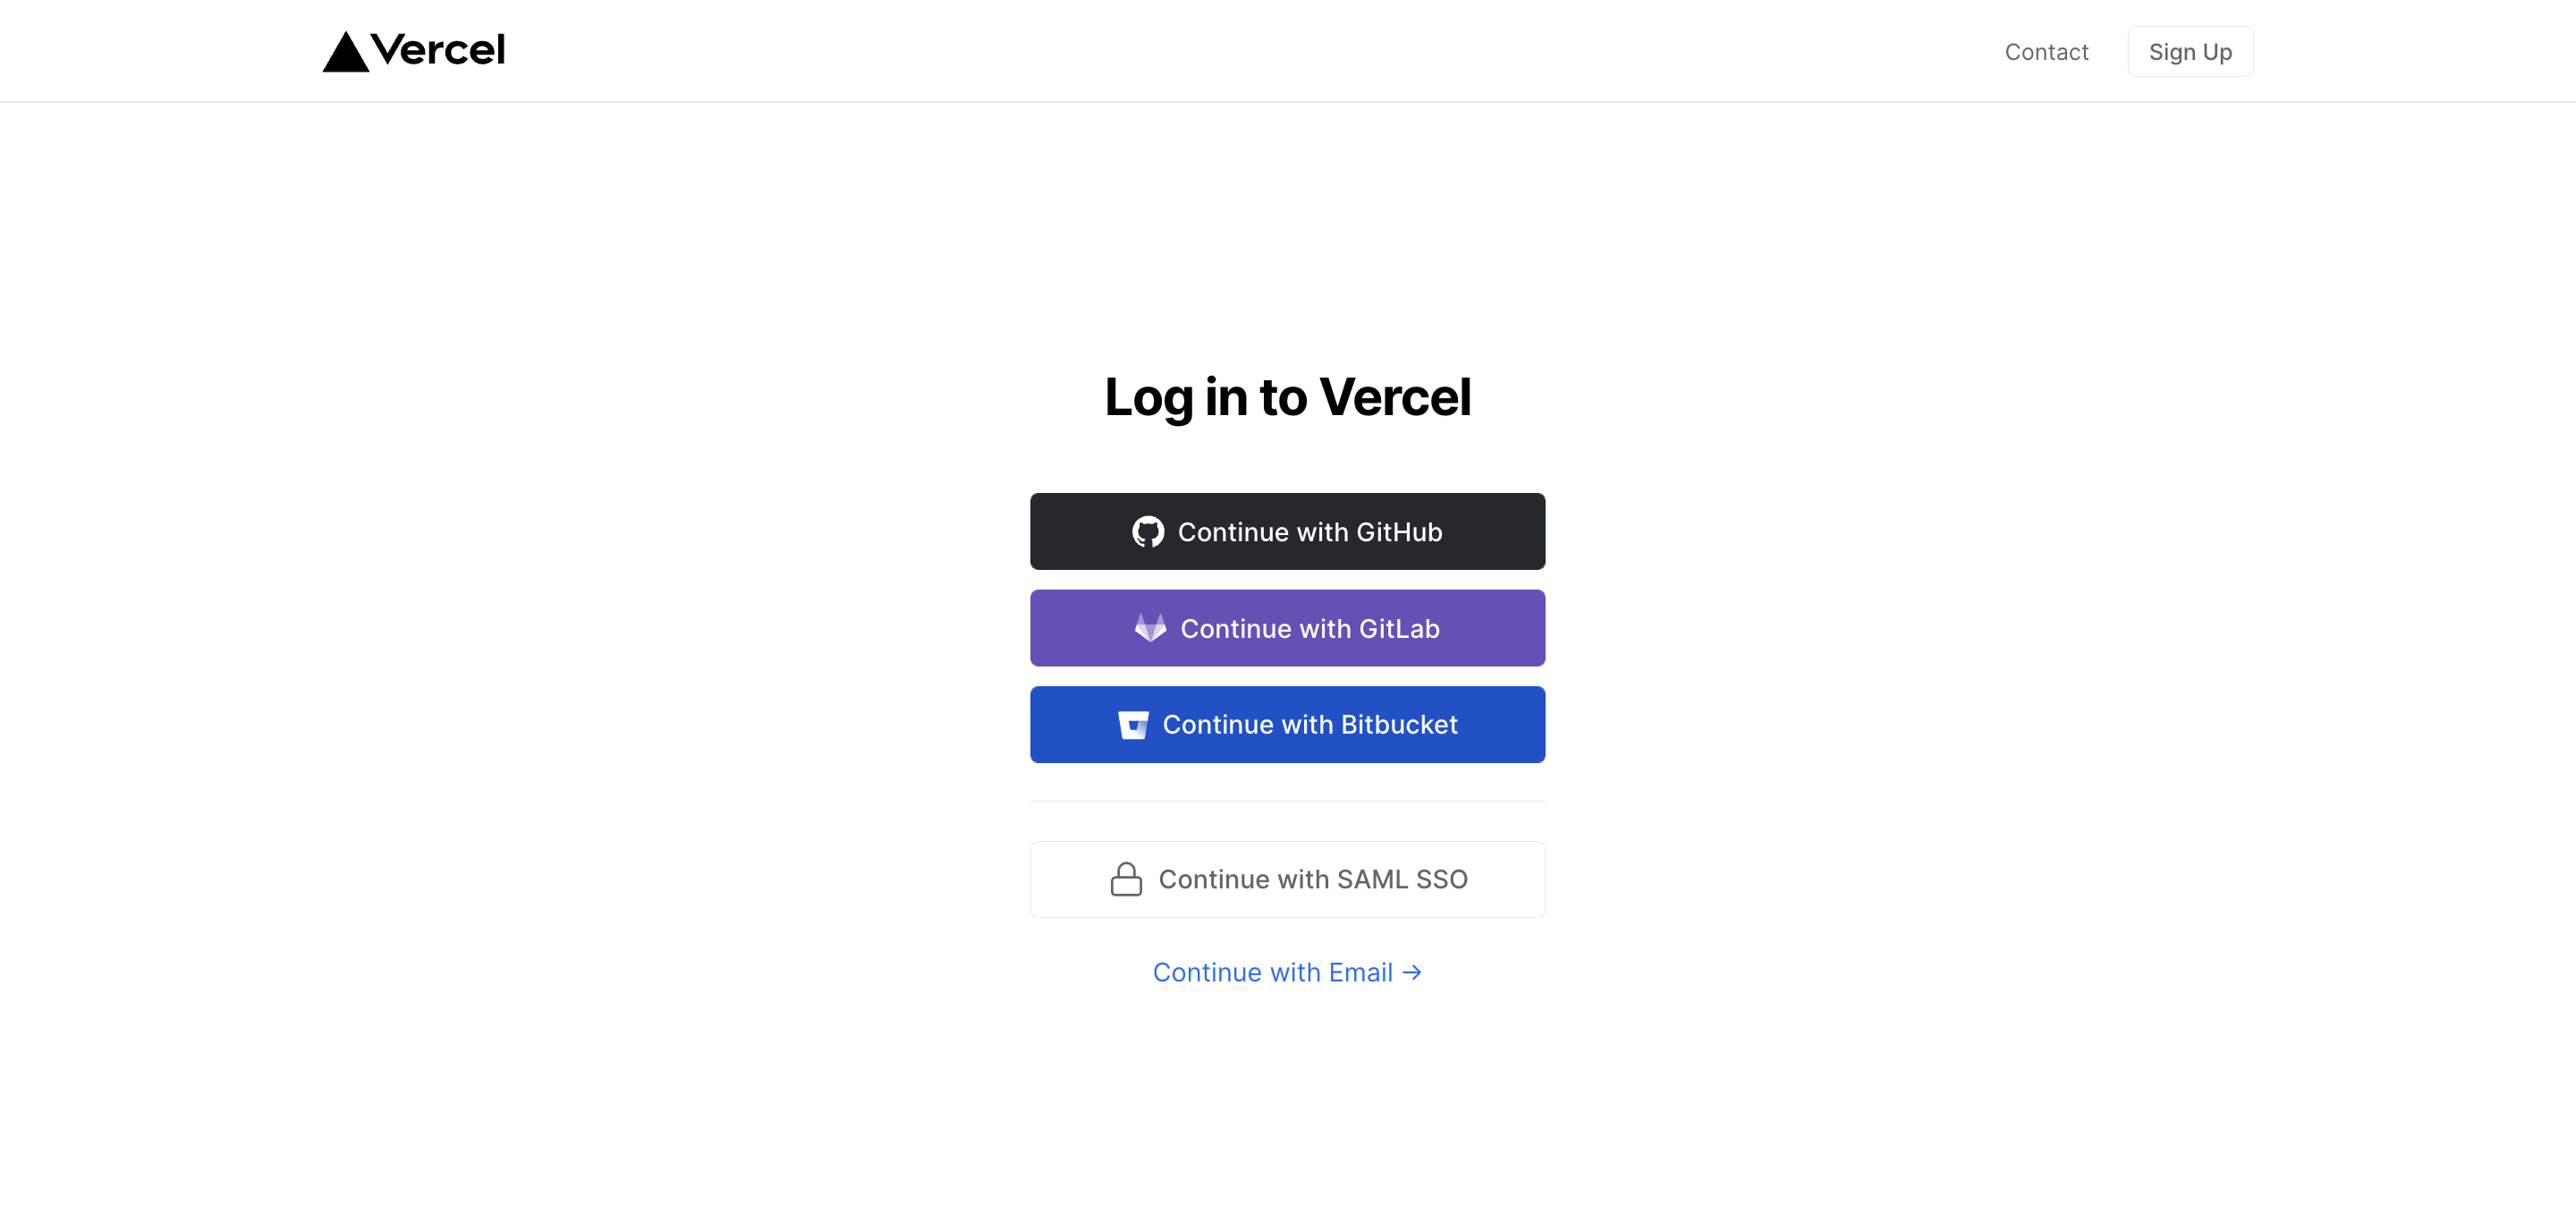
- Go to vercel.com.
- Click on
Log in. - Sign in with GitHub by pressing
Continue with GitHub. - Sign in to GitHub and allow access to all repositories if prompted.
- Fork this repo.
- Go back to your Vercel dashboard.
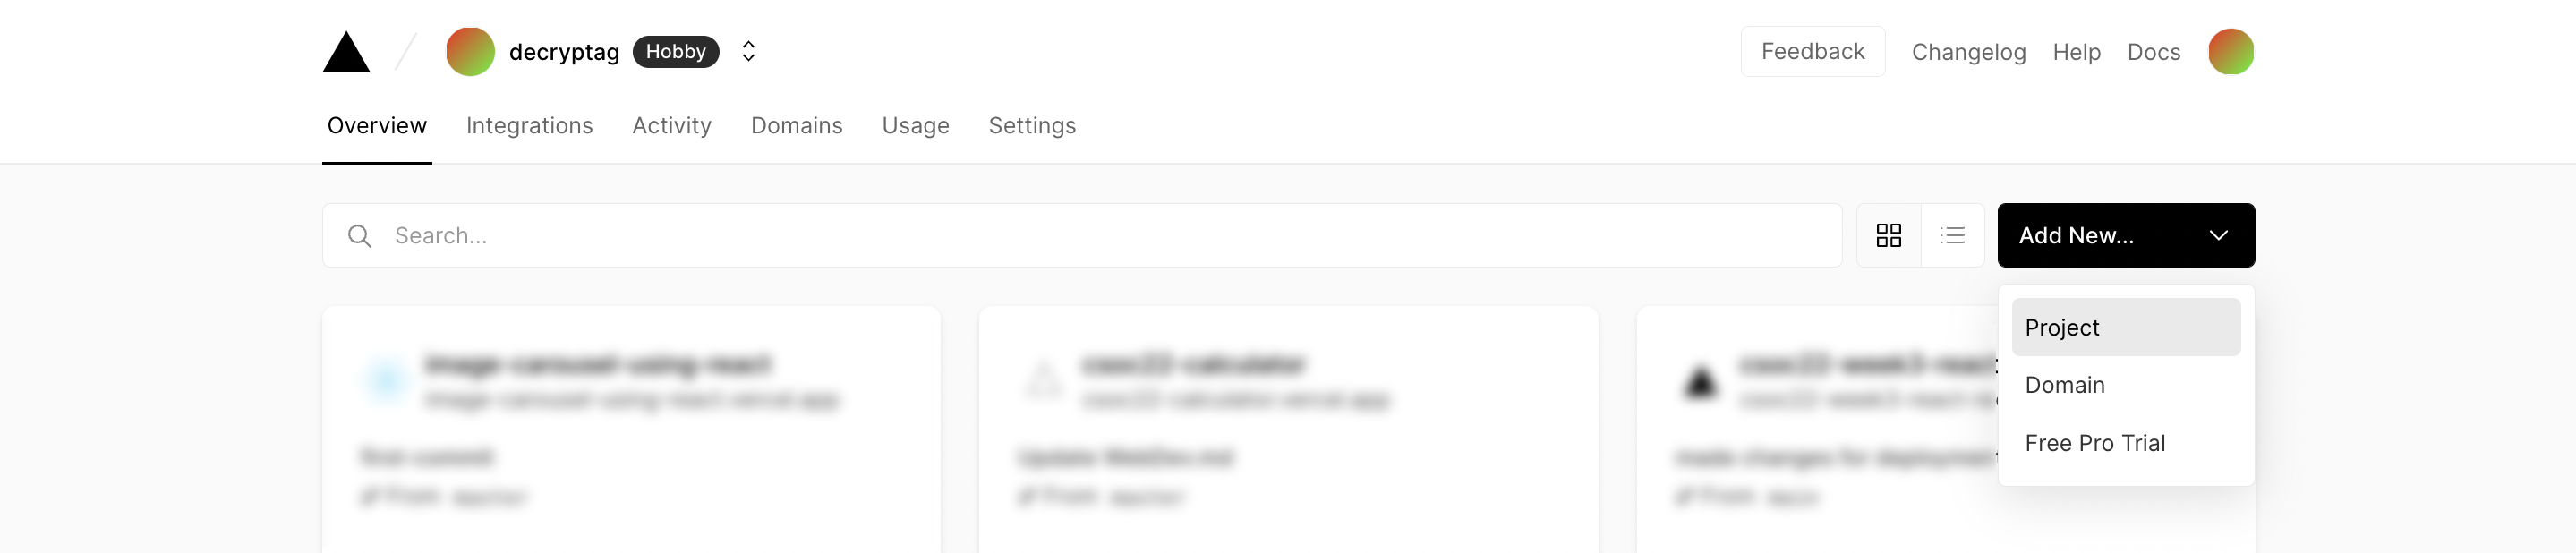
- To import a project, click the
Add New...button and select theProjectoption. - Click the
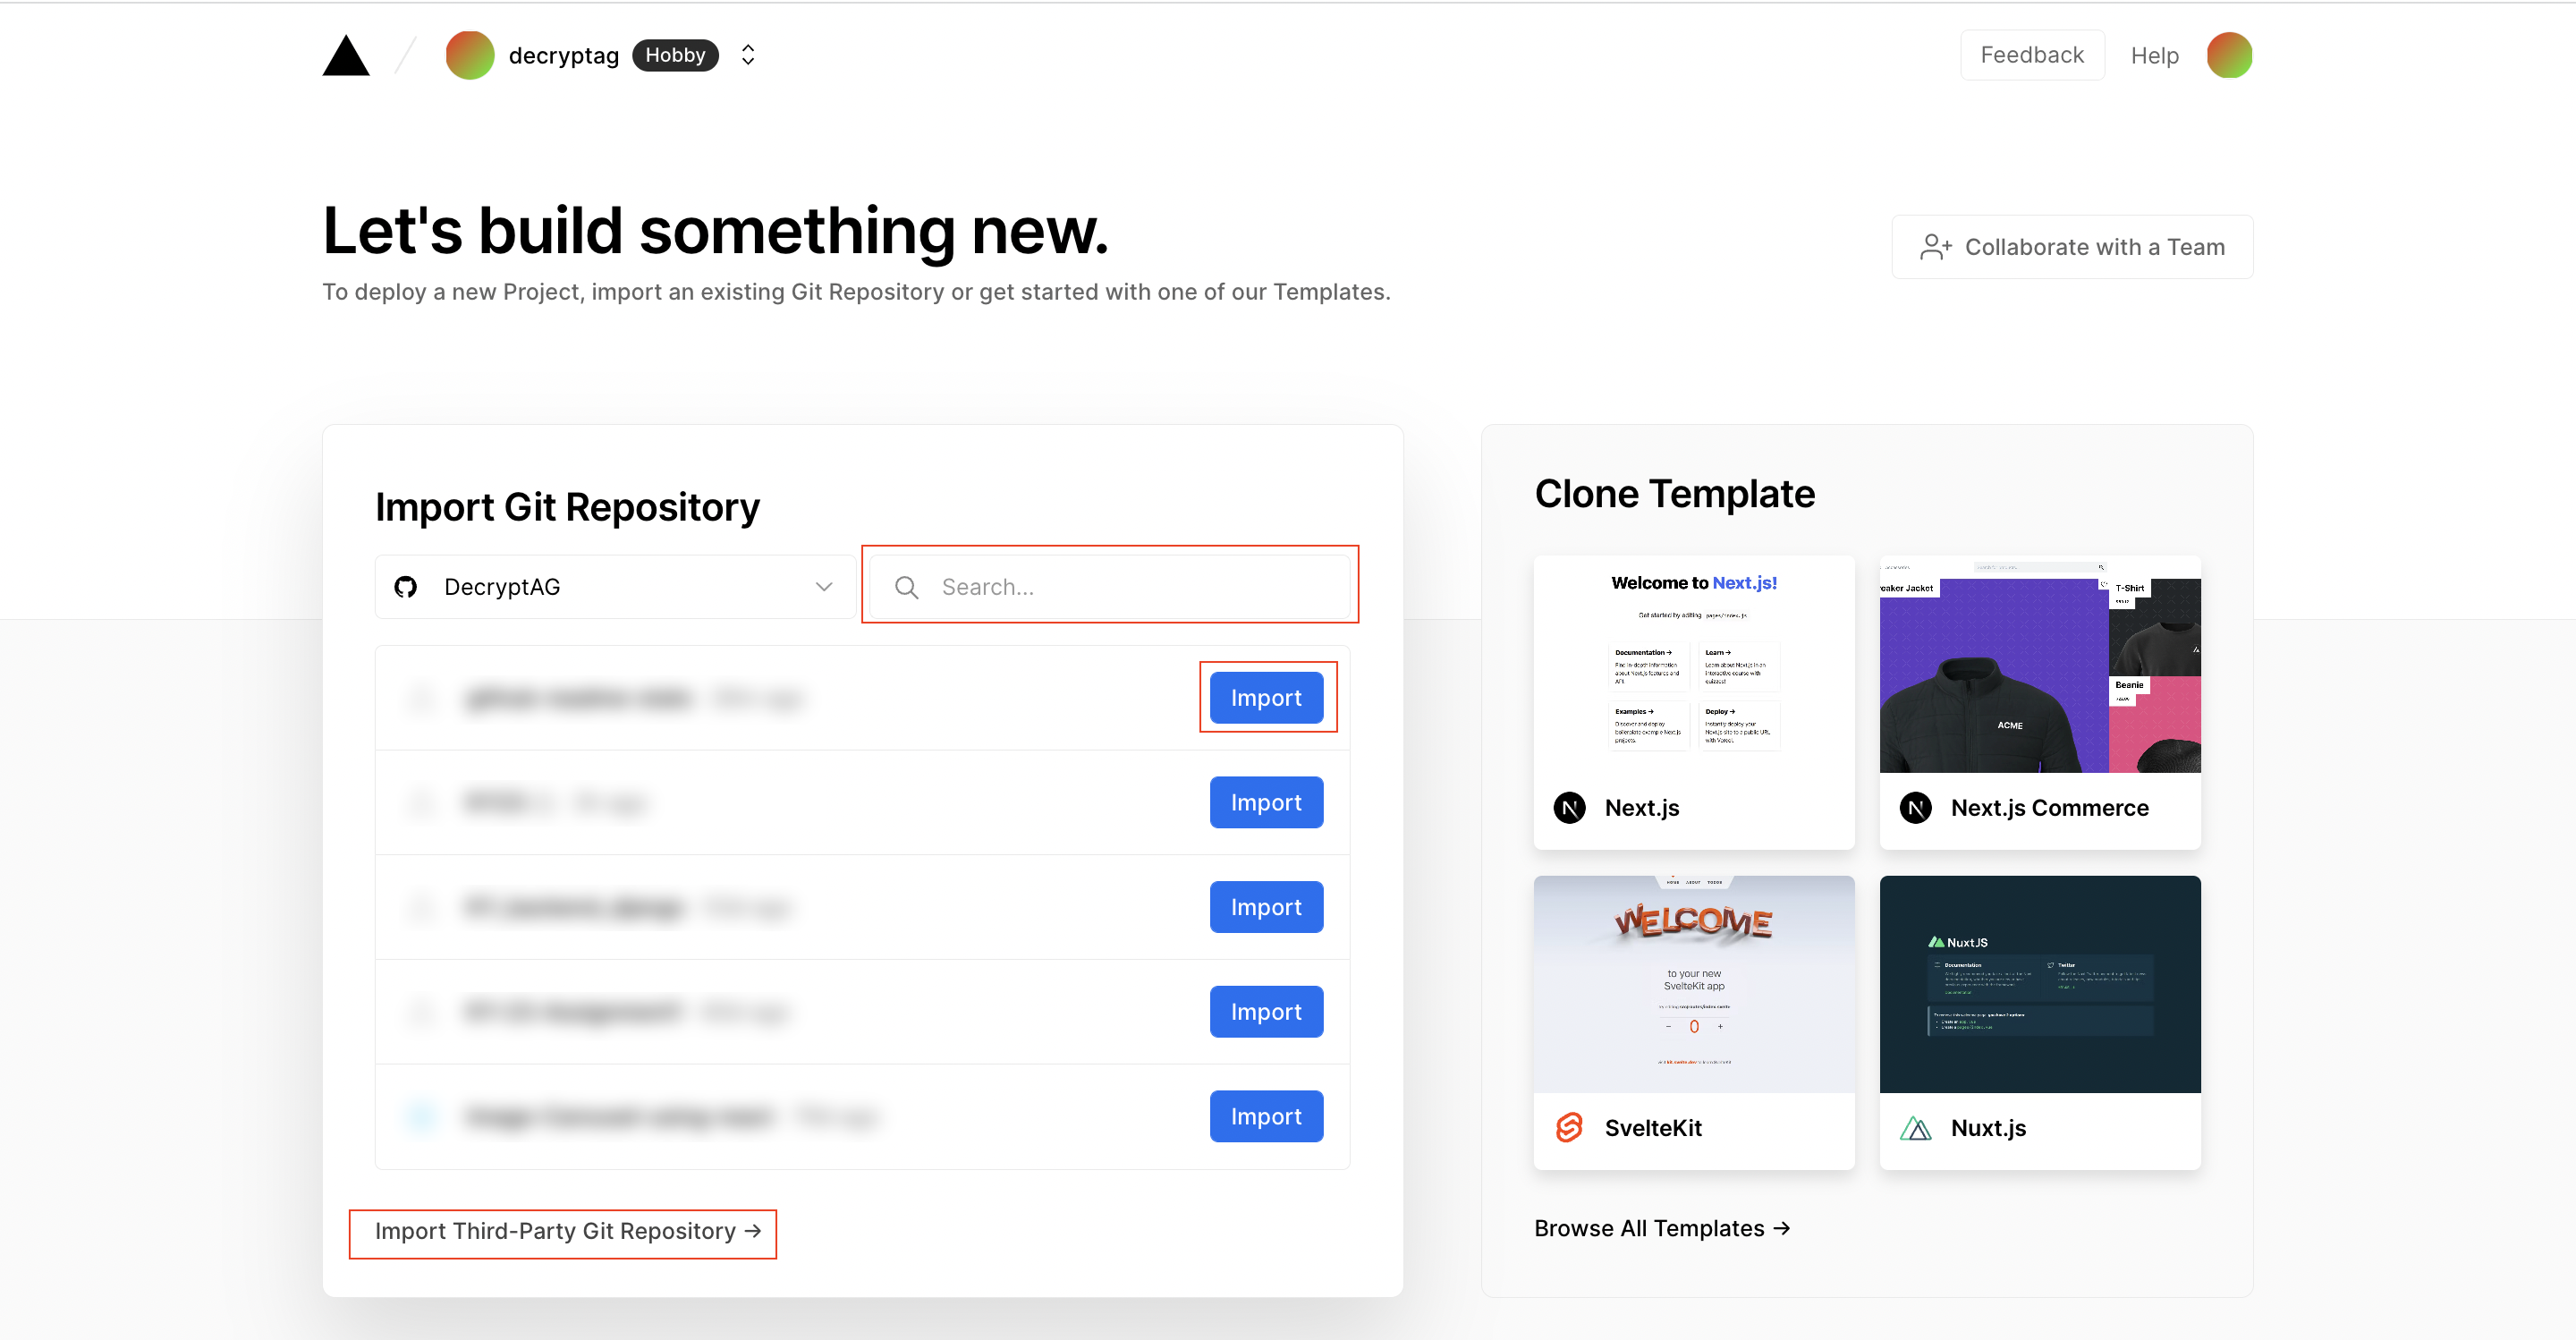
Continue with GitHubbutton, search for the required Git Repository and import it by clicking theImportbutton. Alternatively, you can import a Third-Party Git Repository using theImport Third-Party Git Repository ->link at the bottom of the page. - Create a Personal Access Token (PAT) as described in the previous section.
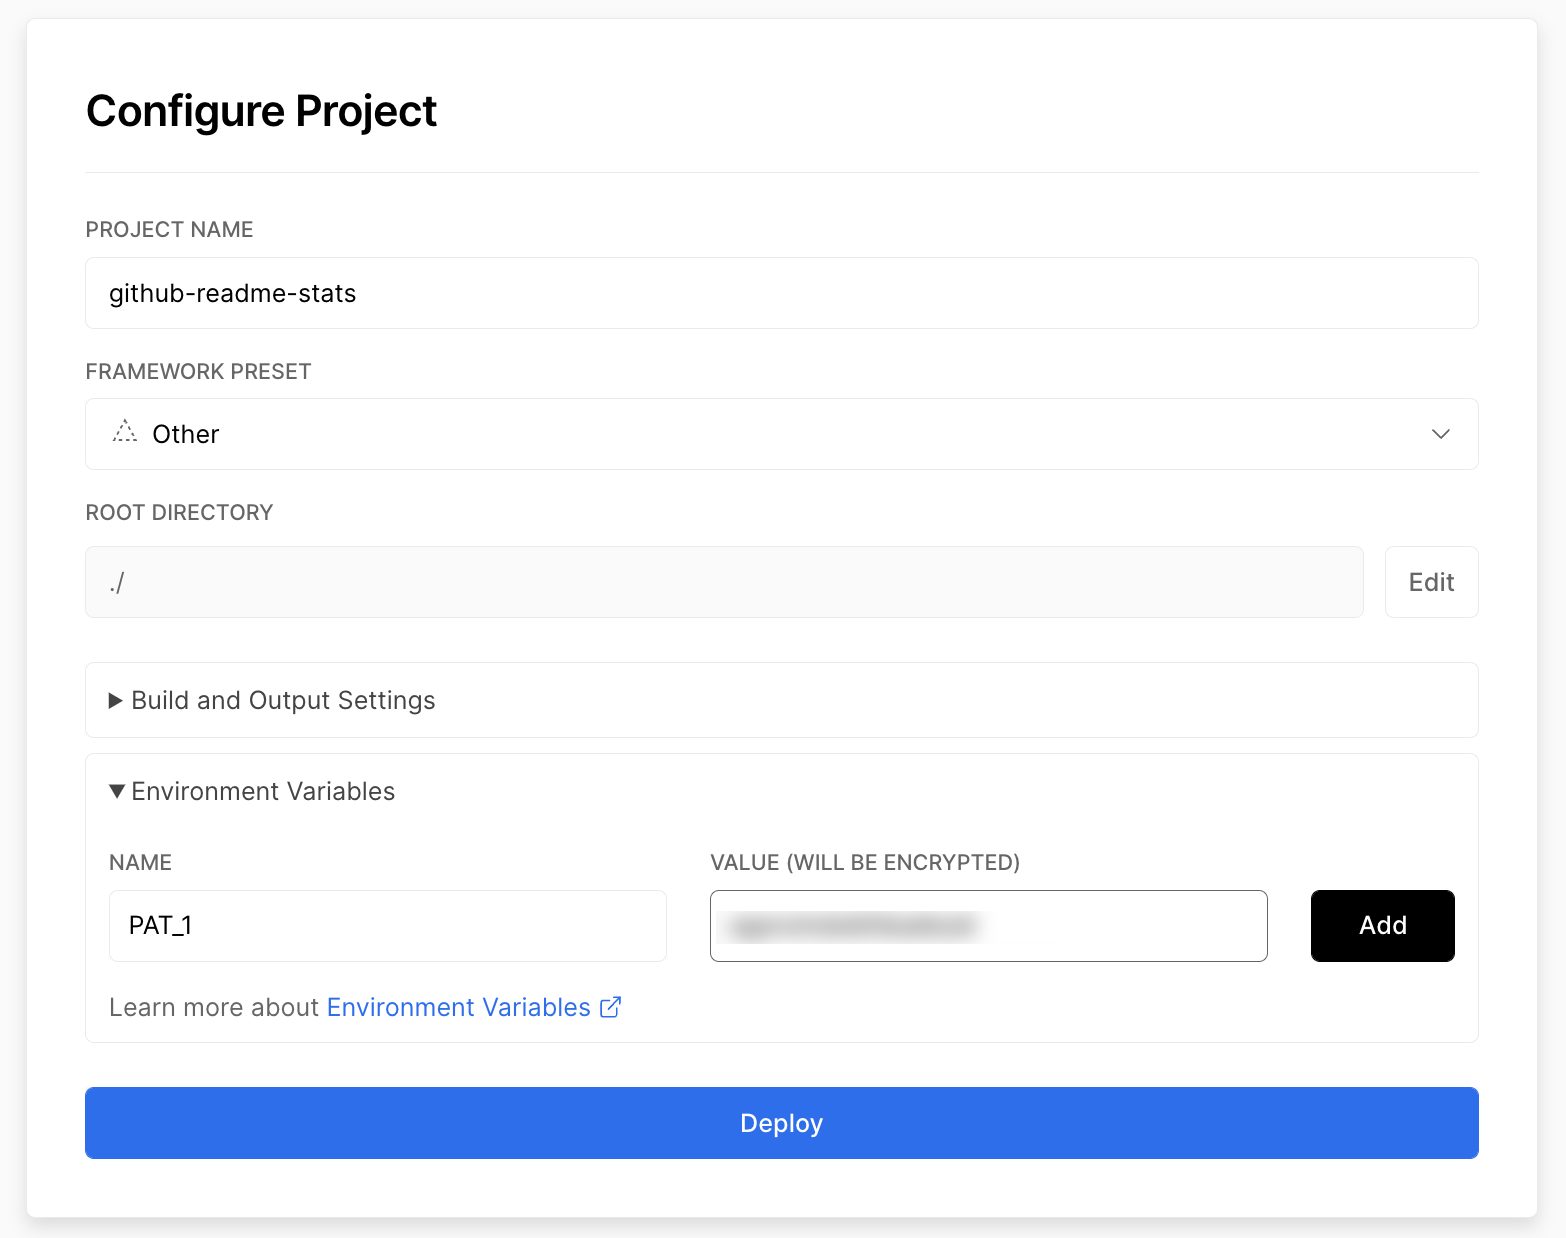
- Add the PAT as an environment variable named
PAT_1(as shown). - Click deploy, and you're good to go. See your domains to use the API!

General guide to other deployments
- Fork or clone this repo as per your needs
- Move
expressfrom the devDependencies to the dependencies section ofpackage.jsonhttps://github.com/anuraghazra/github-readme-stats/blob/ba7c2f8b55eac8452e479c8bd38b044d204d0424/package.json#L54-L61 - Run
npm iif needed (initial setup) - Run
node express.tsto start the server, or set the entry point toexpress.tsinpackage.jsonif you're deploying on a managed service https://github.com/anuraghazra/github-readme-stats/blob/ba7c2f8b55eac8452e479c8bd38b044d204d0424/package.json#L11 - You're done 🎉
Important
Remember to redeploy your instance after making any changes to the environment variables so that the updates take effect.
Important
To include your Gists and/or private repositories you don't own, you need to use a classic personal access token (PAT) with all repo scopes enabled. Fine-grained access tokens won't work.
- Clone the repo to your local machine
- Run
npm installin the repository root - Create
.envfile and update the token valuesNODE_ENV=development GITHUB_TOKEN=YOUR_TOKEN_HERE
- Run
npm run serverto start the server in dev mode - Run
npm run storybookto start Storybook in your default browser.
You can test GraphQL queries using a client such as Hoppscotch.
You can use the same GitHub Personal Access Token that you use in the application. Go to the "Authorization" tab, select "Bearer" and paste it in there.
Connection error messages can be cryptic, such as Invalid or incomplete introspection result. Ensure that you are passing "data" property of introspection response and no "errors" was returned alongside: undefined. actually being caused by an invalid GitHub token.
You can test if the issue is your token from your terminal:
curl -X POST https://api.github.com/graphql -H "Authorization: Bearer YOUR_TOKEN_HERE" -H "Content-Type: application/json" -d '{"query":"{ viewer { login } }"}'