0. Installing The Lightmapper
Installation of The Lightmapper is straight forward under most circumstances, and this page will display the two most common ways of doing it. First thing you need to do is to get the latest version from the releases page, usually it will be the top most entry:
https://github.com/Naxela/The_Lightmapper/releases/tag/0.3
The fastest and easiest way to install Blender is simply by opening up the Blender preferences (Edit > Preferences), and select the Add-ons tab on the left menu:
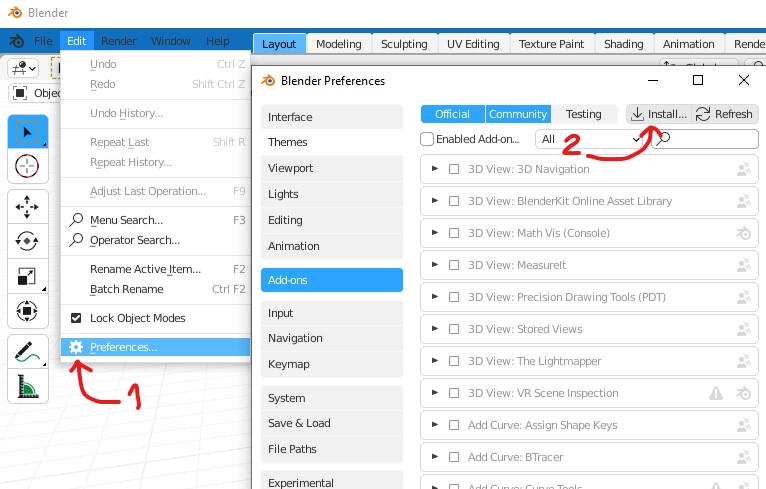
Then you click "Install..." on the top menu and select zip file of the latest release:
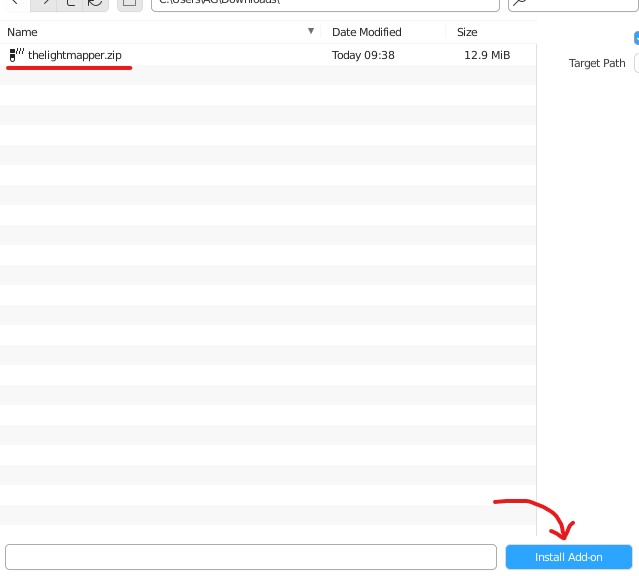
After clicking "Install Add-on", The Lightmapper should now appear on the addons list, if not try searching for it.
Finally, enable the add-on by ticking the little box, and save the preferences by selecting the little menu icon, and select "Save Preferences". The Lightmapper is now installed:

In case you're using multiple Blender versions, portable versions or wanting to manually update using Git, the possibility of manually updating The Lightmapper is similar to any other Blender addon. Depending on your platform and distribution, your Blender addons location may vary:
Windows: C:\Users\USERNAME\AppData\Roaming\Blender Foundation\Blender\VERSION\scripts\addons\thelightmapper
Linux: /home/USERNAME/.blender/VERSION/scripts/addons/thelightmapper
Mac: /Users/USERNAME/Library/Application\Support/Blender/VERSION/scripts/addons/thelightmapper
Keep in mind that the USERNAME and VERSION values needs to correspond to your system. Inside that folder, you can replace the files with the latest versions.