Install Node.js and get started with Node.js tools
NTVS requires a Node.js interpreter to be installed. You can use a global installation of Node.js or you can specify the path to a local interpreter in each of your Node.js projects.
Node.js is built for 32-bit and 64-bit architectures. NTVS supports both. Only one is required and the Node.js installer only supports one being installed at a time. We recommend at a minimum that you download the latest LTS version of node.js, to be sure your version is compatible with outside frameworks and libraries.
We'll create a new Node.js project and verify that the debugger works.
To create a project, select File -> New -> Project.

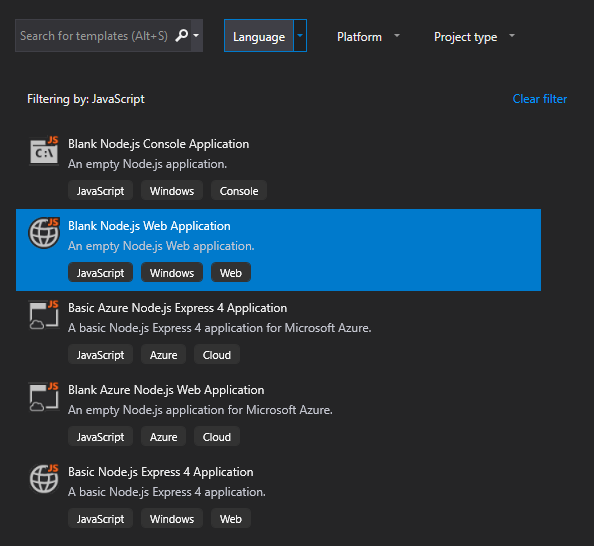
There are several project templates to choose from, including creating a project for your existing code.
For now, we'll use the simplest web server template, which is Blank Node.js Web Application. You can locate this template by using the Language drop-down menu at the top of the Create a new project window, and selecting 'JavaScript'. Enter a project name and location and click OK. Note that for most Node.js projects, you will want to use a location with a short path to avoid MAX_PATH issues.
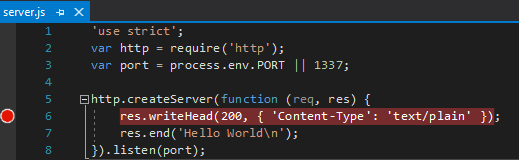
The project will be created, and server.js will open in the editor. Click in the margin (or press F9) to insert a breakpoint in the createServer callback.
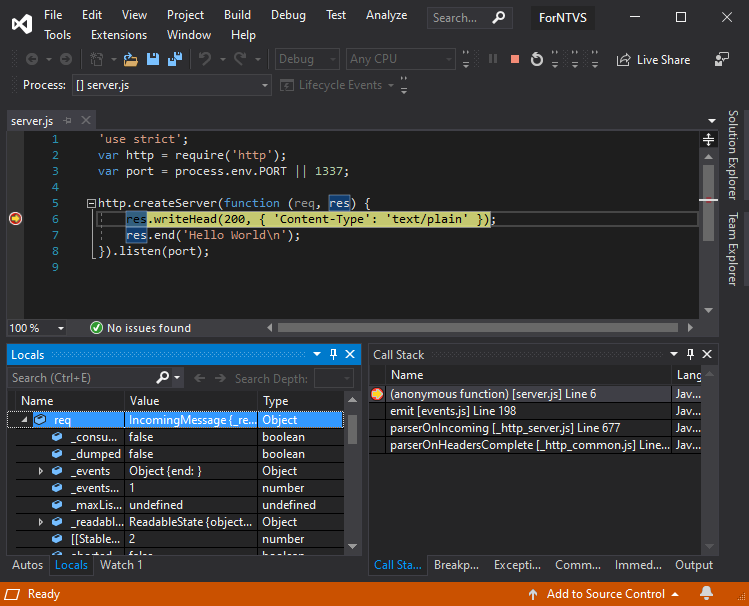
From the Debug menu, select Start Debugging (or press F5).
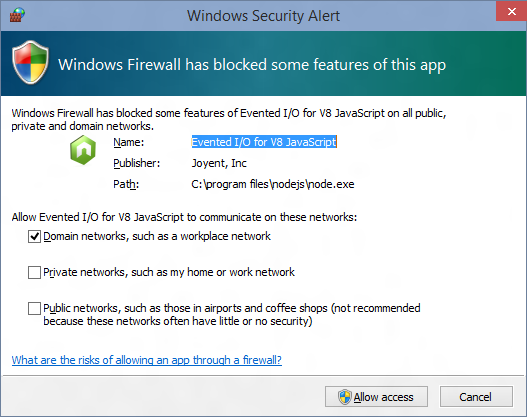
If this is the first time you use Node.js, you may see a warning from the Windows Firewall. Click allow access if you want to allow connections to/from other machines.
 0
0
A web browser will launch, and execution will break in the debugger. You can inspect variables in the Locals and Watch window, navigate the call stack, etc.
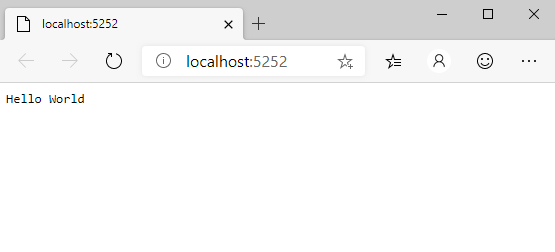
Press F5 to continue, and you'll see the page rendered in the browser.
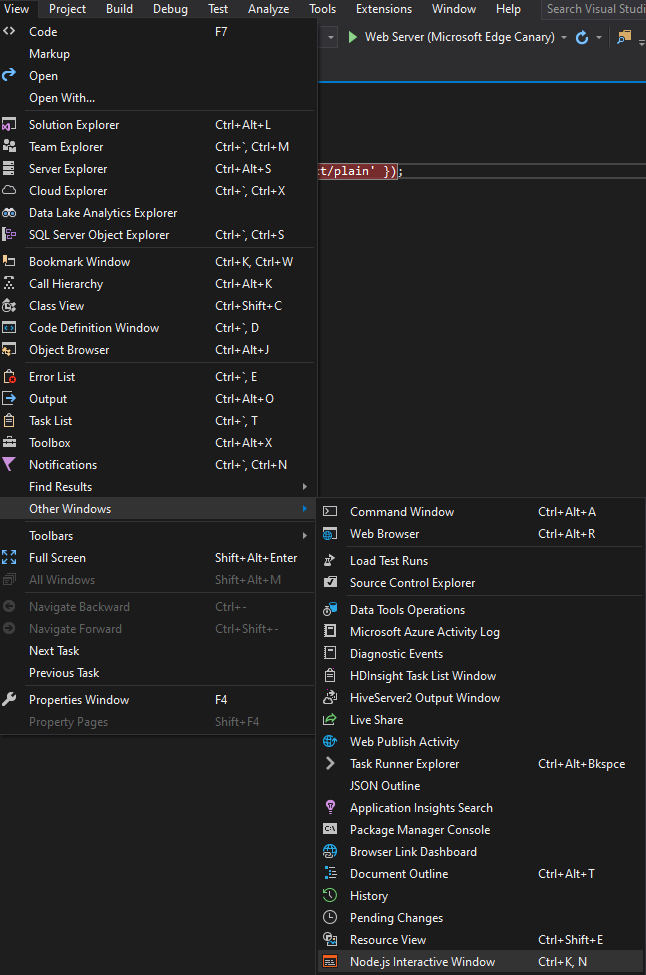
Now let's try the Node.js Interactive Window, which is found at View->Other Windows->Node.js Interactive Window.
The interactive window is a Node.js REPL supports everything you can do in code including require(). The code in the screenshot defines a variable and displays the location of the Node.js interpreter.

You can read more about it in the Interactive Window Docs
You now have a Node.js IDE for Visual Studio. Please explore our documentation to learn about using Projects, and find out more about our features such as debugging, profiling, IntelliSense, etc...
Lastly, check out the many JavaScript and Node.js extensions available in the Visual Studio Gallery. Popular extensions include: