
Introducing JBChartView - Jawbone's iOS-based charting library for both line and bar graphs. It is easy to set-up, and highly customizable.
- Drop-in UIView subclass supported across all devices.
- Line and bar graph support.
- Simple to use protocols modeled after a UITableView.
- Highly customizable.
- Expand & collapse animation support.
Refer to the <a href="https://github.com/Jawbone/JBChartView/blob/master/CHANGELOG.md"">changelog for an overview of JBChartView's feature history.
- Requires iOS 6 or later
- Requires Automatic Reference Counting (ARC)
Build and run the JBChartViewDemo project in Xcode. The demo demonstrates the use of both the line and bar charts. It also outlines how a chart's appearance can be customized.
- Amsombe's Quartet: project showcasing the use of JBChartView in the classic data visualization example known as Anscombe's Quartet.
- Spark Friends: project showcasing the use of JBChartView in the context of sparklines and (fake) user step data.
CocoaPods is the recommended method of installing JBChartView.
Simply add the following line to your Podfile:
pod 'JBChartView'
Your Podfile should look something like:
platform :ios, '6.0'
pod 'JBChartView', '~> 2.8.7'
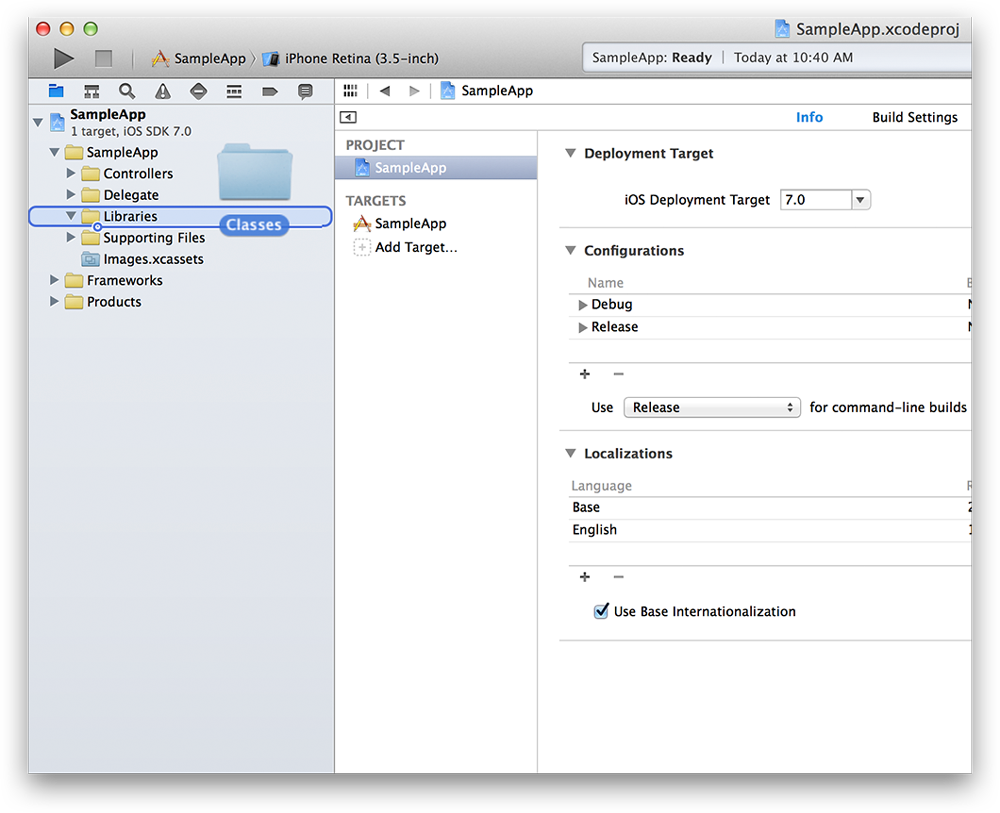
The simpliest way to use JBChartView with your application is to drag and drop the /Classes folder into you're Xcode 5 project. It's also recommended you rename the /Classes folder to something more descriptive (ie. "Jawbone - JBChartView").
All JBChartView implementations have a similiar data source and delgate pattern to UITableView. If you're familiar with using a UITableView or UITableViewController, using a JBChartView subclass should be a breeze!
To use JBCartView in a Swift project add the following to your bridging header (JBChartView-Bridging-Header.h):
#import <UIKit/UIKit.h>
#import "JBChartView/JBChartView.h"
#import "JBChartView/JBBarChartView.h"
#import "JBChartView/JBLineChartView.h"
For more information about adding bridging headers see Swift and Objective-C in the Same Project.
To initialize a JBBarChartView, you only need a few lines of code (see below). Bar charts can also be initialized via a nib or with a frame.
JBBarChartView *barChartView = [[JBBarChartView alloc] init];
barChartView.dataSource = self;
barChartView.delegate = self;
[self addSubview:barChartView];
At a minimum, you need to inform the data source how many bars are in the chart:
- (NSUInteger)numberOfBarsInBarChartView:(JBBarChartView *)barChartView
{
	return ...; // number of bars in chart
}
Secondly, you need to inform the delegate the height of each bar (automatically normalized across the entire chart):
- (CGFloat)barChartView:(JBBarChartView *)barChartView heightForBarViewAtAtIndex:(NSUInteger)index
{
	return ...; // height of bar at index
}
Lastly, ensure you have set the frame of your barChartView & call reloadData at least once:
barChartView.frame = CGRectMake( ... );
[barChartView reloadData];
Similiarily, to initialize a JBLineChartView, you only need a few lines of code (see below). Line charts can also be initialized via a nib or with a frame.
JBLineChartView *lineChartView = [[JBLineChartView alloc] init];
lineChartView.dataSource = self;
lineChartView.delegate = self;
[self addSubview:lineChartView];
At a minimum, you need to inform the data source how many lines and vertical data points (for each line) are in the chart:
- (NSUInteger)numberOfLinesInLineChartView:(JBLineChartView *)lineChartView
{
	return ...; // number of lines in chart
}

- (NSUInteger)lineChartView:(JBLineChartView *)lineChartView numberOfVerticalValuesAtLineIndex:(NSUInteger)lineIndex
{
	return ...; // number of values for a line
}
Secondly, you need to inform the delegate of the y-position of each point (automatically normalized across the entire chart) for each line in the chart:
- (CGFloat)lineChartView:(JBLineChartView *)lineChartView verticalValueForHorizontalIndex:(NSUInteger)horizontalIndex atLineIndex:(NSUInteger)lineIndex
{
	return ...; // y-position (y-axis) of point at horizontalIndex (x-axis)
}
Lastly, ensure you have set the frame of your lineChartView & call reloadData at least once:
lineChartView.frame = CGRectMake( ... );
[lineChartView reloadData];
Both the line and bar charts support a robust set of customization options.
The background of a bar or line chart can be set just like any other view:
self.barChartView.backgroundColor = ...; // UIColor
self.lineChartView.backgroundColor = ...; // UIColor
Any JBChartView subclass supports the use of headers and footers (similiar to that of UITableView):
self.barChartView.footerView = ...; // UIView
self.lineChartView.headerView = ...; // UIView
Lastly, any JBChartView subclass can be collapsed or expanded programmatically via the state property. If you chose to animate state changes, a callback helper can be used to notify you when the animation has completed:
- (void)setState:(JBChartViewState)state animated:(BOOL)animated callback:(void (^)())callback;
A bar chart can be inverted such that it's orientation is top->down (including the selection view) by setting the following property:
@property (nonatomic, assign, getter=isInverted) BOOL inverted;
By default, a chart's bars will be black and flat. They can be customized by supplying a UIView subclass through the optional protocol:
- (UIView *)barChartView:(JBBarChartView *)barChartView barViewAtIndex:(NSUInteger)index
{
	return ...; // color of line in chart
}
If you don't require a custom UIView, simply supply a color for the bar instead:
- (UIColor *)barChartView:(JBBarChartView *)barChartView colorForBarViewAtIndex:(NSUInteger)index;
Furthermore, the color of the selection bar (on touch events) can be customized via the optional protocol:
- (UIColor *)barSelectionColorForBarChartView:(JBBarChartView *)barChartView
{
	return ...; // color of selection view
}
Lastly, a bar chart's selection events are delegated back via:
- (void)barChartView:(JBBarChartView *)barChartView didSelectBarAtIndex:(NSUInteger)index touchPoint:(CGPoint)touchPoint
{
	// Update view
}

- (void)didDeselectBarChartView:(JBBarChartView *)barChartView
{
	// Update view
}
The touchPoint is especially important as it allows you to add custom elements to your chart during selection events. Refer to the demo project (JBarChartViewController) to see how a tooltip can be used to display additional information during selection events.
The color, width and style of each line in the chart can be customized via the optional protocol:
- (UIColor *)lineChartView:(JBLineChartView *)lineChartView colorForLineAtLineIndex:(NSUInteger)lineIndex
{
	return ...; // color of line in chart
}

- (UIColor *)lineChartView:(JBLineChartView *)lineChartView fillColorForLineAtLineIndex:(NSUInteger)lineIndex
{
	return ...; // color of area under line in chart
}

- (CGFloat)lineChartView:(JBLineChartView *)lineChartView widthForLineAtLineIndex:(NSUInteger)lineIndex
{
	return ...; // width of line in chart
}

- (JBLineChartViewLineStyle)lineChartView:(JBLineChartView *)lineChartView lineStyleForLineAtLineIndex:(NSUInteger)lineIndex
{
	return ...; // style of line in chart
}
Furthermore, the color and width of the selection view along with the color of the selected line can be customized via the optional protocols:
- (UIColor *)lineChartView:(JBLineChartView *)lineChartView verticalSelectionColorForLineAtLineIndex:(NSUInteger)lineIndex
{
	return ...; // color of selection view
}

- (CGFloat)verticalSelectionWidthForLineChartView:(JBLineChartView *)lineChartView
{
	return ...; // width of selection view
}

- (UIColor *)lineChartView:(JBLineChartView *)lineChartView selectionColorForLineAtLineIndex:(NSUInteger)lineIndex
{
	return ...; // color of selected line
}

- (UIColor *)lineChartView:(JBLineChartView *)lineChartView selectionFillColorForLineAtLineIndex:(NSUInteger)lineIndex
{
	return ...; // color of area under selected line
}
By default, each line will not show dots for each point. To enable this on a per-line basis:
- (BOOL)lineChartView:(JBLineChartView *)lineChartView showsDotsForLineAtLineIndex:(NSUInteger)lineIndex;
To customize the size of each dot (default 3x the line width), implement:
- (CGFloat)lineChartView:(JBLineChartView *)lineChartView dotRadiusForDotAtHorizontalIndex:(NSUInteger)horizontalIndex atLineIndex:(NSUInteger)lineIndex;
To customize the color of each dot during selection and non-selection events (default is white and black respectively), implement:
- (UIColor *)lineChartView:(JBLineChartView *)lineChartView colorForDotAtHorizontalIndex:(NSUInteger)horizontalIndex atLineIndex:(NSUInteger)lineIndex;

- (UIColor *)lineChartView:(JBLineChartView *)lineChartView selectionColorForDotAtHorizontalIndex:(NSUInteger)horizontalIndex atLineIndex:(NSUInteger)lineIndex;
Alternatively, you can supply your own UIView instead of using the default impelmentation:
- (UIView *)lineChartView:(JBLineChartView *)lineChartView dotViewAtHorizontalIndex:(NSUInteger)horizontalIndex atLineIndex:(NSUInteger)lineIndex;
Custom dot views are automatically shown when selected unless the following is implemented:
- (BOOL)lineChartView:(JBLineChartView *)lineChartView shouldHideDotViewOnSelectionAtHorizontalIndex:(NSUInteger)horizontalIndex atLineIndex:(NSUInteger)lineIndex;
As well, by default, each line will have squared off end caps and connection points. To enable rounded connections and end caps:
- (BOOL)lineChartView:(JBLineChartView *)lineChartView smoothLineAtLineIndex:(NSUInteger)lineIndex;
Lastly, a line chart's selection events are delegated back via:
- (void)lineChartView:(JBLineChartView *)lineChartView didSelectLineAtIndex:(NSUInteger)lineIndex horizontalIndex:(NSUInteger)horizontalIndex touchPoint:(CGPoint)touchPoint
{
	// Update view
}

- (void)didDeselectLineInLineChartView:(JBLineChartView *)lineChartView
{
	// Update view
}
The touchPoint is especially important as it allows you to add custom elements to your chart during selection events. Refer to the demo project (JBLineChartViewController) to see how a tooltip can be used to display additional information during selection events.
By default, a chart's minimum and maximum values are equal to the min and max supplied by the dataSource. You can override either value via:
- (void)setMinimumValue:(CGFloat)minimumValue;
- (void)setMaximumValue:(CGFloat)maximumValue;
If value(s) are supplied, they must be >= 0, otherwise an assertion will be thrown. To reset the values back to their original defaults:
- (void)resetMinimumValue;
- (void)resetMaximumValue;
The min/max values are clamped to the ceiling and floor of the actual min/max values of the chart's data source; for example, if a maximumValue of 20 is supplied & the chart's actual max is 100, then 100 will be used. For min/max modifications to take effect, reloadData must be called.
Usage is provided under the Apache License (v2.0). See LICENSE for full details.