Virtual machine for the Relational Databases and Full Stack Foundations courses in the Full Stack Web Developer Nanodegree program
In the next part of this course, you'll use a virtual machine (VM) to run an SQL database server and a web app that uses it. The VM is a Linux server system that runs on top of your own computer. You can share files easily between your computer and the VM; and you'll be running a web service inside the VM which you'll be able to access from your regular browser.
We're using tools called Vagrant and VirtualBox to install and manage the VM. You'll need to install these to do some of the exercises. The instructions on this page will help you do this.
This video offers a conceptual overview of virtual machines and Vagrant. You don't need to watch it to proceed, but you may find it informative.
You'll be doing these exercises using a Unix-style terminal on your computer. If you are using a Mac or Linux system, your regular terminal program will do just fine. On Windows, we recommend using the Git Bash terminal that comes with the Git software. If you don't already have Git installed, download Git from git-scm.com.
For a refresher on using the Unix shell, look back at our Shell Workshop.
If you'd like to learn more about Git, take a look at our course about Git.
VirtualBox is the software that actually runs the virtual machine. You can download it from virtualbox.org, here. Install the platform package for your operating system. You do not need the extension pack or the SDK. You do not need to launch VirtualBox after installing it; Vagrant will do that.
Currently (October 2017), the supported version of VirtualBox to install is version 5.1. Newer versions do not work with the current release of Vagrant.
Ubuntu users: If you are running Ubuntu 14.04, install VirtualBox using the Ubuntu Software Center instead. Due to a reported bug, installing VirtualBox from the site may uninstall other software you need.
Vagrant is the software that configures the VM and lets you share files between your host computer and the VM's filesystem. Download it from vagrantup.com. Install the version for your operating system.
Windows users: The Installer may ask you to grant network permissions to Vagrant or make a firewall exception. Be sure to allow this.
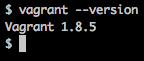
If Vagrant is successfully installed, you will be able to run vagrant --version
in your terminal to see the version number.
The shell prompt in your terminal may differ. Here, the $ sign is the shell prompt.
Use Github to fork and clone, or download, the repository https://github.com/udacity/fullstack-nanodegree-vm.
You will end up with a new directory containing the VM files. Change to this directory in your terminal with cd. Inside, you will find another directory called vagrant. Change directory to the vagrant directory:
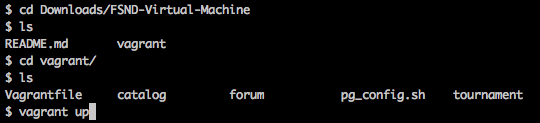
Navigating to the FSND-Virtual-Machine directory and listing the files in it. This picture was taken on a Mac, but the commands will look the same on Git Bash on Windows.
From your terminal, inside the vagrant subdirectory, run the command vagrant up. This will cause Vagrant to download the Linux operating system and install it. This may take quite a while (many minutes) depending on how fast your Internet connection is.

Starting the Ubuntu Linux installation with vagrant up.
This screenshot shows just the beginning of many, many pages of output in a lot of colors.
When vagrant up is finished running, you will get your shell prompt back. At this point, you can run vagrant ssh to log in to your newly installed Linux VM!
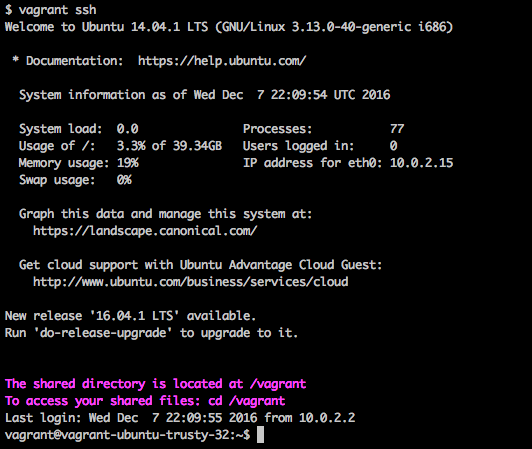
Logging into the Linux VM with vagrant ssh.
If you are now looking at a shell prompt that starts with the word vagrant (as in the above screenshot), congratulations — you've gotten logged into your Linux VM.
If not, take a look at the Troubleshooting section below.
Inside the VM, change directory to /vagrant and look around with ls.
The files you see here are the same as the ones in the vagrant subdirectory on your computer (where you started Vagrant from). Any file you create in one will be automatically shared to the other. This means that you can edit code in your favorite text editor, and run it inside the VM.
Files in the VM's /vagrant directory are shared with the vagrant folder on your computer. But other data inside the VM is not. For instance, the PostgreSQL database itself lives only inside the VM.
The PostgreSQL database server will automatically be started inside the VM. You can use the psql command-line tool to access it and run SQL statements:
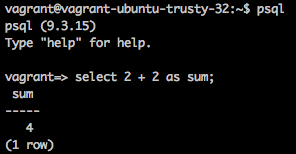
Running psql, the PostgreSQL command interface, inside the VM.
If you type exit (or Ctrl-D) at the shell prompt inside the VM, you will be logged out, and put back into your host computer's shell. To log back in, make sure you're in the same directory and type vagrant ssh again.
If you reboot your computer, you will need to run vagrant up to restart the VM.
If you can type vagrant ssh and log into your VM, then it worked! It's normal for the vagrant up process to display a lot of text in many colors, including sometimes scary-looking messages in red, green, and purple. If you get your shell prompt back at the end, and you can log in, it should be OK.
Because it's downloading a whole Linux operating system from the Internet.
Some versions of Windows and Vagrant have a problem communicating the right settings for the terminal. There is a workaround: Instead of vagrant ssh, run the command winpty vagrant ssh instead.
Sometimes other virtualization programs such as Docker or Hyper-V can interfere with VirtualBox. Try shutting these other programs down first.
In addition, some Windows PCs have settings in the BIOS or UEFI (firmware) or in the operating system that disable the use of virtualization. To change this, you may need to reboot your computer and access the firmware settings. A web search can help you find the settings for your computer and operating system. Unfortunately there are so many different versions of Windows and PCs that we can't offer a simple guide to doing this.
It is complicated. In this case, the point of it is to be able to offer the same software (Linux and PostgreSQL) regardless of what kind of computer you're running on.
If you're getting a specific textual error message, try looking it up on your favorite search engine. If that doesn't help, take a screenshot and post it to the discussion forums, along with as much detail as you can provide about the process you went through to get there.
Udacity mentors have noticed that some newer versions of Vagrant don't work on all operating systems. Version 1.9.2 is reported to be stabler on some systems, and version 1.9.1 is the supported version on Ubuntu 17.04. You can download older versions of Vagrant from the Vagrant releases index.