![]()
The idea is to build and ship a React-Native-App (iOS and Android*) with Fastlane and GitHub-Actions.
Or in simpler words: Using GitHub-Actions as a CI for a React-Native-App's.
I documented my way to get this goal here.
*Note: Currently the React-Native-App is built and ship for iOS only 🤷
- TOC
- Prerequisites
- Build and ship the React-Native-App on your machine
- Run the React-Native-App on your machine
- Build and ship the React-Native-App on GitHub
- A machine with macOX >= 10.15.6
- Xcode >= 12.0.1
- Yarn >= 1.22.10
- Node >= 12.16.0
- The latest Xcode
command line tools👉xcode-select --install - Cocoapods >= 1.9.3 👉 https://cocoapods.org
- Global installed react-native-cli >= 2.0.1 👉
npm install -g react-native-cli - Ruby >= 2.6.5
- Fastlane >= 2.134
- Apple ID
- Apple Developer Account 👉 https://developer.apple.com/account
- Apple Certificates, identifier and provisioning profiles 👉 Creating a certificate and identifier
- A prepeared App on Apple's Appstore-Connect
- An Application-Sepcific-Password for your Apple-Account
The next steps are a walk through at Apple's Developer Account-Platform inside the section Certificates, Identifiers & Profiles.
-
Create a new certificate of type
iOS Development. If you already own one, then this step is optional. -
Create a new identifier with following properties:
Type Value Comment Platform iOS, tvOS, watchOS Required Description FastlaneInActionsApp Optional, choose a name you like Bundle ID de.dermeer.van.fastlaneInActionsRequired, cause we need exactly this APP_IDENTIFIERCapabilities Use the defaults -
The profile we will automatically create with
fastlaneon the local machine.
We use fastlane's match to create and manage all required certificates & provisioning profiles and stores them in a separate git repository.
With this, match is a implementation of the codesigning.guide concept that you should read through unconditionally!
So you have to create such a certificate git repository first.
You can create your certificate repository on GitHub and Bitbucket. I use GitHub myself, so that I also briefly describe the way how to set it up for GitHub here:
- Open https://github.com/new.
- Choose a repository name (e.g
certificates). - Make sure it's a private repository.
- Do not initialize this repository with a readme nor a license.
- Create the repository.
And there's one last step…To give fastlane's match access to this repository you've to create a Personal access tokens at GitHub.
Create/Generate a new token with a name of your choise and select the scope repo only.
Keep the generated token, as we use it to create the url to your certificate repository.
The URL for fastlane's match follow this pattern: https://{token}@{url to your repository}. Means…
- Copy the https-uri of your above created repository 👉 remember? (e.g.
https://github.com/johndoe/certificates.git). - Create the url with aboves pattern, your token and the url of your repository.
A typcial url for fastlane's match looks like this: https://4711@github.com/johndoe/certificates.git
With this setup we're prepared to use fastlane's match on your local machine to create all missing certificates & provisioning profiles and store them in your personal and private certificate repository.
You can now…
- open a terminal,
- moving to the folder in which you checked out this repository,
- running
fastlane match development.
During this process fastlane's match ask you for some data. It needs the url to the certificate repository (IMPORTANT: use the https-url with token), your Apple Id and an APP_IDENTIFIER (in our case de.dermeer.van.fastlaneInActions).
If the process finnished it stored all newly created certificates & provisioning profiles at your private certificate repository and at Apple's Developer Account-Platform inside the section Profiles
To ship an app it's importand to prepare the App or better setup information about the app at Apple's Appstore-Connect. For this setup we need an app with the euphonious names Fastlane in Actions-App.
This app is setup like this…
- Open Apple's Appstore-Connect
- Choose
My Apps - Select the plus-sign (add-sign) on the top-left and
- Select
New App - Set the Platformes to
iOS - Set the Name to
Fastlane in Actions - Select your primary language (e.g. English)
- Choose your Bundle-Id from above (e.g.
de.dermeer.van.fastlaneInActions) - Set the SKU (e.g.
de.dermeer.van.fastlaneInActions) 👉How to get sku number - Choose your prefer User accesses (e.g. access for all)
If you've checkout this repository you'll find already a Matchfile and a Fastfile inside the fastlane folder. This files provides some information for fastlane. Which kind of information and more you can read in fastlane's docs or in special in fastlane's docs for match.
To automate the whole process and avoiding annoying questions from the fastlane CLI we will set the needed environment variables via a Dotfile with name .env. You can do it by running this bash command (replace the placeholder with your own values) inside the folder in which you checked out this repository:
cat <<EOF >> ./fastlane/.env
APP_IDENTIFIER=de.dermeer.van.fastlaneInActions
URL_TO_FASTLANE_CERTIFICATES_REPO={ THE URL TO YOUR CERTIFICATION-REPOSITORY* }
APPLE_ID={ YOUR PERSONAL APPLE-ID }
APPLE_TEAM_ID={ YOU PERSONAL TEAM-ID }
FASTLANE_APPLE_APPLICATION_SPECIFIC_PASSWORD={ APPLE-APPLICATION-SPECIFIC-PASSWORD }
APPLE_APP_ID={ ID OF YOUR APP }
MATCH_PASSWORD={ PASSWORD TO ENCRYPT THE CERTIFICATES-REPOSITORY}
EOF
* IMPORTANT: This is the https-url with token!!!
This creats your personal Dotfile ./fastlane/.env and you can modified as you like and needed.
Do NOT checkin this Dotfile. It's already listed in gitignore.
At this point you're well prepared and we can build and ship the React-Native-App with fastlane by running the command fastlane ios buildAndShip or simpler by running the script with yarn: yarn ios:buildAndShip.
If your setup was successful, at the end you will find an IPA-file and dSYM-file in folder ./fastlane/builds and a shiped build for TestFlight at Apple's Appstore Connect (in the section: My Apps -> Fastlane in Actions App -> TestFlight).
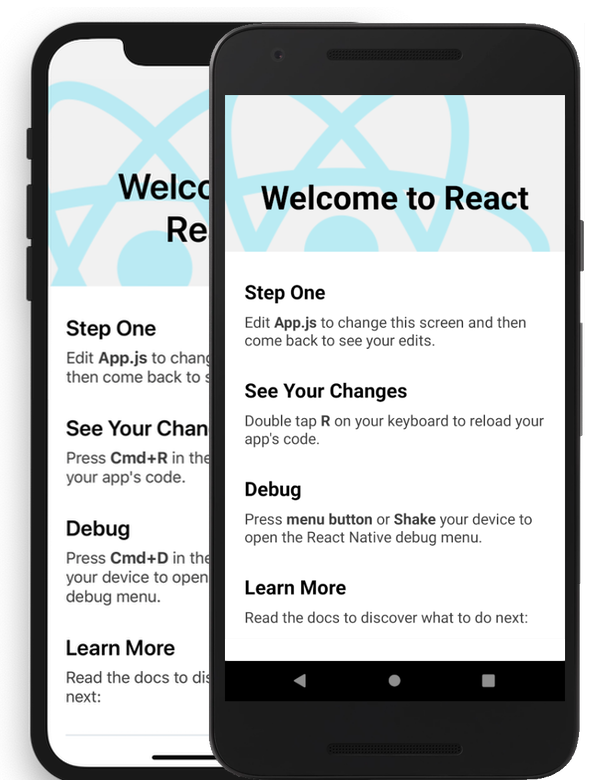
Running the React-Native-App on your machine is possible by using the React-Native CLI: react-native run-ios or by running the script with yarn: yarn ios:app.
It will starts the iOS-Simulator and will show the default "Welcome to React"-App:
The idea on the goal of this project was to build and ship a React-Native-App with Fastlane on GitHub-Actions and therefor using GitHub as a CI.
You can see the result in the Actions-panel of this repository at GitHub 👉https://github.com/tscharke/fastlaneInActions/actions
All magic to build and ship the React-Native-App with GitHub-Actions are exist in the Workflows yml-file .github/workflows/ci.yml and in the Fastfile.
An intruduction what GitHub-Actions are and how these can be used you find very well explained in the GitHub-Actions documentation.
Short what is being done here or better whats happend in our Workflows yml-file:
- Make sure what all runs on
macOX. - Install
node(for this we use the predefined Action actions/setup-node). - Checkout the current repository.
- Install all dependencies (
yarn install). - Run all test (
yarn test). - Run
fastlaneto build and ship our React-Native-App (yarn ios:buildAndShip).
If you wonder from where the fastlane comes? GithHub-Actions directly provided a fastlane for use (thanks to Jens N. for this tip 🙏). So it's not necessary to install ruby nor gems.
The Fastfile itself…
- Manage the certificates.
- Install all
pods. - Increments the build number.
- Builds the app.
- Ships the app.
- Push all changes (which were created by adjusting the build number) back to the repository.
Feel free to clone this repository or simple copy the Workflows YML-File .github/workflows/ci.yml and the Fastfile and Matchfile from the [./fastlane]-folder (./fastlane).
As you can see - inside the Workflows YML-File - that we're sharing following environment-variables to the CI-System:
| Name | Value | Description |
|---|---|---|
| APP_IDENTIFIER | de.dermeer.van.fastlaneInActions |
|
| URL_TO_FASTLANE_CERTIFICATES_REPO | SECRET | The https-url (with token) to your personal and private certificate repository |
| MATCH_PASSWORD | SECRET | Password of your certificate repository |
| CI | true | |
| CI_KEYCHAIN_NAME | CI_KEYCHAIN |
|
| CI_KEYCHAIN_PASSWORD | SECRET | Password for the internal used keychain. You may bet on any value you like |
| APPLE_ID | SECRET | Your personal Apple-ID |
| APPLE_TEAM_ID | SECRET | Your personal Apple-Team-ID |
| APPLE_APP_ID | SECRET | The unique created ID of your Fastlane in Actions-App. You can find this id at Apples's Appstore-Connect inside the section: My Apps -> Fastlane in Actions-App -> App Store -> App information -> Apple-ID |
| FASTLANE_APPLE_APPLICATION_SPECIFIC_PASSWORD | SECRET | Your Application-Sepcific-Password |
| GIT_BRANCH_NAME | ${{ github.ref }} |
Sets automaticly the current branch (e.g. master) |
What is it with the SECRET marke values?
This are values you never share public and they're needed on your repository too. So please provide this environment-variables as GitHub-Secrets on your own repository.