![]()
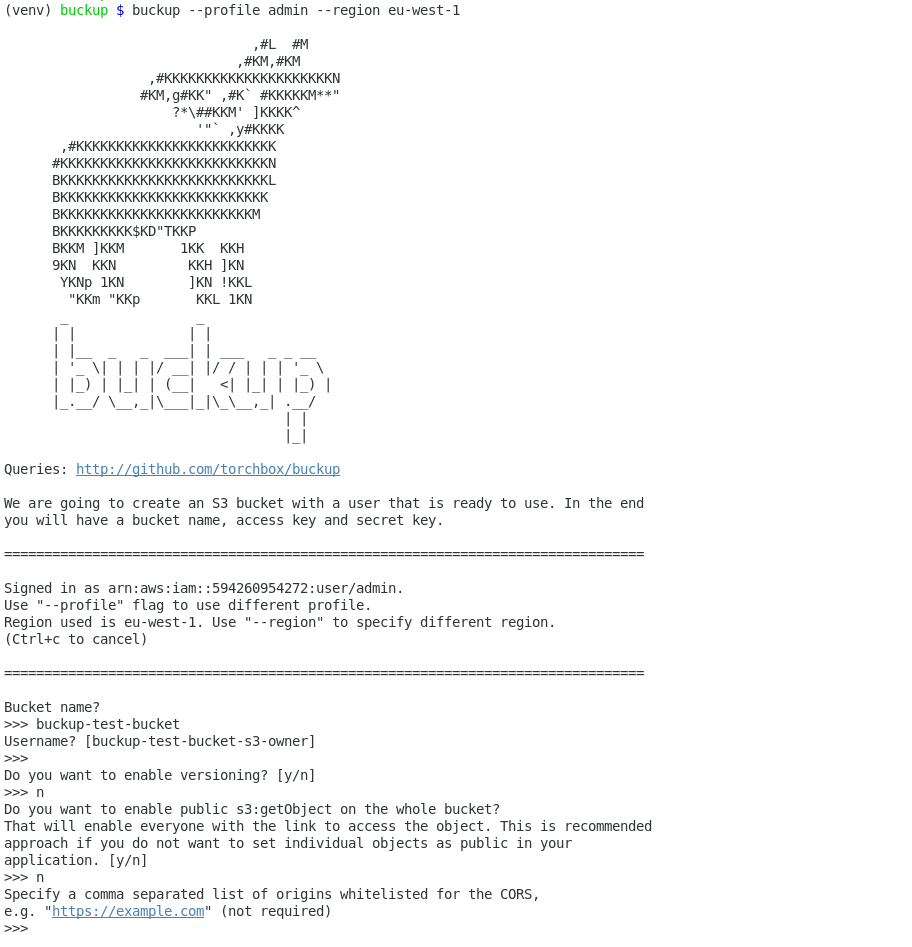
Create S3 bucket, policy and user with one command. After creation it is ready to use on your project.
- Create bucket
- Enable versioning
- Set CORS
- Create user and generate access key pair and give it permissions to the bucket.
- Set policy to enable s3:GetObject permission on every object in your bucket to the public.
- Python 3
- boto3
python3 -m pip install buckupBuckup can be found on AUR.
cd /tmp
git clone https://aur.archlinux.org/buckup.git
cd buckup
makepkg -siBuckup can be installed from Torchbox's Homebrew tap.
brew tap torchbox/tap
brew install buckupYou can easily install buckup inside a virtual environment and work on it there, e.g.
git clone git@github.com:torchbox/buckup.git
cd buckup
python3 -m venv venv
source venv/bin/activate
pip install -e .
buckupFirst you need an AWS account. You need programmatic access key to use it with buckup.
- If you have AWS CLI installed, you can save your credentials with aws configure; or
- you can set
AWS_ACCESS_KEY_IDandAWS_SECRET_ACCESS_KEYenvironment variable containing your credentials.
Read boto3 documentation for more detail.
- If you want to restrict your access only to essential credentials to use buckup, please set them to:
iam:ListAccountAliases(not required to use)s3:PutBucketPolicys3:CreateBucketiam:GetUseriam:CreateUsers3:PutBucketCORSs3:PutBucketVersioningiam:CreateAccessKey
- After you set that up, you can type
buckupand that should open the prompt.- If you want to specify other than the default region, please use
--regionflag withbuckup, e.g.buckup --region eu-west-2.
- If you want to specify other than the default region, please use
- After you answer all the questions you should obtain your bucket details that are ready to use in your application.