This repository contains a set of computer science taster coding exercises for colour filtering from a live video image, including the movie special effect wizard style invisibility cloaking via a technique known as chroma keying. It is designed to give you a starter experience in Python coding and real-time image manipulation.
![]()
Four quick steps to get you started:
- Ensure the computer is booted into Linux
- Login with the provided username and password
- Start Visual Studio Code (Menu: Applications > Programming > Visual Studio Code)

- Within Visual Studio Code select menu item: File > New Text File
- Click the blue "Select a language" and start to type python, then select/click the Python option that appears (as shown above)
- If "Python" is not offered as a choice, press Ctrl+Shift+X and then search for "Python" and press install
- It may then say "Do you want to install the recommended extensions for Python?" (from Marketplace or similar)
- Select the first option from the list on the left. Click blue "Install" text and wait ~1 minute whilst everything is set up for you
- Click the blue "Select a language" and start to type python, then select/click the Python option that appears (as shown above)

You are now ready to start coding - make sure you have all the supporting materials to hand, and go to Task 1
[ All supplied if you are doing this as a visitor to Computer Science at Durham University ]
- a Linux PC with OpenCV and Visual Studio Code installed
- 1 x USB webcam (that works under Linux with the UVC driver)
- 1 x green covered chroma keying material
Once you have completed the Getting Started steps:
-
copy and paste the code from this example capture_camera.py into your Visual Studio Code window
-
save this file as
main.pyby selecting menu item: File > Save As... (then entering filename asmain.py)-
if you are working on a shared account (i.e. as a visitor to Computer Science at Durham University), first create a new directory (i.e. folder, using the folder+ icon on the right hand side, see below) using your name and save the file in there as
main.pyin that directory (i.e.yourfirstname-initial/main.pyor similar) to avoid file conflicts with other users.
-
-
[ make sure your usb webcam is connected to your PC ]
-
click "Run > Run Without Debugging"


- you should see a window with an image captured from the camera displayed - [ you can exit the program by pressing
x].
You should now see a live image from your webcam, if not and you get an error, try plugging/re-plugging the USB webcam a couple of times and re-run the program (last step above).
You may now also wish to try the following:
- re-orienting the image if it is upside down or back to front (left-right): find the function
cv2.flip(image,-1)in the code and uncomment it. The number in the brackets controls what sort of flip is done. Try changing it to 0 or 1, to get a diffent orientation for your image. - adding blurring to the image to remove image noise: find the line containing
cv2.GaussianBlur(...)in the code and uncomment it. The specified filter sizes, (15,15), which are known as parameters to the blurring function control how much blurring is performed in each of the horizontal (x-axis) and vertical (y-axis) directions in the image: you can try varying them for differing effects and re-running your code but the parameters you use must be positive, odd numbers.
Advanced: you may wish to try this example blur_video.py which also has graphical user interface (GUI) sliders to control the blurring on the live image. To try it, copy and paste it over your earlier code in the Visual Studio Code window, save it (File > Save), and then run it (click "Run > Run Without Debugging") as before - [ you can exit the program by pressing x ]
By varying the filter sizes you can also observe the impact on the processing time required to blur the image in the test in the top left of the image display (more blurring => more computation required => more time required to process each image => slower processing). You may wish to also add in the earlier image flipping cv2.flip(....) or other filtering effects from the OpenCV library.
Computers normally store an image as a giant matrix with three values for each pixel: the intensity of Red, Green and Blue (RGB values) that combine to make the colour of a pixel. RGB values are a simple but not very robust method of identifying an object by colour.
However, you may want to specify the colour in a way that isn't affected by how light or dark the lighting on an object is, or how washed out or exposed the image is. This can be tricky when specifying ranges of RGB values in order to identify image regions (diagram below, left). However, it can be done by looking at the Hue (primary colour/wavelength) of the object by transforming the RGB image to a Hue, Saturation and Value (HSV) representation (diagram below, right).

- copy and paste the code from this example hsv_colour.py into your Visual Studio Code window (replacing all earlier code) again save (File > Save)
- hold up the (green) chroma keying material and run it (click "Run > Run Without Debugging")
- you should see a grey image displayed but with the green material colour retained (in green), as per the example below
- [ you can exit the program by pressing 'x' ]

If it doesn't work for you, you may need to adjust the range settings for the Hue value (first value of array) to get the correct range of green Hue, in the code lines:
lower_green = np.array([55, 50, 50])
upper_green = np.array([95, 255, 255])
The function cv2.cvtColor(image, cv2.COLOR_BGR2HSV) converts the image representation from three RGB values for each pixel, to a Hue, Saturation and Value value for each pixel. Hue gives the essential colour (approx. equivalent to the wavelength), Saturation gives the intensity of that colour and Value gives the overall brightness of the colour at that pixel.
By specifying a tight range of Hue values, and a very wide range of Saturation and Value values, we can identify all regions that contain objects of a given colour in the image, regardless of lighting conditions. The print statement in the program will output the HSV values of the centre pixel of the image to the terminal.
The variables lower_green and upper_green in the program are used to specify Hue between 55 and 95, which is roughly the green of the chroma keying material, and Saturation and Value values between 50 and 255 (i.e. ignore low intensity, poor brightness areas but keep everything else up to a strong and bright green colour).
The function cv2.inRange(...) is used to create a mask - an image of 0s and 255s with 255s where the corresponding pixel was sufficiently green, and a 0 elsewhere. We then also create an opposite mask (mask_inverted), by swapping 0s and 255s. 0 and 255 are used, because when interpreted as a greyscale image, this gives a black and white (binary) mask. The masks are used to make two images - one where we convert the original image to greyscale, then do a bit-wise logical AND (bitwise_and()) with the inverted mask to keep only pixels that were not green, and another from a bit-wise logical AND of the original image and the mask to keep only the green pixels. Combining these gives an image where green parts are kept but everything else is greyscale.
In order to make this approach easier to use we can add a point and click colour selector via the use of a mouse callback function, and combine this with our earlier live camera video display code.
To try this out:
- copy and paste the code from this example hsv_colour_select.py into your Visual Studio Code window (replacing all earlier code) again save (File > Save)
- hold up the (green) chroma keying material and run it (click "Run > Run Without Debugging")
- you should initially see a live colour image from the camera; left click on any object to select its Hue
- you should now see a grey image displayed but with the Hue colour that you selected retained (for example just the green of the chroma keying material)
- [ you can exit the program by pressing
x]
You may wish to look at the mouse callback function (see mouse_callback() in the code), and uncomment the functionality for resetting the HSV ranges on right mouse click.
Advanced: If you want to understand more about how images are constructed using RGB or HSV colour representations you may find these corresponding rgb_viewer.py and hsv_viewer.py interesting. Run them as before through Visual Studio Code, with the webcam attached. You can note how objects of certain colours (e.g. green) appear brighter in the corresponding colour channels of the RGB channels (yet appear in all 3), and similarly vibrant colours have strong responses in the Hue and Saturation channels of HSV.

From all of the image processing functionality we have built up so far, we can now build movie special effect style invisibility cloaking in software using a technique known as chroma keying.
To try this out:
- copy and paste the code from this example invisibility_cloak.py into your Visual Studio Code window (replacing all earlier code) again save (File > Save)
- point your webcam to a clear(ish) area of the room with no people or (green) chroma keying material in view; and run the code (click "Run > Run Without Debugging")
- [ a window of the current background image captured by the code should be displayed in one window, and the live image view in another ]
- you may need to resize the live image view window with the mouse ( you can also turn fullscreen on/off by pressing
f) - bring the (green) chroma keying material into view and left click on it to select its Hue as before
- [ you can exit the program by pressing
x]
You should now see objects that are covered by the chroma keying material are cloaked using information background from the captured scene background image.

You can reset the background image by pressing the space key; you can right click to reset the Hue selection
When the program starts up, it stores an initial image of the clear area of the room with no people or (green) chroma keying material in view. This is our background image.
Next, we use our earlier approach to isolate the image region with a green Hue, as a mask - an image of 0s and 255s with 255s where the corresponding pixel was sufficiently green, and a 0 elsewhere. We call this the foreground mask as it contains the camera image region that we wish to make invisible. By inverting our foreground mask using a bit-wise logical NOT operation (bitwise_not()), we can obtain a background mask that conversely contains the camera image region that we do not wish to make invisible.
Now, by performing a bit-wise logical AND operation between our foreground mask and our original background image we can isolate the pixels from the background image that need to be used to cloak the image region with a green Hue (cloaking_fill). Similarly, by performing a bit-wise logical AND operation between the camera image and the background mask we can identify the region of camera image that does not need to be cloaked (current_background). By combining the output of these two AND operations, we can obtain our cloaked image via the use of a bit-wise logical OR operation (bitwise_or()).
As bit-wise logical operations such as NOT, AND and OR can be performed on large matrices of binary data, such as images, at high-speed by a modern CPU we can obtain real-time image cloaking.
Details: In order to clean up the foreground mask region, we perform a couple of morphological operations on the binary mask image to clean up the boundary of the foreground region and remove small holes in it due to imperfections in the selection of the green Hue pixels of the material. You can adjust the parameters of these operations in the code lines cv2.morphologyEx(....) by changing the number of iterations used both for morphological closing (see cv2.morphologyEx(..., cv2.MORPH_OPEN, ...)) and dilation (see cv2.morphologyEx(..., cv2.MORPH_OPEN, ...)). You can read more about morphological image operations here.
In order to improve our cloaking approach, we are now going to introduce a couple of common concepts from computational geometry and computer graphics:
-
convex hull: at the moment the cloaked region is often broken up by internal areas where the isolation of Hue colour is poor or where the chroma keying material is not fully covering the object. One way around this is to automatically extract the exterior contour around all of the foreground mask pixels, and then fill this entire region with 255s to update the mask. In computationally geometry, we call this the convex hull of the set of pixels that make up the original foreground mask.
-
feathered blending: at the moment, the use of logical OR to combine our cloaked foreground region into our live camera image results in a range of edge artefacts. A better way to do this is to take the previous foreground mask and slightly blur it so as to create feathered edges. We can then numerically invert this feathered foreground mask to provide a feathered background mask . These feathered masks provide alpha-weights to allow us to combine the image regions via a weighted summation to give the final output via a computer graphics technique known as alpha-blending.
To try out these improvements, try the following code example as before - invisibility_cloak_improved.py. Again, you may need to resize the live image view window with the mouse ( + you can also turn fullscreen on/off by pressing f)
Again as arithmetic operations such as addition, subtraction and multiplication be performed on large matrices of binary data, such as images, at high-speed by a modern CPU we can obtain real-time image cloaking.
To explore how these improvements work, edit the code to display the foreground mask either before or after these steps have been applied (hint: look at the existing cv2.imshow(...) lines).

In this final part of the exercise, we invert the idea behind the invisibility cloak to provide ourselves with a virtual background in the same way that chroma keying is used as a special effect in the film industry (or today how some of the background changing features in video conferencing tools such as Zoom and MS Teams work).
To try this out:
- copy and paste the code from this example chroma_keying_background.py into your Visual Studio Code window (replacing all earlier code) again save (File > Save)
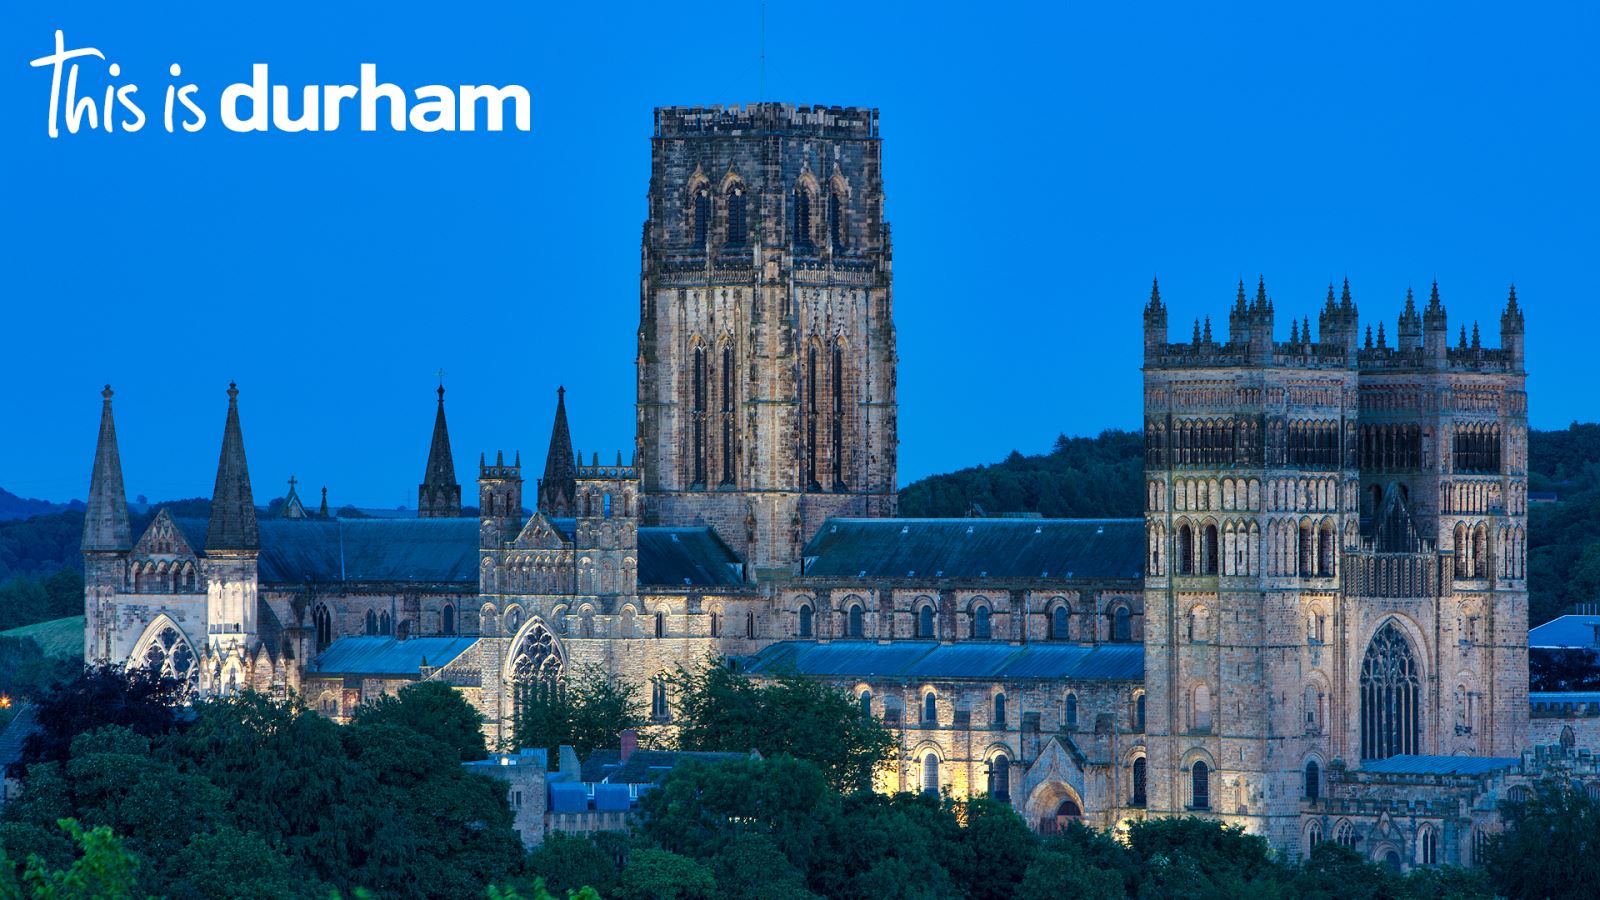
- download a suitable background image from somewhere (e.g. free images from unsplash or perhaps of Durham Cathedral) and save it as background.jpg (in the home directory, or wherever your main.py is located)
- run the code (click "Run > Run Without Debugging")
- you may need to resize the live image view window with the mouse ( you can also turn fullscreen on/off by pressing
f) - try to get as much of the scene behind you covered by the (green) chroma keying material so that it provides you with a green backdrop.
- left click somewhere on your green backdrop to select its Hue as before
You should now see your own chroma keyed backdrop where the (green) chroma keying material has been replaced with the image of your choice.
We are basically inverting the concept of the invisibility mask such that we construct a background mask from the (green) chroma keying material which is our image backdrop and then a foreground mask as a bit-wise logical NOT operation. In addition, we adapt our earlier contour extraction approach to extract the largest foreground object in the image. We then use this to update our foreground mask.
We then use these masks, again with the use of feathering for alpha-blending to produce a final output of the non-green foreground objects (e.g. people) composited against the background from the stored background image.
If you have finished all of this you may find the Extra Task on Invisibility Using Machine Learning interesting.
Instructor Notes: tested with OpenCV 4.5.x. (03/2022) on Durham University LDS (Debian Linux) + OpenSuSE Tumbleweed (OpenCV 4.5.x - 4.8.x). As an intro to the session, a suitable video to show the group and intro the use of chroma keying "in the movies" is https://www.youtube.com/watch?v=D3Cxm_HIiMU.
Developer Notes: to add - additional versions with sliders controls for morphological operations, Hue range + any other parameters ; possible future enhancements - multi-band blending, exposure compensation, poisson image editing.
To setup on a new (non DU LDS) Linux system use:
python3 -m pip install -r requirements.txt
Acknowledgements: based on a prior set of exercises by Magnus Bordewich, prior image processing teaching examples by Toby Breckon and the inspirational blog post of Puranjay Kwatra.