
The Nuxt 2 module you need to interact with Storyblok API and enable the Real-time Visual Editing Experience.


⚠️ Storyblok Nuxt 2 SDK is reaching its End of Life on December 31st 2024. The repository for the latest version of Nuxt is storyblok-nuxt.Nuxt 2 EOL will be on June 30th, 2024. If you are starting a new project using Nuxt and Storyblok, please begin with the latest version of Nuxt (3.x) and Storyblok Nuxt SDK.
If you are in a hurry, check out our official live demo on Stackblitz.
| Version to install | Support |
|---|---|
Latest (from v2) @storyblok/nuxt-2 |
Browsers and Node versions with no Fetch API support |
Version 1 @storyblok/nuxt-2@1 |
Internet Explorer support |
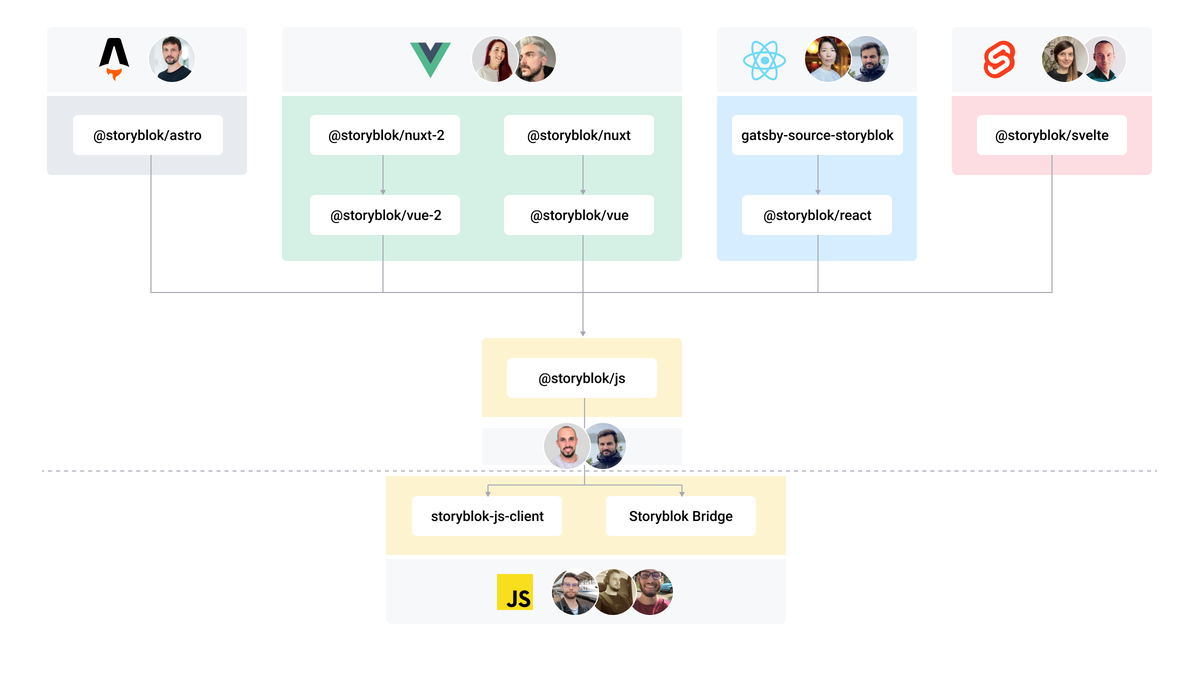
Note: This module is for Nuxt 2. Check out @storyblok/nuxt for Nuxt 3.
If you are first-time user of the Storyblok, read the Getting Started guide to get a project ready in less than 5 minutes.
Install @storyblok/nuxt-2:
npm install @storyblok/nuxt-2
# yarn add @storyblok/nuxt-2
Initialize the module by adding it to buildModules section of nuxt.config.js and replace the accessToken with API token from Storyblok space:
{
  buildModules: [
    // ...
    ["@storyblok/nuxt-2/module", { accessToken: "<your-access-token>" }],
  ];
}
The accessToken can also be set in the publicRuntimeConfig. You can then override it at runtime with an environment variable. The value set in the publicRuntimeConfig will take priority if both are set.
{
  publicRuntimeConfig: {
    storyblok: {
      accessToken: process.env.STORYBLOK_ACCESS_TOKEN;
    }
  }
}
⚠️ This SDK uses the Fetch API under the hood. As this package only runs in engines using node <17.0.0 and it doesn't support it, we configured for you a ponyfill fetch-ponyfill. More info on storyblok-js-client docs.
When you initialize the module, you can pass all @storyblok/vue-2 options plus a useApiClient and enableSudoMode option.
// Defaults
[
  "@storyblok/nuxt-2/module",
  {
    accessToken: "<your-access-token>",
    bridge: true,
    apiOptions: {
      // storyblok-js-client options
      // cache: { type: "memory" },
      // region: 'us'
    },
    useApiClient: true,
  },
];
Define your own plugin
While the recommended approach covers most cases, there are specific instances where you may need to utilize the enableSudoMode option and disable it, allowing you to incorporate your own plugin.
// nuxt.config.js
plugins: [
  '~/plugins/storyblok.js',
],
buildModules: [
  [
    "@storyblok/nuxt-2/module",
    {
      accessToken: "<your-access-token>",
      enableSudoMode: true
    },
  ]
]
To include additional functionalities in the SDK's apiOptions, such as custom cache methods, you can implement the following solution:
// plugins/storyblok.js
import Vue from "vue";
import {
  StoryblokVue,
  useStoryblokApi,
  useStoryblokBridge,
  apiPlugin,
} from "@storyblok/nuxt-2";

import fetchPonyfill from "fetch-ponyfill";
import { AbortController } from "node-abort-controller";

const { fetch, Request, Response, Headers } = fetchPonyfill();

if (global && !global.fetch) {
  global.fetch = fetch;
  global.Request = Request;
  global.Response = Response;
  global.Headers = Headers;
  global.AbortController = AbortController;
}

export default (ctx, inject) => {
  Vue.use(StoryblokVue, {
    accessToken: "OurklwV5XsDJTIE1NJaD2wtt",
    bridge: true,
    apiOptions: {
      cache: {
        // Add your own methods
        clear: "manual",
        type: "custom",
        custom: {
          flush() {
            return "all right";
          },
        },
      },
    },
    use: [apiPlugin],
  });
  const api = useStoryblokApi();
  inject("storyapi", api);
  inject("storybridge", useStoryblokBridge);
};Possible values:
eu(default): For spaces created in the EUus: For spaces created in the USap: For spaces created in Australiaca: For spaces created in Canadacn: For spaces created in China
Full example for a space created in the US:
[
  "@storyblok/nuxt-2/module",
  {
    accessToken: "<your-access-token>",
    bridge: true,
    apiOptions: {
      region: "us",
    },
    useApiClient: true,
  },
];
Note: For spaces created in the United States, Australia, Canada or China, the
regionparameter must be specified.
To link your Vue components to their equivalent you created in Storyblok:
-
First, you need to load them globally. If you use Nuxt 2.13+, you can just place them on the
~/components/storyblokdirectory, otherwise you can load them globally (for example, by using a Nuxt plugin). -
For each component, use the
v-editabledirective on its root element, passing theblokproperty that they receive:
<div v-editable="blok" / >- Finally, use
<StoryblokComponent>which available globally in the Nuxt app:
<StoryblokComponent blok="blok" />The
blokis the actual blok data coming from Storblok's Content Delivery API.
You don't need to install @nuxtjs/composition-api if you're in the latest versions of Nuxt 2, as it comes with Vue 2.7 with Composition API support out of the box.
The simplest way is by using the useStoryblok one-liner composable. Where you need to pass as first parameter the slug, while the second and third parameters, apiOptions and bridgeOptions respectively, are optional:
<script setup>
  import { useStoryblok } from "@storyblok/nuxt-2";
  const { story, fetchState } = useStoryblok(
    "vue",
    { version: "draft", resolve_relations: "Article.author" }, // API Options
    { resolveRelations: ["Article.author"], resolveLinks: "url" }, // Bridge Options
  );
</script>

<template>
  <StoryblokComponent v-if="story" :blok="story.content" />
</template>
Check the available apiOptions in our API docs and bridgeOptions passed to the Storyblok Bridge.
Use Nuxt 2 with the Composition API plugin installed: @nuxtjs/composition-api.
The simplest way is by using the useStoryblok one-liner composable, which uses the useFetch from @nuxtjs/composition-api under the hood, and same options as before:
<script setup>
  import { useStoryblok } from "@storyblok/nuxt-2";
  const { story, fetchState } = useStoryblok(
    "vue",
    { version: "draft", resolve_relations: "Article.author" }, // API Options
    { resolveRelations: ["Article.author"], resolveLinks: "url" }, // Bridge Options
  );
</script>

<template>
  <StoryblokComponent v-if="story" :blok="story.content" />
</template>
Which is the short-hand equivalent to using useStoryblokApi and useStoryblokBridge functions separately:
<script setup>
  import { onMounted, ref, useFetch } from "@nuxtjs/composition-api";
  import { useStoryblokBridge, useStoryblokApi } from "@storyblok/nuxt-2";

  const story = ref(null);

  const { fetch } = useFetch(async () => {
    const storyblokApi = useStoryblokApi();
    const { data } = await storyblokApi.get(
      `cdn/stories/vue/test`,
      { version: "draft", resolve_relations: "Article.author" }, // API Options
    );
    story.value = data.story;
  });
  fetch();

  onMounted(async () => {
    if (story.value && story.value.id)
      useStoryblokBridge(
        story.value.id,
        (evStory) => (story.value = evStory),
        { resolveRelations: ["Article.author"], resolveLinks: "url" }, // Bridge Options
      );
  });
</script>

<template>
  <StoryblokComponent v-if="story" :blok="story.content" />
</template>You can still use the useStoryblokApi and useStoryblokBridge as follows:
<script>
  import { useStoryblokBridge, useStoryblokApi } from "@storyblok/nuxt-2";

  export default {
    asyncData: async ({ app }) => {
      const storyblokApi = useStoryblokApi();
      const { data } = await storyblokApi.get("cdn/stories/vue", {
        version: "draft",
      });
      // OR: const { data } = await app.$storyapi.get("cdn/stories/vue", { version: "draft" });

      return { story: data.story };
    },
    mounted() {
      useStoryblokBridge(this.story.id, (newStory) => (this.story = newStory));
    },
  };
</script>

<template>
  <StoryblokComponent v-if="story" :blok="story.content" />
</template>
As you see in the comment, you can also use
app.$storyapiif that's more comfortable for you. It's injected into Nuxt context and available in the components instance viathis.$storyapias well.
You can easily render rich text by using the renderRichText function that comes with @storyblok/nuxt-2 and a Vue computed property:
<template>
  <div v-html="articleContent"></div>
</template>

<script setup>
  import { computed } from "@nuxtjs/composition-api";
  import { renderRichText } from "@storyblok/nuxt-2";

  const articleContent = computed(() => renderRichText(blok.articleContent));
</script>
You can also set a custom Schema and component resolver by passing the options as the second parameter of the renderRichText function:
<script setup>
  import { computed } from "vue";
  import { renderRichText, RichTextSchema } from "@storyblok/nuxt-2";
  import cloneDeep from "clone-deep";

  const props = defineProps({ blok: Object });

  const mySchema = cloneDeep(RichTextSchema); // you can make a copy of the default RichTextSchema
  // ... and edit the nodes and marks, or add your own.
  // Check the base RichTextSchema source here https://github.com/storyblok/storyblok-js-client/blob/v4/source/schema.js

  const articleContent = computed(() =>
    renderRichText(props.blok.articleContent, {
      schema: mySchema,
      resolver: (component, blok) => {
        switch (component) {
          case "my-custom-component":
            return `<div class="my-component-class">${blok.text}</div>`;
          default:
            return "Resolver not defined";
        }
      },
    }),
  );
</script>Check the available apiOptions in our API story request docs and bridgeOptions (passed to the Storyblok Bridge).
Returns the instance of the storyblok-js-client.
Use this one-line function to cover the most common use case: updating the story when any kind of change happens on Storyblok Visual Editor.
Equivalent to the client that useStoryblokApi returns, but accessible in the Nuxt context and components instance.
- Live Demo on Stackblitz
- Nuxt.js Hub: Learn how to develop your own Nuxt.js applications that use Storyblok APIs to retrieve and manage content.
- Storyblok & Nuxt.js on GitHub: Check all of our Nuxt.js open source repos.
- Storyblok CLI: A simple CLI for scaffolding Storyblok projects and fieldtypes.
- Bugs or Feature Requests? Submit an issue;
- Do you have questions about Storyblok or you need help? Join our Discord Community.
Please see our contributing guidelines and our code of conduct. This project use semantic-release for generate new versions by using commit messages and we use the Angular Convention to naming the commits. Check this question about it in semantic-release FAQ.