This guide walks you through the process of configuring a web application form to support validation.
You will build a simple Spring MVC application that takes user input and checks the input by using standard validation annotations. You will also see how to display the error message on the screen so that the user can re-enter input to make it be valid.
You can use this pre-initialized project and click Generate to download a ZIP file. This project is configured to fit the examples in this tutorial.
To manually initialize the project:
-
Navigate to https://start.spring.io. This service pulls in all the dependencies you need for an application and does most of the setup for you.
-
Choose either Gradle or Maven and the language you want to use. This guide assumes that you chose Java.
-
Click Dependencies and select Spring Web, Thymeleaf, and Validation.
-
Click Generate.
-
Download the resulting ZIP file, which is an archive of a web application that is configured with your choices.
|
Note
|
If your IDE has the Spring Initializr integration, you can complete this process from your IDE. |
|
Note
|
You can also fork the project from Github and open it in your IDE or other editor. |
The application involves validating a user’s name and age, so you first need to create a
class that backs the form used to create a person. The following listing (from
src/main/java/com/example/validatingforminput/PersonForm.java) shows how to do so:
link:complete/src/main/java/com/example/validatingforminput/PersonForm.java[role=include]The PersonForm class has two attributes: name and age. It is flagged with a few
standard validation annotations:
-
@Size(min=2, max=30): Allows names between 2 and 30 characters long. -
@NotNull: Does not allow a null value, which is what Spring MVC generates if the entry is empty. -
@Min(18): Does not allow the age to be less than 18.
In addition to that, you can also see getters and setters for name and age and a
convenient toString() method.
Now that you have defined a form-backing object, it is time to create a simple web
controller. The following listing (from
src/main/java/com/example/validatingforminput/WebController.java) shows how to do so:
link:complete/src/main/java/com/example/validatingforminput/WebController.java[role=include]This controller has a GET method and a POST method. Both methods are mapped to /.
The showForm method returns the form template. It includes a PersonForm in its
method signature so that the template can associate form attributes with a PersonForm.
The checkPersonInfo method accepts two arguments:
-
A
personFormobject marked with@Validto gather the attributes filled out in the form. -
A
bindingResultobject so that you can test for and retrieve validation errors.
You can retrieve all the attributes from the form, which is bound to the PersonForm
object. In the code, you test for errors. If you encounter an error, you can send the user
back to the original form template. In that situation, all the error attributes are
displayed.
If all of the person’s attribute are valid, it redirects the browser to the final
results template.
Now build the “main” page, as the following listing (from
src/main/resources/templates/form.html) shows:
link:complete/src/main/resources/templates/form.html[role=include]The page contains a simple form, with each of its field in a separate cell in a table. The
form is geared to post to /. It is marked as being backed up by the personForm
object that you saw in the GET method in the web controller. This is known as a
“bean-backed form”. There are two fields in the PersonForm bean, and you can see that
they are tagged with th:field="*{name}" and th:field="*{age}". Next to each field is a
secondary element that is used to show any validation errors.
Finally, you have a button that submits the form. In general, if the user enters a name or
age that violates the @Valid constraints, it bounces back to this page with the error
message displayed. If a valid name and age is entered, the user is routed to the next web
page.
The following example (from src/main/resources/templates/results.html) shows the results
page:
link:complete/src/main/resources/templates/results.html[role=include]|
Note
|
In this simple example, these web pages do not have any sophisticated CSS or JavaScript. |
For this application, you are using the template language of
Thymeleaf. This
application needs more than raw HTML. The Spring Initializr created an application class
for you. The following listing (from
src/main/java/com/example/validatingforminput/ValidatingFormInputApplication.java) shows
that class:
link:complete/src/main/java/com/example/validatingforminput/ValidatingFormInputApplication.java[role=include]To activate Spring MVC, you would normally add @EnableWebMvc to the Application class.
But Spring Boot’s @SpringBootApplication already adds this annotation when it detects
spring-webmvc on your classpath. This same annotation lets it find the annotated
@Controller class and its methods.
The Thymeleaf configuration is also taken care of by @SpringBootApplication. By default,
templates are located in the classpath under templates/ and are resolved as views by
stripping the '.html' suffix off the file name. (Thymeleaf settings can be changed and
overridden in a variety of ways, depending on what you need to achieve, but the details
are not relevant to this guide.)
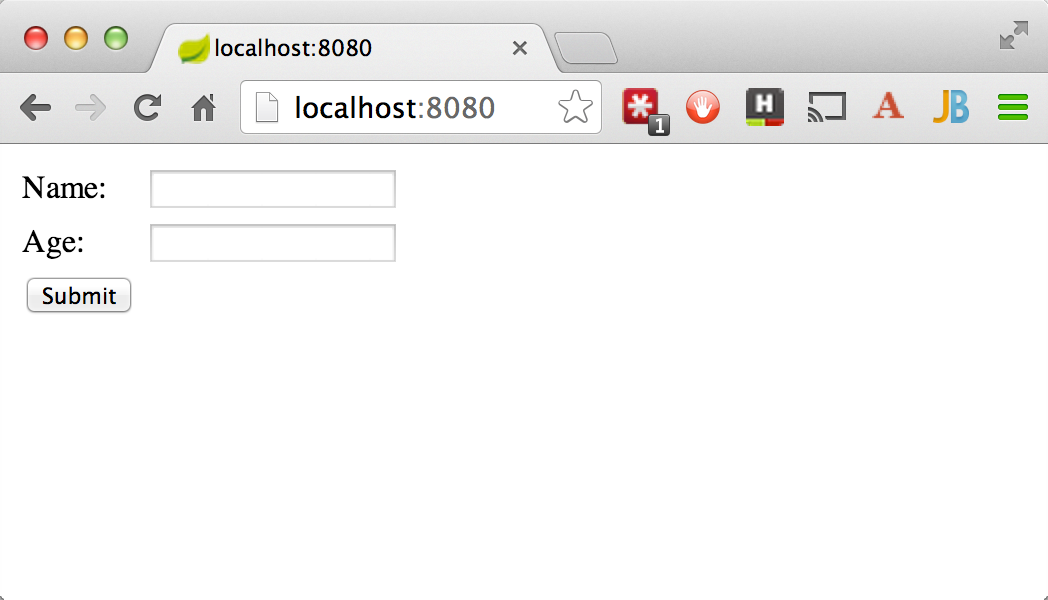
The application should be up and running within a few seconds.
If you visit http://localhost:8080/, you should see something like the following image:
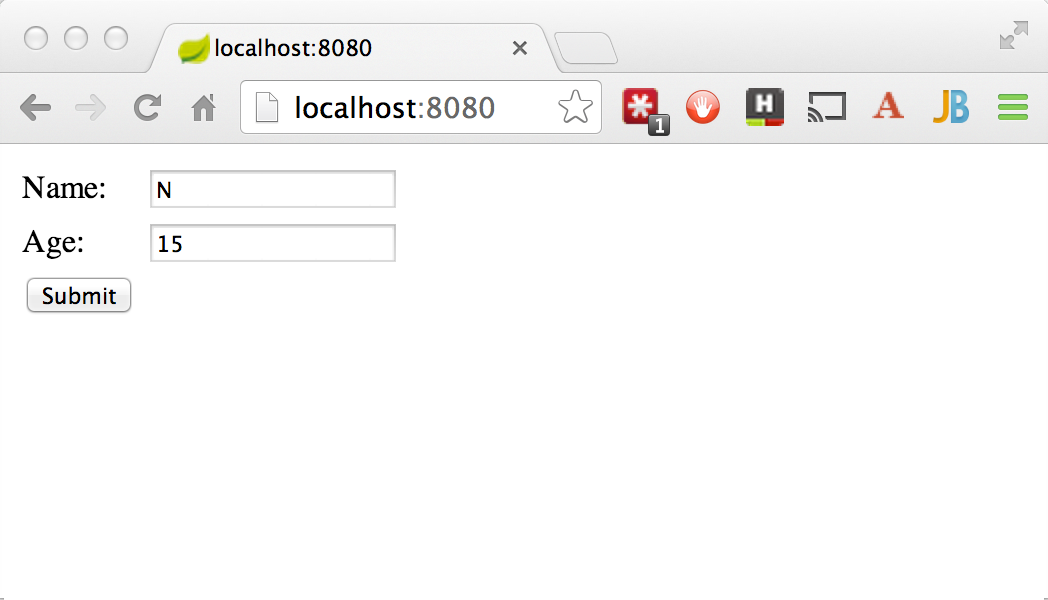
The following pair of images show what happens if you enter N for the name and 15 for
your age and click on Submit:
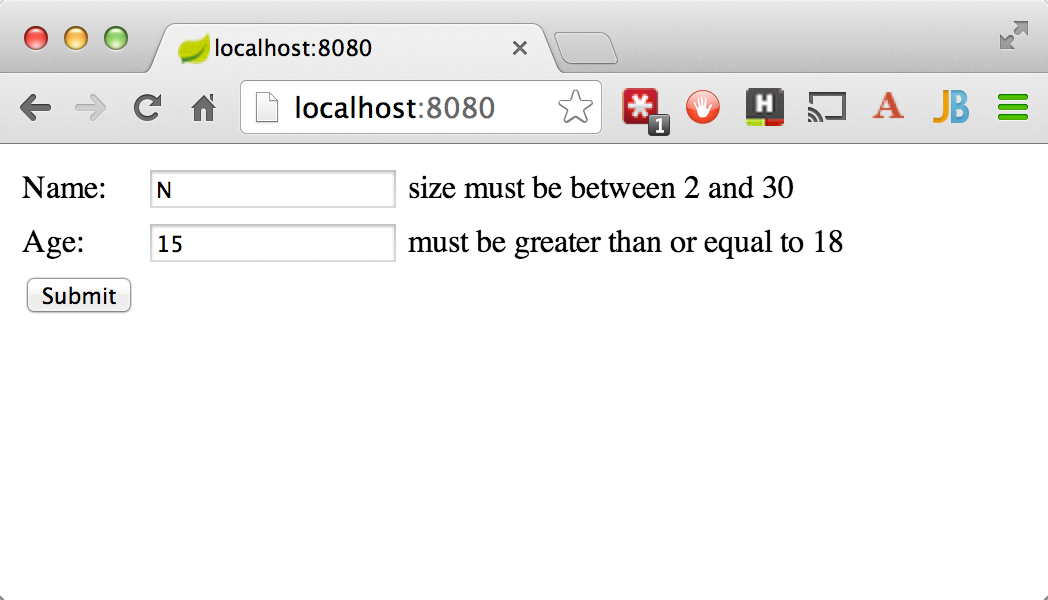
The preceding images show that, because the values violated the constraints in the
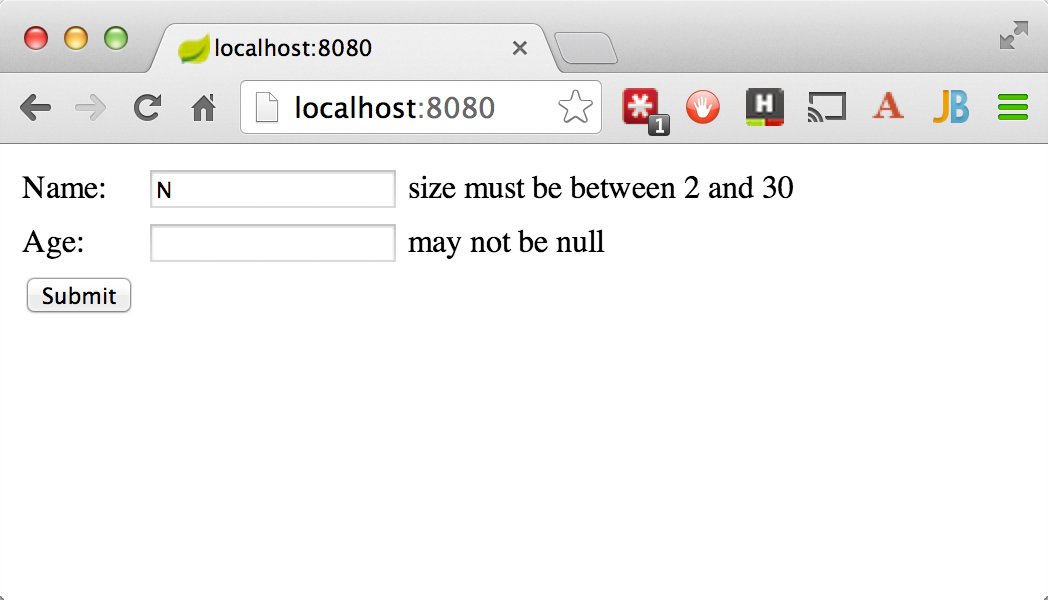
PersonForm class, you get bounced back to the “main” page. Note that, if you click on
Submit with nothing in the entry box, you get a different error, as the following image
shows:
If you enter a valid name and age, you end up on the results page, as the following
image shows:
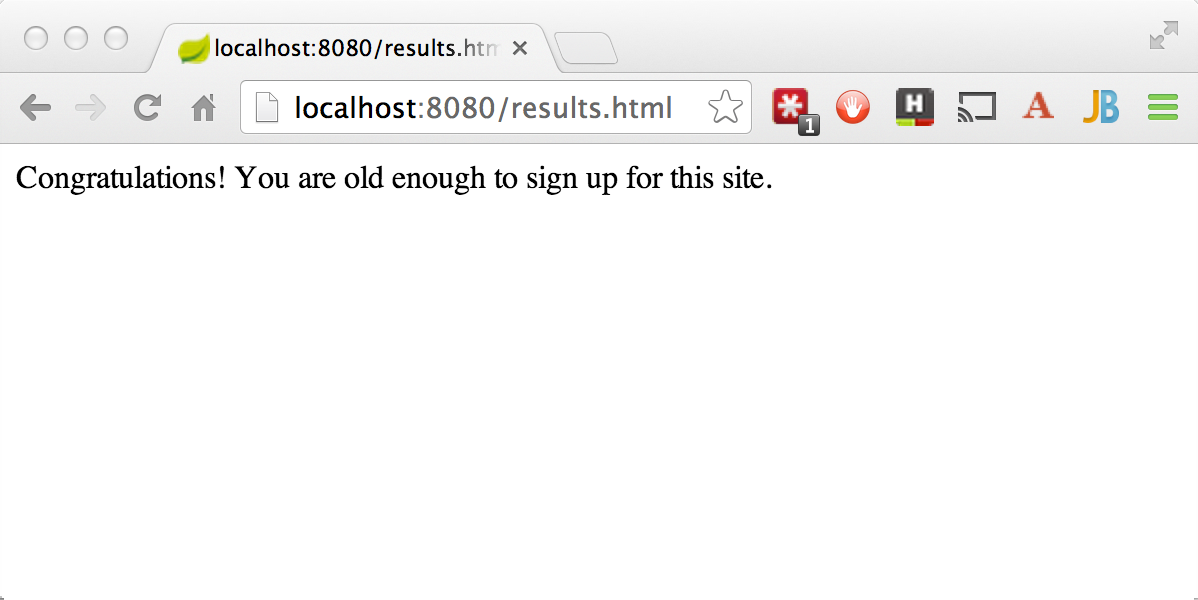
Congratulations! You have coded a simple web application with validation built into a domain object. This way, you can ensure that the data meets certain criteria and that the user correctly inputs the data.