Amplify Grocery List project is the sample application that is created for teaching people about Amplify Flutter Developer Preview libraries over this blog post.
This section explains how you can run the project.
- Flutter 3.0 or higher with proper Flutter setup
- An AWS Account
- Amplify CLI setup
- Check out the guide I created for you for setting it up.
Run amplify init to initialize the Amplify in your project.
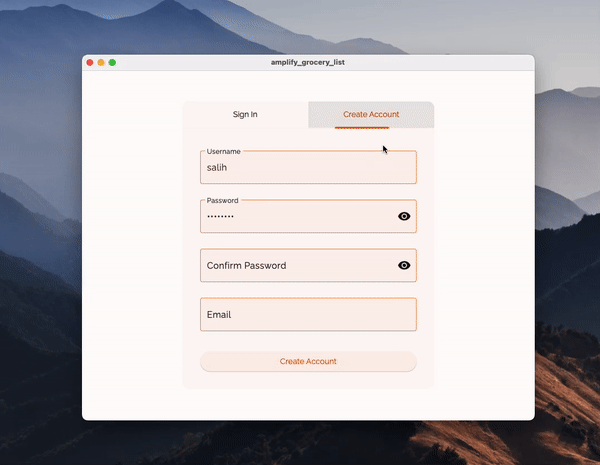
You can either define your variables or use the default values that are proposed to you in parentheses.
msalihg@ amplify_grocery_list % amplify init
Note: It is recommended to run this command from the root of your app directory
? Enter a name for the project amplifygrocerylist
The following configuration will be applied:

Project information
| Name: amplifygrocerylist
| Environment: dev
| Default editor: Visual Studio Code
| App type: flutter
| Configuration file location: ./lib/

? Initialize the project with the above configuration? Yes
Using default provider  awscloudformation
? Select the authentication method you want to use: AWS profile

For more information on AWS Profiles, see:
https://docs.aws.amazon.com/cli/latest/userguide/cli-configure-profiles.html

? Please choose the profile you want to use salihgueler-frankfurt
Adding backend environment dev to AWS Amplify app:

Deployment completed.

✔ Help improve Amplify CLI by sharing non sensitive configurations on failures (y/N) · no
Deployment state saved successfully.
✔ Initialized provider successfully.
✅ Initialized your environment successfully.

Your project has been successfully initialized and connected to the cloud!AWS Amplify has many libraries that giving access to AWS technologies to the front-end, web and mobile developers.
For Flutter the support is like the following:
Mobile, Web and Desktop on Developer Preview
- Analytics
- Authentication
- GraphQL API
- REST API
- Storage
Stable version supports all the above in addition to the below library:
- Datastore (Mobile only for now)
For adding the Amplify libraries first we will add them and push them to the cloud. You can use the default ones that are provided to you.
Run amplify add auth to add Authentication support. Follow the guide to take you through the setup:
msalihg@ amplify_grocery_list % amplify add auth
Using service: Cognito, provided by: awscloudformation

 The current configured provider is Amazon Cognito.

 Do you want to use the default authentication and security configuration? Default configuration
 Warning: you will not be able to edit these selections.
 How do you want users to be able to sign in? Username
 Do you want to configure advanced settings? No, I am done.

✅ Successfully added auth resource locallyRun amplify add api to add GraphQL API support. Follow the guide to take you through the setup:
msalihg@ amplify_grocery_list % amplify add api
? Select from one of the below mentioned services: GraphQL
? Here is the GraphQL API that we will create. Select a setting to edit or continue Authorization modes: API key (d
efault, expiration time: 7 days from now)
? Choose the default authorization type for the API Amazon Cognito User Pool
Use a Cognito user pool configured as a part of this project.
? Configure additional auth types? No
? Here is the GraphQL API that we will create. Select a setting to edit or continue Continue
? Choose a schema template: Single object with fields (e.g., “Todo” with ID, name, description)

⚠️  WARNING: Some types do not have authorization rules configured. That means all create, read, update, and delete operations are denied on these types:
	 - Todo
Learn more about "@auth" authorization rules here: https://docs.amplify.aws/cli/graphql/authorization-rules
✅ GraphQL schema compiled successfully.

✅ Successfully added resource amplifygrocerylist locally
Afterwards, go to amplify/backend/api//schema.graphql and update the file as follows:
type Grocery @model @auth(rules: [{allow: owner}]) {
  id: ID!
  groceryItems: [GroceryItem!]! @hasMany(indexName: "byGrocery", fields: ["id"])
  title: String
  fileKey: String
  finalizationDate: AWSDate
  totalAmount: Float
}

type GroceryItem @model @auth(rules: [{allow: owner}]) {
  id: ID!
  name: String!
  count: Int!
  amount: Float!
  groceryID: ID! @index(name: "byGrocery")
}
Lastly run, amplify codegen models to generate the models for the GraphQL API.
Run amplify add storage to add Amazon S3 support. Follow the guide to take you through the setup:
msalihg@bcd074760e20 amplify_grocery_list % amplify add storage
? Select from one of the below mentioned services: Content (Images, audio, video, etc.)
✔ Provide a friendly name for your resource that will be used to label this category in the project: · <resource>
✔ Provide bucket name: · <bucket-name>
✔ Who should have access: · Auth and guest users
✔ What kind of access do you want for Authenticated users? · create/update, read, delete
✔ What kind of access do you want for Guest users? · create/update, read, delete
✔ Do you want to add a Lambda Trigger for your S3 Bucket? (y/N) · no
⚠️ Auth configuration is required to allow unauthenticated users, but it is not configured properly.
✅ Successfully updated auth resource locally.
✅ Successfully added resource locallyRun amplify push --yes to push your changes to the cloud.