Blogging platform that powers my blog. Powered by razzle.
Please read their README for more info on how to customise it.
Some of the information here is from their README, but it's just enough to get you started with running the project.
Wherever you see yarn, you can use npm just as well.
# Install homebrew if needed - http://brew.sh
brew install node # Or https://nodejs.org, version 10+
git clone https://github.com/rolandleth/rolandleth.com.git
cd rolandleth.com
yarnThe easiest way to get started with PostgreSQL is by downloading Postgres.app for running the server, and PSequel for browsing and running queries.
Fire Postgres.app, which will start the server automatically, then PSequel. On the first screen, if the Database field isn't your username, you'll need to open the project at src/server/lib/db.js and change line 13 to "postgres://localhost/" + databaseName, or use a DATABASE_URL environment variable.
You can use any app, or the terminal, but I'll use PSequel as an example. Connect, go to the Query tab and create the required tables:
-- Optionally create a new schema too, to not interfere with any of your other tables.
CREATE SCHEMA rolandleth_nodeapp_schema
-- LIFE TABLE
CREATE TABLE "public"."lifePosts" (
    "id" int4 NOT NULL DEFAULT nextval('id'::regclass),
    "title" varchar(9999) NOT NULL,
    "body" varchar(999999) NOT NULL,
    "rawbody" varchar(999999) NOT NULL,
    "truncatedbody" varchar(1200) NOT NULL, -- I personally use 700-900 chars, so pick something that fits your needs.
    "datetime" varchar(15) NOT NULL, -- This will always be yyyy-MM-dd-HHmm
    "date" varchar(12) NOT NULL,
    "modified" varchar(15) NOT NULL,
    "link" varchar(100) NOT NULL,
    "readingtime" varchar(15) NOT NULL, -- "999 min read" = 12 chars
    "summary" varchar(300) NOT NULL, -- A short summary to be used in the meta tags; defaults to the first paragraph of the body.
    "isodate" varchar(24) NOT NULL,
    "accessibleonlybylink" bool NOT NULL DEFAULT false,
    "authorid" int4 NOT NULL DEFAULT 1,
    "imageurl" varchar NOT NULL DEFAULT ''::character varying,
    CONSTRAINT "lifeposts_authorid_fkey" FOREIGN KEY ("authorid") REFERENCES "public"."authors"("id") ON DELETE SET DEFAULT ON UPDATE CASCADE,
    PRIMARY KEY ("id")
);
-- TECH TABLE
CREATE TABLE "public"."techPosts" (
    "id" int4 NOT NULL DEFAULT nextval('id'::regclass),
    "title" varchar(9999) NOT NULL,
    "body" varchar(999999) NOT NULL,
    "rawbody" varchar(999999) NOT NULL,
    "truncatedbody" varchar(1200) NOT NULL,
    "datetime" varchar(15) NOT NULL,
    "date" varchar(12) NOT NULL,
    "modified" varchar(15) NOT NULL,
    "link" varchar(100) NOT NULL,
    "readingtime" varchar(15) NOT NULL,
    "summary" varchar(300) NOT NULL DEFAULT ''::character varying,
    "isodate" varchar(24) NOT NULL DEFAULT ''::character varying,
    "accessibleonlybylink" bool NOT NULL DEFAULT false,
    "authorid" int4 NOT NULL DEFAULT 1,
    "imageurl" varchar NOT NULL DEFAULT ''::character varying,
    CONSTRAINT "techposts_authorid_fkey" FOREIGN KEY ("authorid") REFERENCES "public"."authors"("id") ON DELETE SET DEFAULT ON UPDATE CASCADE,
    PRIMARY KEY ("id")
);
-- AUTHORS TABLE
CREATE TABLE "public"."authors" (
    "id" int4 NOT NULL DEFAULT nextval('authors_id_seq'::regclass),
    "name" varchar NOT NULL,
    PRIMARY KEY ("id")
);
If you do create a new schema, open src/server/lib/db.js again, and change line 8 to
const table = section === "life" ? "lifePosts" : "techPosts"
return `schemaYouPicked.${table}`CREATE_POST_KEY=your_key_here (for creating posts from web)
These can be either in an .env file at the project's root level (create one by running touch .env), either in your IDE of choice's environment variables, or directly in terminal, as shown in the Running section.
yarn start # or
CREATE_POST_KEY=1234 yarn start
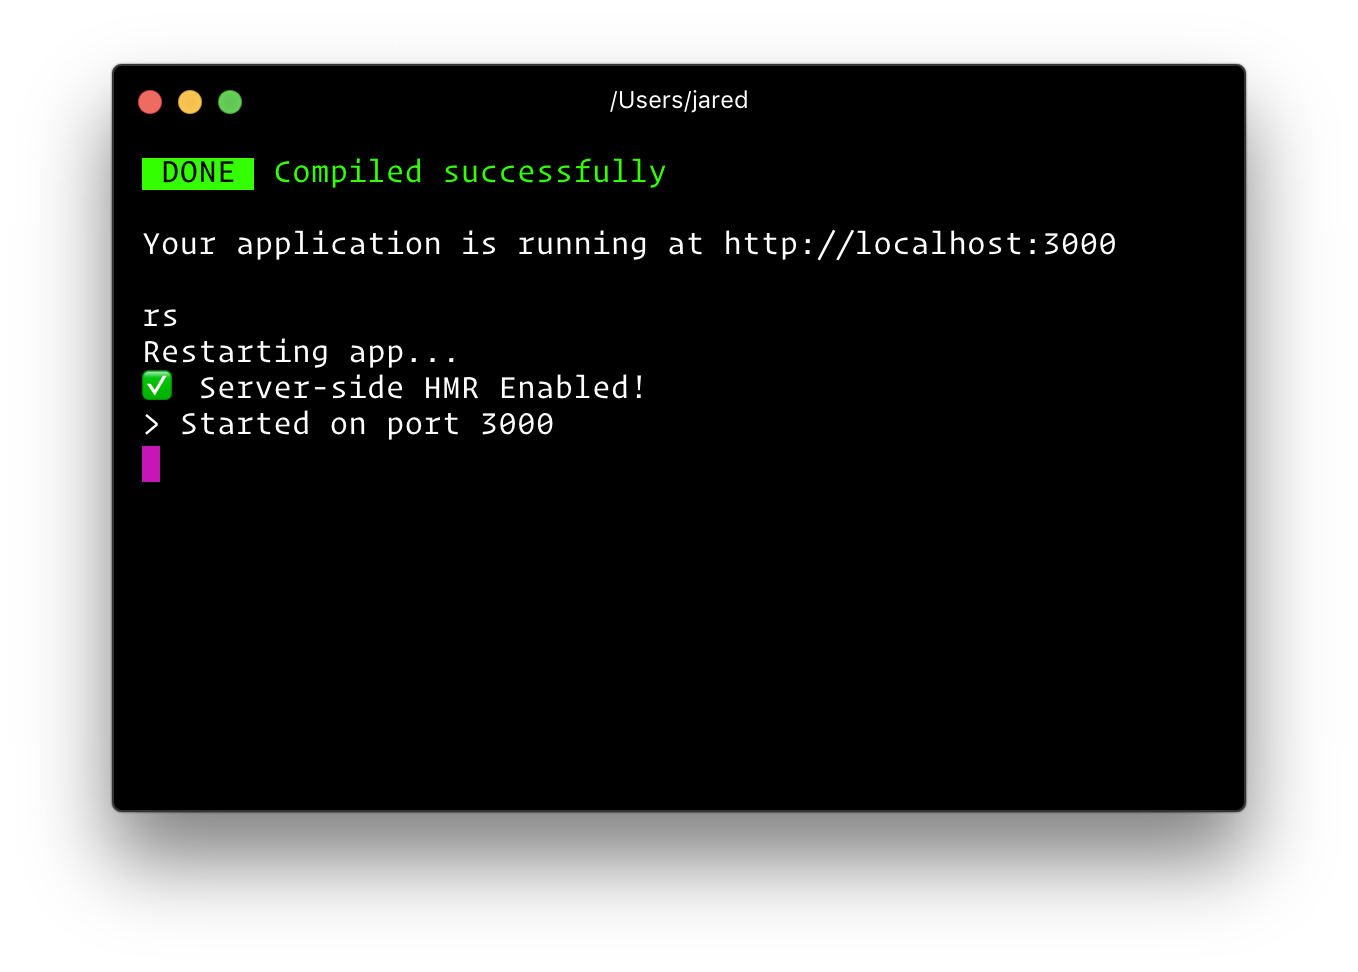
# This will run the app with the environment variable CREATE_POST_KEY set to 1234Then open http://localhost:3000/ to see your app. Your console should look like this:

That's it. You don't need to worry about setting up multiple webpack configs or other build tools. Just start editing and go!
Below is a list of commands you will probably find useful.
Runs the project in development mode. You can view your application at http://localhost:3000.
The page will reload if you make edits.
Builds the app for production to the build folder. The build is minified and the filenames include the hashes.
Your app is ready to be deployed!
Runs the compiled app in production, the one built with the command above.
You can again view your application at http://localhost:3000.
No tests exist so far, but the command exists.
Runs the test watcher (Jest) in an interactive mode. By default, runs tests related to files changed since the last commit.
To debug the node server, you can use razzle start --inspect. This will start the node server and enable the inspector agent.
For more information, see this.
To debug the node server, you can use razzle start --inspect-brk.
This will start the node server, enable the inspector agent and Break before user code starts.
For more information, see this.
If your application is running, and you need to manually restart your server, you do not need to completely kill and rebundle your application. Instead you can just type rs and press enter in terminal.
Head to http://localhost:3000/{section}/create-post/{CREATE_POST_KEY} where section can be life or tech. Here you'll be presented a webpage where you can add posts. You need a title, a datetime and a body, everything else is created from these.
Optionally, you can manually set a summary, otherwise it will extract the first paragraph of the body, limited to 300 characters. This will be used as a description and og:description meta tags.
Optionally, you can set an imageURL to be used in the og:image meta tag. I didn't yet add logic to actually display the image in the post itself.
How this works is that the server has access to the CREATE_POST_KEY variable and the client calls the create-post-token endpoint with the last path component of the browser's URL to validate.
If they match, you'll be presented with the required webpage, if they don't, you'll get a 404. The create post API call is protected in the same way, so calling it directly with the wrong key will also return 404.
Example: your CREATE_POST_KEY is 1234, you'll need to access http://localhost:3000/life/create-post/1234.
Licensed under MIT.