This documentation covers how to use the Pngme SDK with Kotlin.
You can find similar documentation for Expo, Flutter-Kotlin, Flutter-Java and React Native.
- The SDK supports Android API version 16+
- The SDK enables your app to:
- Register a mobile phone user with Pngme
- Request SMS permissions from the user using a Permission Dialog Flow
- Periodically send data to Pngme to analyze financial events
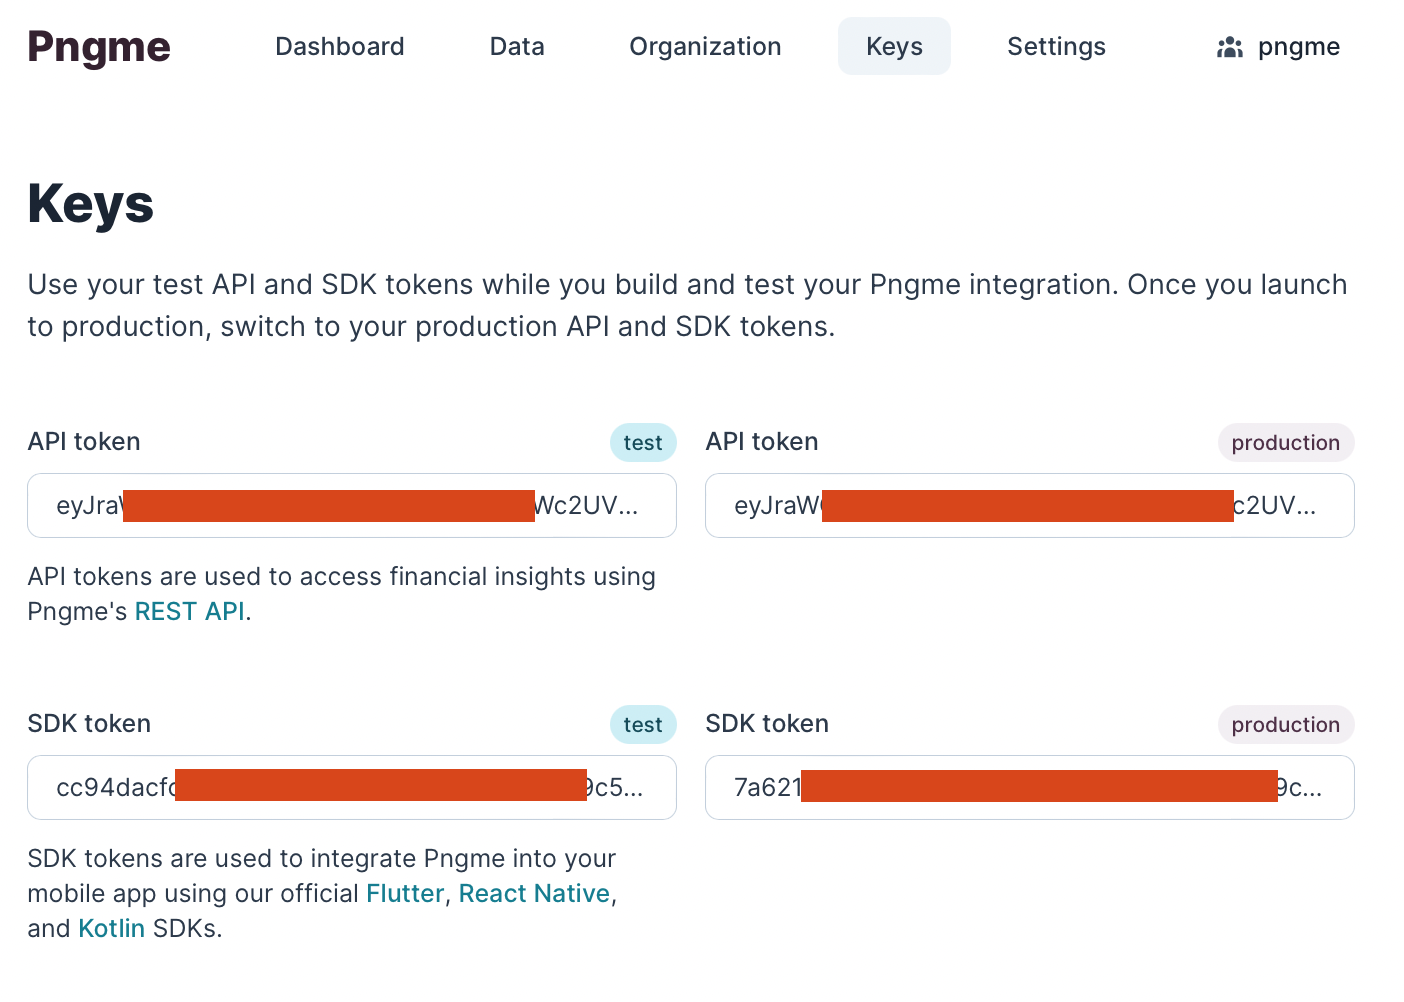
- Using the SDK requires an SDK Token
- Sign up for a free Pngme Dashboard account then access your SDK token from the Keys page
- Use the
testSDK token during development but replace with theproductionSDK token before deploying your app to the Google Play store
After integrating the SDK, financial data will be accessible in the Pngme Dashboard and via the Pngme REST APIs.
Add the JitPack package manager to /app/build.gradle.
    allprojects {
        repositories {
            maven { url 'https://jitpack.io' }
        }
}Add the following dependencies to /app/build.gradle.
    dependencies {
        implementation 'com.github.pngme:android-sdk:5.0.0'
}Add your SDK Token to local.properties.
PNGME_SDK_TOKEN=XXXXXXXXXX
⚠️ We recommend that additional measures be taken to protect the SDK Token when implementing in a production app. See here for some recommended methods: How to secure secrets in Android.
Call the PngmeSdk.go() method in your app where you would like to trigger the Permission Dialog Flow.
 fun go(
     activity: AppCompatActivity,
     clientKey: String, // pass the SDK token here
     phoneNumber: String, // optional
     externalId: String,
     companyName: String,
     onComplete: Callback? = null
 )
If you would like to use your own onboarding flow in which a user is presented with Pngme's terms & conditions and privacy policy, you can use the goWithCustomDialog method.
 fun goWithCustomDialog(
     activity: AppCompatActivity,
     clientKey: String, // pass the SDK token here
     phoneNumber: String, // optional
     externalId: String,
     companyName: String,
     hasAcceptedTerms: Boolean, // default is false
     onComplete: Callback? = null
 )
The go method performs three tasks.
- register a
userin Pngme's system using an Android Onetime Worker - show a Permission Dialog Flow in the current Activity to request SMS permissions from the user --
by default, this runs the first time, and only the first time, that
gois invoked - check for new SMS messages and send them to Pngme's system every 30 minutes using an Android Background Worker
| Field | Description |
|---|---|
| activity | a reference to the current Activity |
| clientKey | the SDK Token from the Pngme Dashboard Keys page |
| phoneNumber | the mobile phone user's phone number, example "23411234567" |
| externalId | a unique identifier provided by your app (if none available, pass an empty string "") |
| companyName | your company's name; this is used in the display header of the Permission Dialog Flow |
| hasAcceptedTerms | Set the value to 'true' if the user has accepted the terms and conditions when invoking the 'goWithCustomDialog' method. Defaults to false |
| onComplete | a callback function that is called when the go method has completed |
The go method should be invoked and left to complete while the activity is in a running state.
The onComplete callback is a useful callback, for example,
in determining when it is safe to change the Activity state.
Additionally, the onComplete callback is a useful callback in determining
when the activity is no longer in use by the Permission Dialog Flow.
The onComplete callback will be invoked when three conditions are satisfied:
- the Onetime Worker for registering a user with Pngme's system has been instantiated
- the Period Worker for periodically sending SMS data to Pngme's system has been instantiated
- the Permission Dialog Flow has exited
fun isPermissionGranted(context: Context): Boolean| Field | Description |
|---|---|
| context | the current app Context |
This indicates if the user has accepted the SMS permissions request:
- Returns
trueif the user has accepted the SMS permission request. - Returns
falseif the user has denied the SMS permission request.
This repository is a sample Android app, which uses the Pngme SDK.
This app uses the local.properties file to inject the SDK Token.
As noted above, it is highly recommended that a production application use a more secure method of injecting the SDK Token secret.
This app can be compiled and emulated locally, with or without a valid SDK Token. If a valid SDK Token is used, then data can be sent thru to the Pngme system.
Before launching the app, you might want to have some SMS ready in the phone's inbox for faster testing. Refer to the section Send SMS data locally down below
Debug version:
./gradlew app:installDebugBuilding the app:
./gradlewAdd the following to your local.properties file:
SHARED_PREF_NAME=my_app_shared_pref
PNGME_SDK_TOKEN=XXXXXXXX
The sample app demonstrates a simple flow:
- user creates an account with the app
- the user goes to apply for a loan, and has the option of selecting to use the Pngme service
- if the Pngme service is selected, the SDK is invoked, and the Permission Flow is presented
-
The SDK is implemented in the PermissionFragment, when the user clicks on the Continue button:
continueButton.setOnClickListener {
    // save state of checkBox
    if (usePngmeCheckBox.isChecked) {
        setPngmeAsChecked()
        val mainActivity = (activity as MainActivity)
        getUser()?.let { user ->
            PngmeSdk.go(
                activity = mainActivity,
                clientKey = BuildConfig.PNGME_SDK_TOKEN,
                externalId = "externalId",
                companyName = MainActivity.COMPANY_NAME
            ) {
                navigateToLoadApplication()
            }
        }
    } else {
        navigateToLoadApplication()
    }
}
The app remembers the selection in step 2. If the user chooses to enable the Pngme service, then the checkbox stays selected for all future loan applications. The Permission Flow is only showed the very first time, regardless of if the user accepts or denies the permissions.
Alternative behavior is to continue requesting SMS permissions if they were previously denied. Adding the following snippet will reset the Permission Flow if SMS permissions had been previously denied but not permanently ignored.
continueButton.setOnClickListener {
    // save state of checkBox
    if (usePngmeCheckBox.isChecked) {
        setPngmeAsChecked()
        val mainActivity = (activity as MainActivity)
        getUser()?.let { user ->
            PngmeSdk.go(
                activity = mainActivity,
                clientKey = BuildConfig.PNGME_SDK_TOKEN,
                externalId = user.externalId,
                phoneNumber = user.phoneNumber,
                hasAcceptedTerms = false,
                companyName = MainActivity.COMPANY_NAME
            ) {
                navigateToLoadApplication()
            }
        }
    } else {
        navigateToLoadApplication()
    }
}This can be tested in a sample app running in the local emulator, assuming the emulated app is running with a valid SDK token.
Android Emulator can simulate incoming SMS messages, and we can use this to test the Pngme SDK locally.
The following text message is of a recognized format for the Stanbic bank sender: Stanbic.
Acc:XXXXXX1111
CR:NGN4,000.00
Desc:HELLO WORLD! SAMPLE MESSAGE
Bal:NGN50,000.00
You can inject this fake SMS into the emulated phone by following these steps.
Once the app gets the permissions form the user it will instantly start sending existing SMS messages to the Pngme system. This results in messages being seen much sooner than SMS received after the app was installed.
The background worker processes new messages every 30 minutes, so new messages will take at least 30 minutes to appear in the webconsole.

- Open the
morewindow in the emulator settings - Navigate to the
phonesection - Set the sender to the string
Stanbicor one of the senders from our supported institutions - Copy/Paste the above same message into the message box
- Hit
Send Message
After following the above steps to send a fake SMS, run the sample app. The fake SMS will be sent to the Pngme system using the SDK token from your Pngme account. If the sample app runs successfully, the financial data in the text message will be accessible via the Pngme REST APIs or in the Pngme webconsole.
See Going Live with the SDK to learn more about the whitelisting process with the Google Play store.