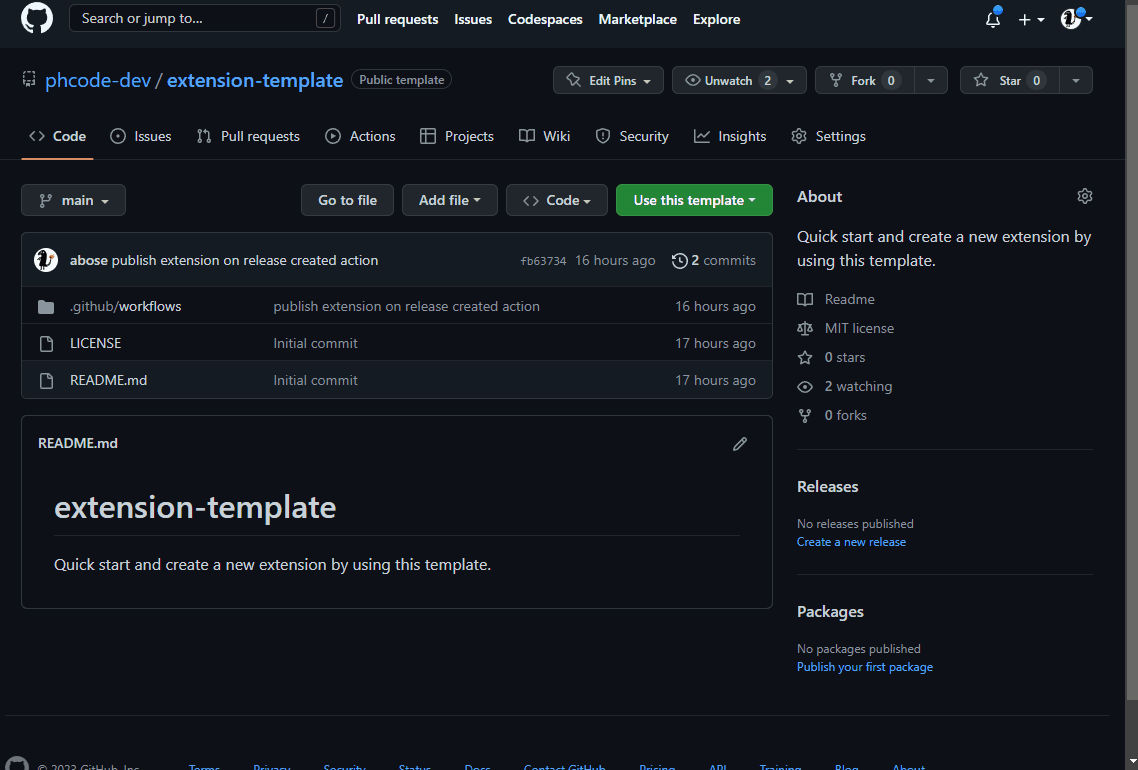
Quick start and create a new Phoenix Code node.js extension by using this template. This
template extension works in browser as well as desktop builds. In browser, it
will not use node, and node.js based functionalities are not available. Desktop
builds will use node capabilities.
In desktop builds, there is an additional capability to execute node.js code. This is helpful if you want to extend the functionality of Phoenix Code using the vast npm library.
For creating extensions that do not need node, follow this link: https://github.com/phcode-dev/extension-template
In package.json, add the following section
{
    "nodeConfig": {
        "nodeIsRequired": false,
        "main": "node/index.js",
        "npmInstall": "node/"
    }
}The nodeConfig object indicates that this is a Node extension.
- Set this field to
trueif the extension relies on Node and won't function without it. - If set to
falseor omitted, the extension can still be loaded in browser versions of Phoenix code without Node support, But will use node in native builds. - It will be shown in the extension manager dialog in browser builds as well.
- Specifies the main entry point for the Node.js component of the extension.
- Should point to the main JavaScript file for the Node part of the extension.
- Example:
"main": "node/index.js"
- Specifies the path to run
npm installwhen the user installs the extension from the extension manager. - It's advisable not to package
node_modulesinside the extension. Only the package lock file should be distributed. - Example:
"npmInstall": "node/"
create NodeConnector-API to call functions and send events between your node.js and Phoenix Code extension components.
- This is available as a global object
global.createNodeConnector. See above link for API docs. - Another API -
EventDispatcher-API
is also available in the global context as
global.EventDispatcherfor event trigger/listen within node.
Follow the below 4 steps to start using this template:
Refer this link for detailed extension docs after following the below steps:
Login with GitHub: https://github.com/login
Create a new repository using this template.
- Clone your GitHub Repo created from
step 2. See this link to lean how to clone a repository from GitHub.
- Go to https://create.phcode.dev .This is a special development centric website of phcode.dev which shows non minified js/css files in the browser developer tools.
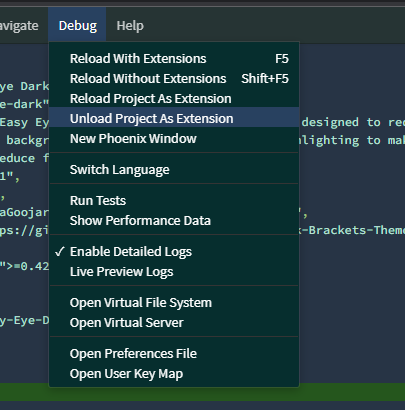
- Open the cloned folder and select
Debug > Load Project As Extension

- You can now make code changes to your extension and select
Debug> Reload With Extensionsto test the new code changes. - When you are done developing the extension/theme, select
Debug> Unload Project As Extensionto unload the extension.
Please go to https://github.com/phcode-dev/phoenix/wiki/How-To-Write-Extensions-And-Themes for more documentation/community support links.
Once you have built your extension/theme, you can publish the extension to phcode.dev extension repository in a single step directly from this repo. Please see publish section in this link for more details: https://github.com/phcode-dev/phoenix/wiki/How-To-Write-Extensions-And-Themes