This sample app demonstrates 2 ways to connect to an OpenId Connect Provider like OneLogin for user authentication.
- Authorization Code flow - This is the recommended approach to OpenId Connect authentication. It will redirect the user to a secure hosted login page before returning to your app. See
Startup.csfor configuring this approach. - Resource Owner / Password Grant flow - This method is reserved for trusted applications where you capture the username/password and authenticate against OneLogin without redirecting the user to a hosted login page. The main code and configuration for this is found in
Controllers/AccountController.cs
This app also includes an example of obtaining an OAuth2 access_token for use in accessing the OneLogin Admin APIs. The Dashboard route in the Controllers/HomeController.cs demonstrates how to use that token to fetch a list of apps that are accessible by a user and then provides a way to launch the apps in Views/Home/Dashboard.cshtml.
The base of the project is a Dotnet Core 2.0 MVC project that was generated via command line
dotnet new mvc --auth None --name OidcSampleAppYou will find the majority of the important code in Startup.cs which is where the OpenId Connect Provider is configured.
...

    services.AddAuthentication(options => {
        options.DefaultScheme = CookieAuthenticationDefaults.AuthenticationScheme;
        options.DefaultChallengeScheme = OpenIdConnectDefaults.AuthenticationScheme;
    })
    .AddCookie(options => {
        options.LoginPath = "/Account/Login/";
    })
    .AddOpenIdConnect(options =>
        {
            options.ClientId = Configuration["oidc:clientid"];
            options.ClientSecret = Configuration["oidc:clientsecret"];
            options.Authority = String.Format("https://{0}.onelogin.com/oidc", Configuration["oidc:region"]);

            options.ResponseType = "code";
            options.GetClaimsFromUserInfoEndpoint = true;
        }
    );

...
This will enable a /signin-oidc endpoint in the app which you will use as the Redirect Uri when configuring your OneLogin OpenId Connect app.
Per the ASP.NET Configuration documentation, put oidc:clientid and oidc:clientsecret in your application configuration.
Because oidc:clientid and oidc:clientsecret are application secrets, we recommend NOT putting them in files that might accidentally be checked into version control (your appsettings*.json files.)
The Secret Manager is our recommended approach:
- Set your Client ID using the command
dotnet user-secrets set "oidc:clientid" "your-client-id" - Set your Client Secret using the command
dotnet user-secrets set "oidc:clientsecret" "your-client-secret"
In order to make this sample work with OneLogin you will need to create an OpenId Connect app in your OneLogin portal. See our developer docs for more detail on how to complete this step.
Make sure you add http://localhost:5000/signin-oidc as an allowed Redirect URI on your OIDC app configuration tab.
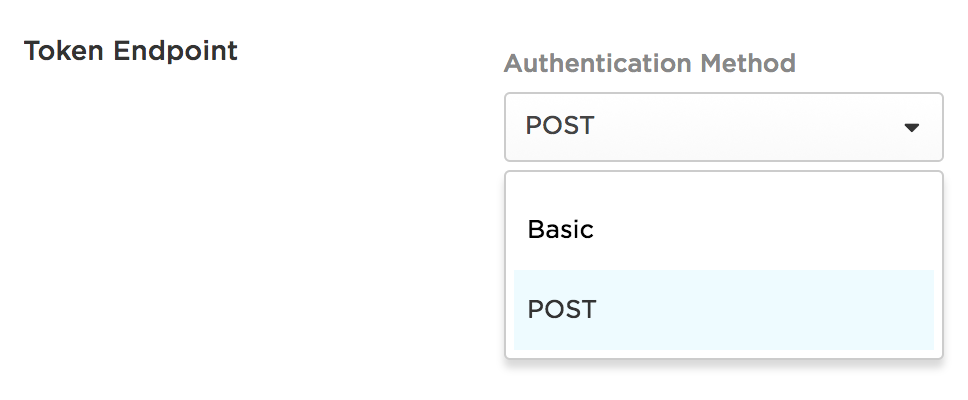
You will also need to make sure you configure the Token Endpoint for the app in OneLogin to use the POST Authentication method.
Pull the repo then from the command line run
dotnet runBrowse to http://localhost:5000
This project is licensed under the MIT license. See the LICENSE file for more info.