This writeup is meant to introduce the basics of using Python and some important Python libraries for machine learning. We will also be discussing some useful tools such as Conda and Jupyter notebooks, as well as basic plotting libraries that will help you visualize the data and results.
In this course, we'll heavily use Python to materialize ML ideas into code. Python is a powerful and versatile programming language that is widely used in the field of machine learning. It has many libraries and frameworks that make it easy to implement machine learning algorithms and models.
NumPy is a library that provides support for large, multi-dimensional arrays and matrices of numerical data. It also provides a wide range of mathematical functions that are useful for machine learning. With NumPy, you can perform operations such as matrix multiplication, Fourier transforms, and more with ease.
| Numpy Function | Description |
|---|---|
np.zeros and np.ones
|
creates an array of zeros/ones with a specified shape |
np.random.rand |
creates an array of random numbers from a uniform distribution |
np.arange |
creates an array of evenly spaced values within a given range |
np.reshape |
reshapes an array to a given shape |
np.linalg.inv |
computes inverse of a numpy matrix |
np.linalg.solve |
solves a linear matrix equation, or system of linear scalar equations of form |
np.linalg.eig |
get eigen values of a numpy matrix |
np.matmul |
matrix multiplication between two numpy matrices |
np.vstack and np.hstack
|
vertically/horizontally stack two numpy arrays |
You can refer to following tutorials to know more about numpy: NumPy Quickstart and Illustrated NumPy
Matplotlib provide a wide range of tools for visualizing data and results, including line plots, scatter plots, and histograms. These libraries allow you to easily create beautiful and informative visualizations that can help you understand your data better. Following is a cheatsheet for basic matplotlib usage (image taken from here).

Conda is a package manager for Python that makes it easy to install and manage libraries and packages. It also allows you to create isolated environments for different projects, so that you can keep different versions of libraries separate from each other. This is useful when working on multiple projects that may have different dependencies. You can find conda installation instructions here.
Here are some examples of basic usage of Conda:
-
Creating a new environment: To create a new environment, you can use the following command:
conda create --name myenv. This will create a new environment called "myenv". -
Activating an environment: To activate an environment, use the command
conda activate myenv. This will make "myenv" the active environment and any packages you install will be added to this environment. -
Installing packages: To install a package, you can use the command
conda install package_name. For example,conda install numpywill install the numpy package in your active environment. -
Updating packages: To update a package, you can use the command
conda update package_name. For example,conda update numpywill update the numpy package in your active environment to the latest version. -
Removing packages: To remove a package, you can use the command
conda remove package_name. For example,conda remove numpywill remove the numpy package from your active environment. -
Listing installed packages: To list all the packages installed in the active environment, you can use the command
conda list. -
Exporting an environment: To export an environment to a file, you can use the command
conda env export > environment.yml. This will create a file called "environment.yml" that contains all the packages and dependencies of the active environment. -
Importing an environment: To import an environment from a file, you can use the command
conda env create -f environment.yml. This will create a new environment with the same packages and dependencies as the one exported in the file.
You can find a pretty handy conda cheatsheet here and read more on Conda here.
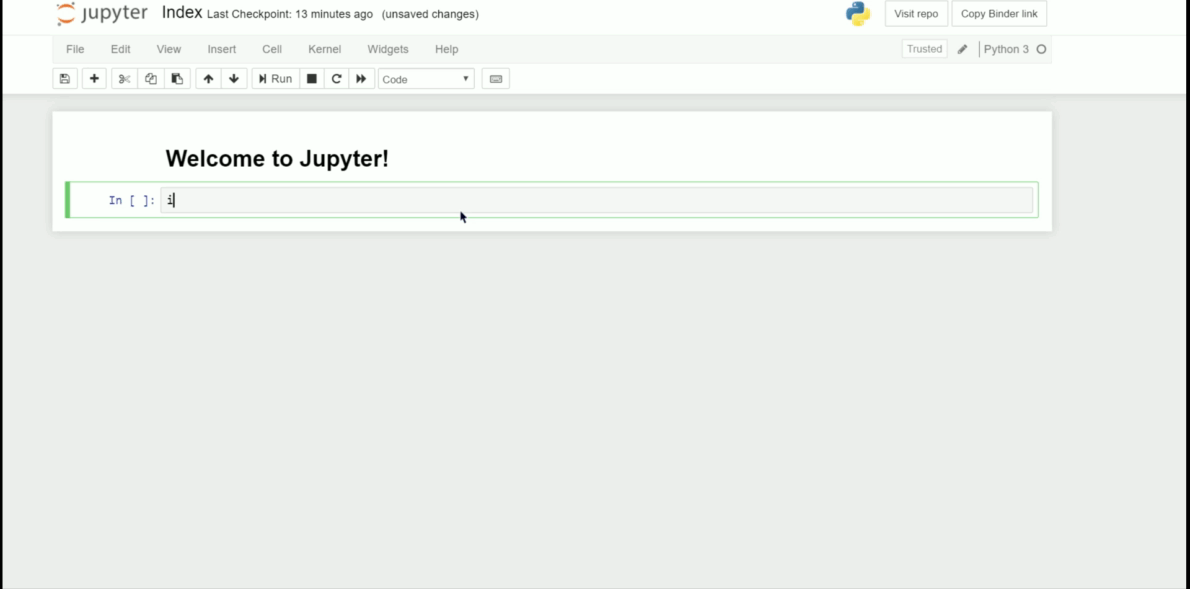
Jupyter Notebook is a web-based interactive development environment that allows you to write and run code, as well as add text and images to create a narrative. It is particularly useful for machine learning (ML) development because it allows you to easily visualize the results of your code and share your work with others.
Installation: You can install jupyter by running either pip install notebook or conda install -c anaconda notebook
Starting Jupyter Notebook: To start Jupyter Notebook, open a terminal or command prompt and run the command jupyter notebook. This will open a web browser window and take you to the Jupyter Notebook dashboard.
Creating a new notebook: To create a new notebook, click on the "New" button and select "Python 3" from the drop-down menu. This will create a new notebook with a single empty cell.
Writing code: To write code in a cell, simply click on it and start typing. Press "Shift+Enter" to run the code in the cell and move to the next cell. You can add new cells by clicking on the "Insert" button and selecting "Insert Cell Below".
Integrated Development Environments (IDEs) and text editors play a crucial role in the development of machine learning (ML) projects. They provide a wide range of tools and features that make it easier to write, test, and debug code, as well as manage dependencies and libraries. Visual Studio Code is a popular choice for many, other options include PyCharm and Sublime Text.