A utility API endpoint to communicate with AppNexus
This service simplify AppNexus communication with API Key(s). It also simplify downloading of generic reports.
- Proxy (GET, POST, PUT, DELETE) with cached authentication
- Generic Advertiser reports download
- Generic Publisher reports download
- Handle X-Rate-Limit header
git clone https://github.com/niiknow/anx-api-proxycd anx-api-proxycomposer installnpm install- set your
.envby copying from.env.example php artisan key:generate- Run/Serve the Site
- laravel valet:
valet link anx-api-proxy - homestead:
homestead up
- laravel valet:
- after
valet link anx-api-proxy, visit anx-api-proxy.test/ or npm run watch - visit anx-api-proxy.test/api/documentation for api docs
- Package the project, this will create
dist.tarfile
composer app:package
- Create the necessary database and user on your server. Take note of the database credentials; we will use it on
step 7below.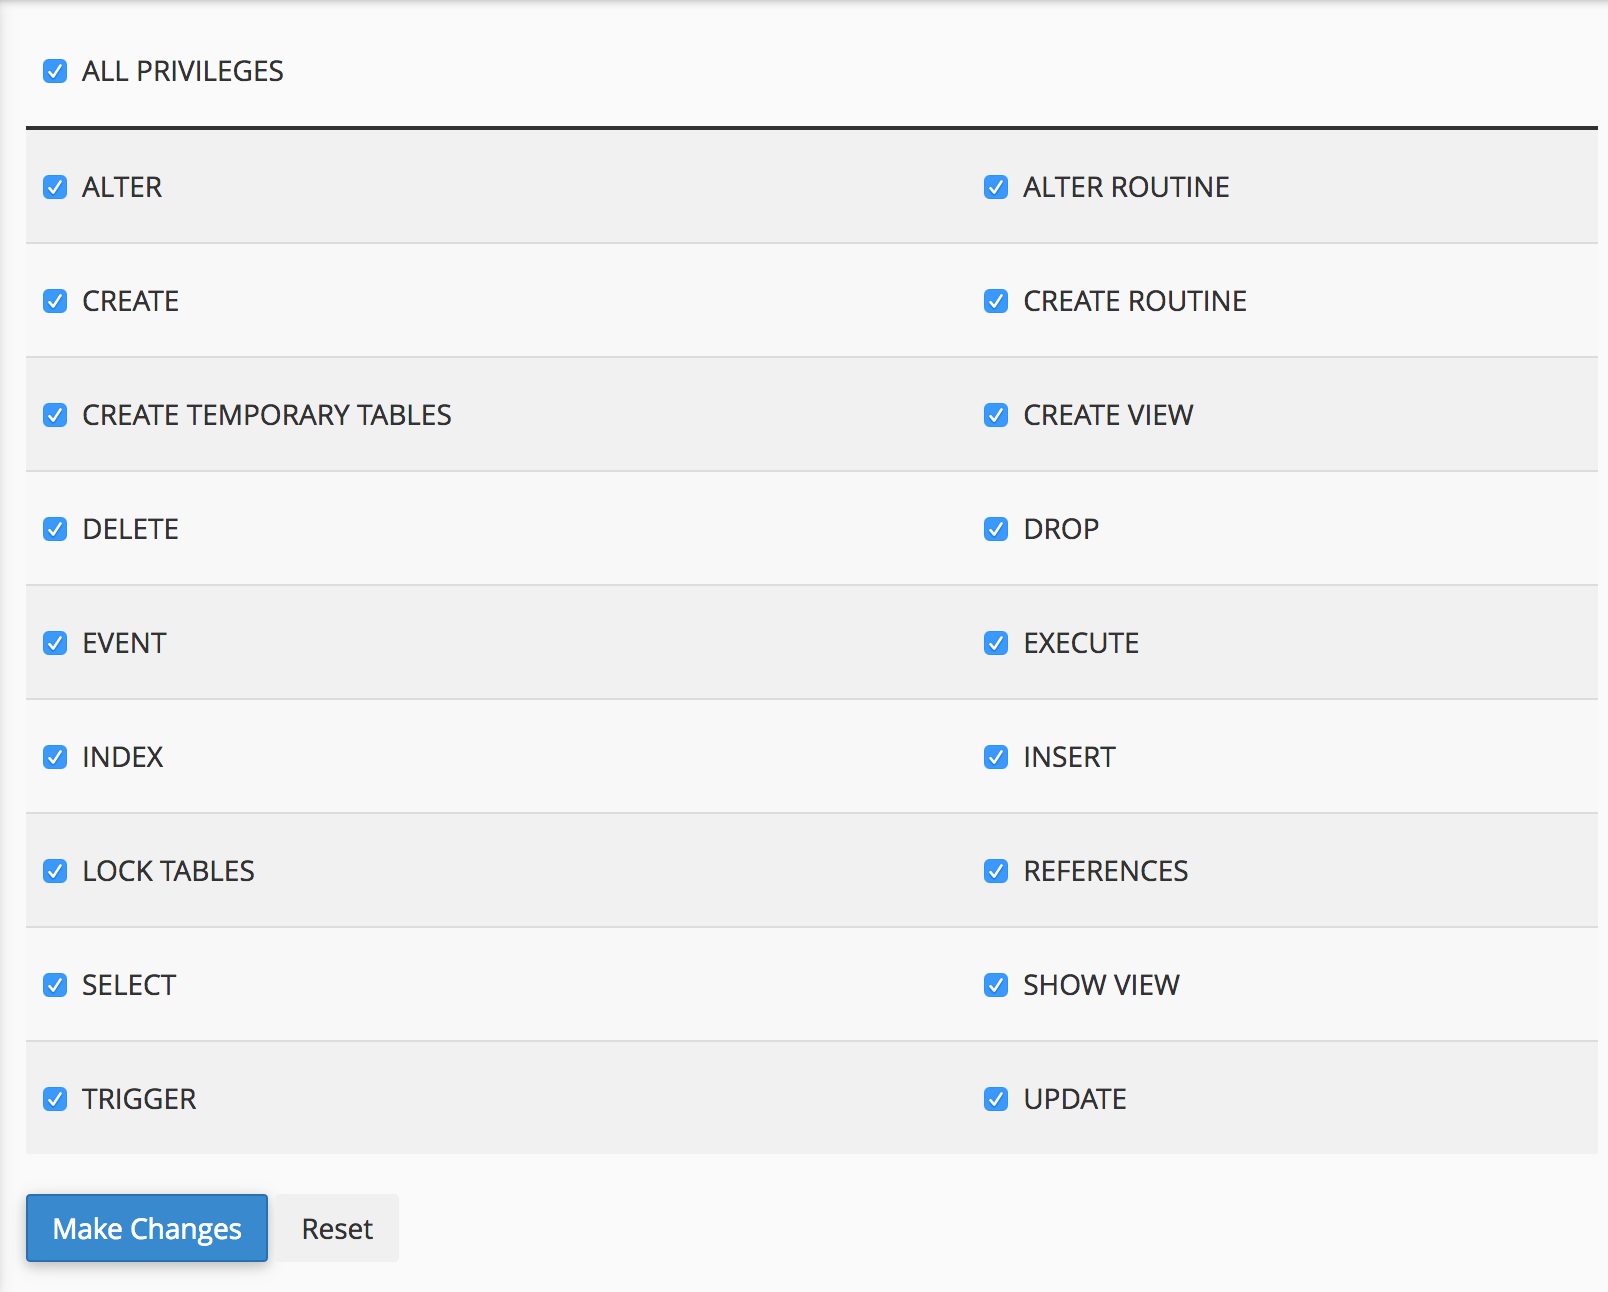
- Create sub-domain and its folder, example:
anx-api-proxy.niiknow.orgwith folder as/home/{user}/anx-api-proxy.niiknow.org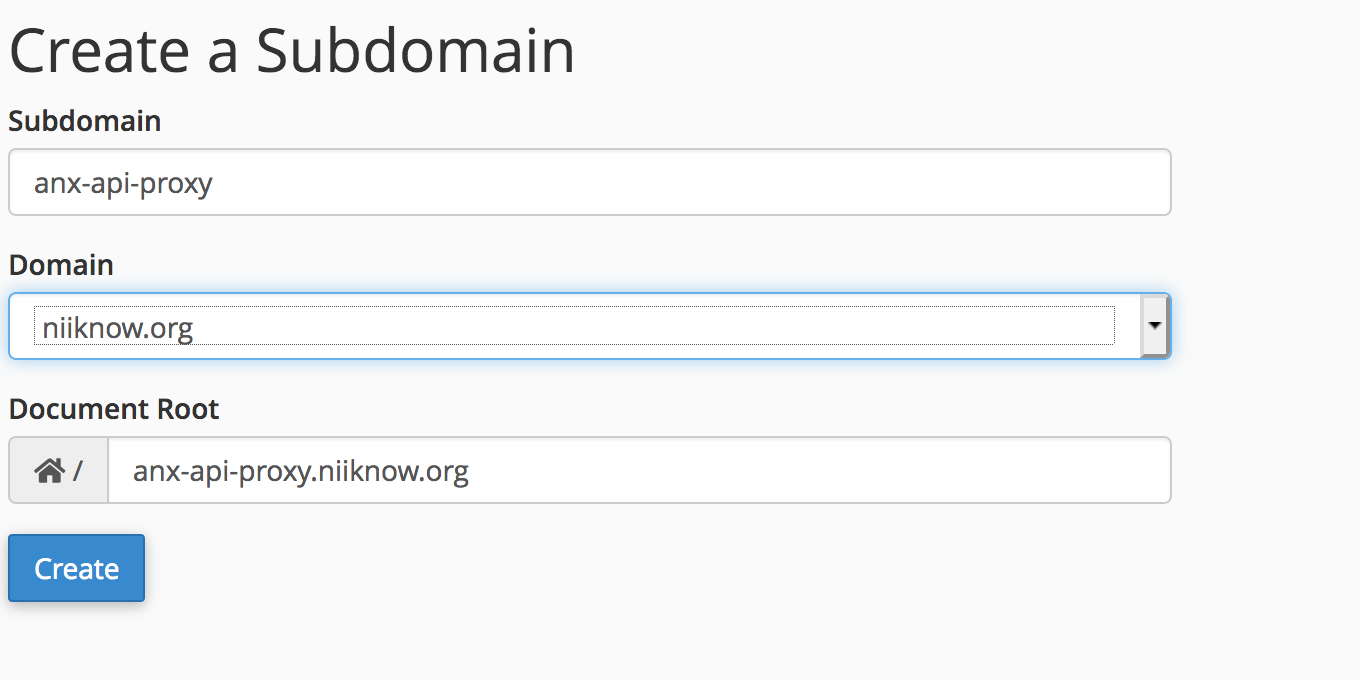
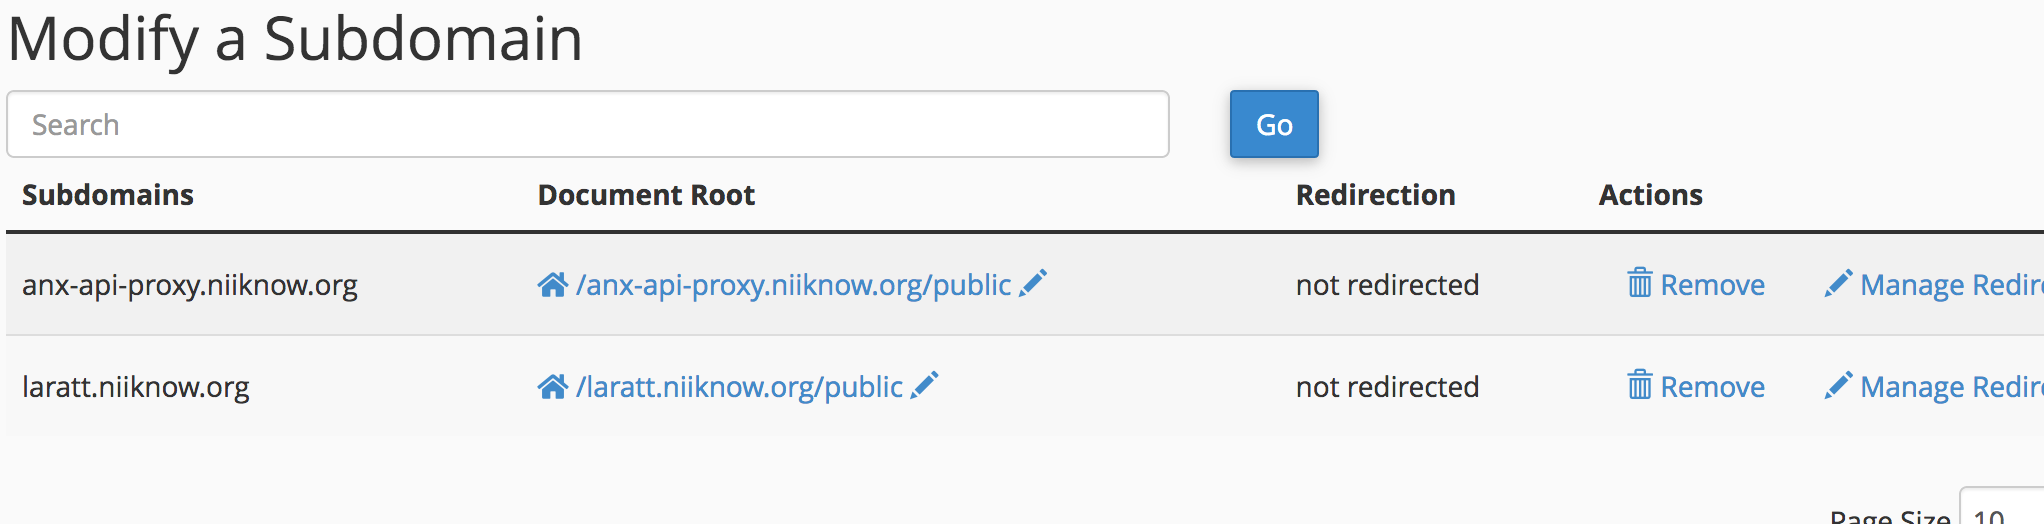
- Update your hosting folder as
/home/{user}/anx-api-proxy.niiknow.org/public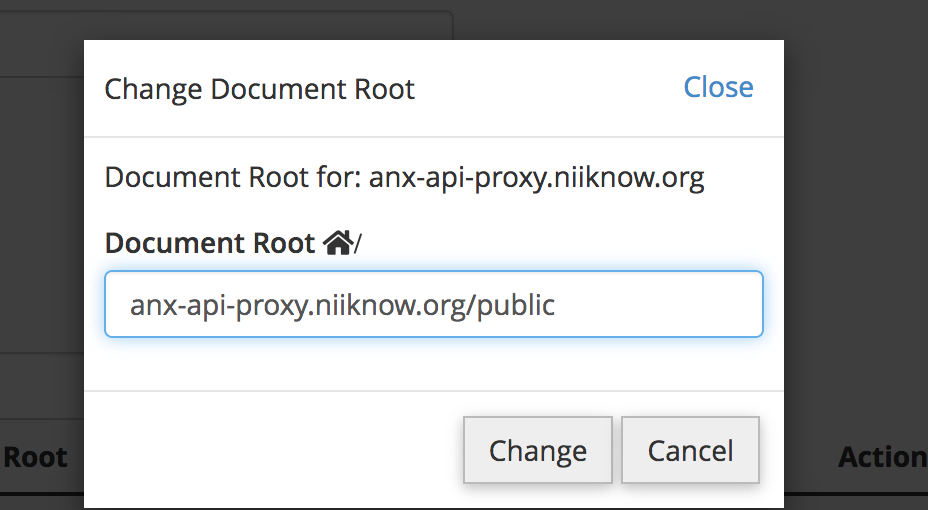
- Upload the resulting file in
dist.tarto your sub-domain folder/home/user/anx-api-proxy.niiknow.org/(note not your public folder) and extract it to the current director.
- Visit
http://anx-api-proxy.niiknow.org/init.phpto initialize the project. This will update required permissions forstorage/framework/,storage/logs/, andbootstrap/cache/and create the.envfile from.env.examplefile. If it doesn't automatically redirect you to/install, then visit/installand complete the setup to finalize your.envfile with the necessary database and other configuration. Take note of theAPI_KEYSthat was generated or provide your own key to be use withX-API-Keyheader. Take note ofREPORT_KEYfor report authentication.

- Follow the installation wizard. Fill in the necessary
DB_DATABASE,DB_USERNAME, andDB_PASSWORDthat you've taken note earlier. Make sure you fill in everything such as (APP_URL,APP_DOMAIN,APP_DEBUG, etc...) and not just the database values. Then clicksave .env, you want to make sure you save your changes. Then clicksave and install, this will perform database initial migration for you. Then click theclick here to exitbutton to complete the installation.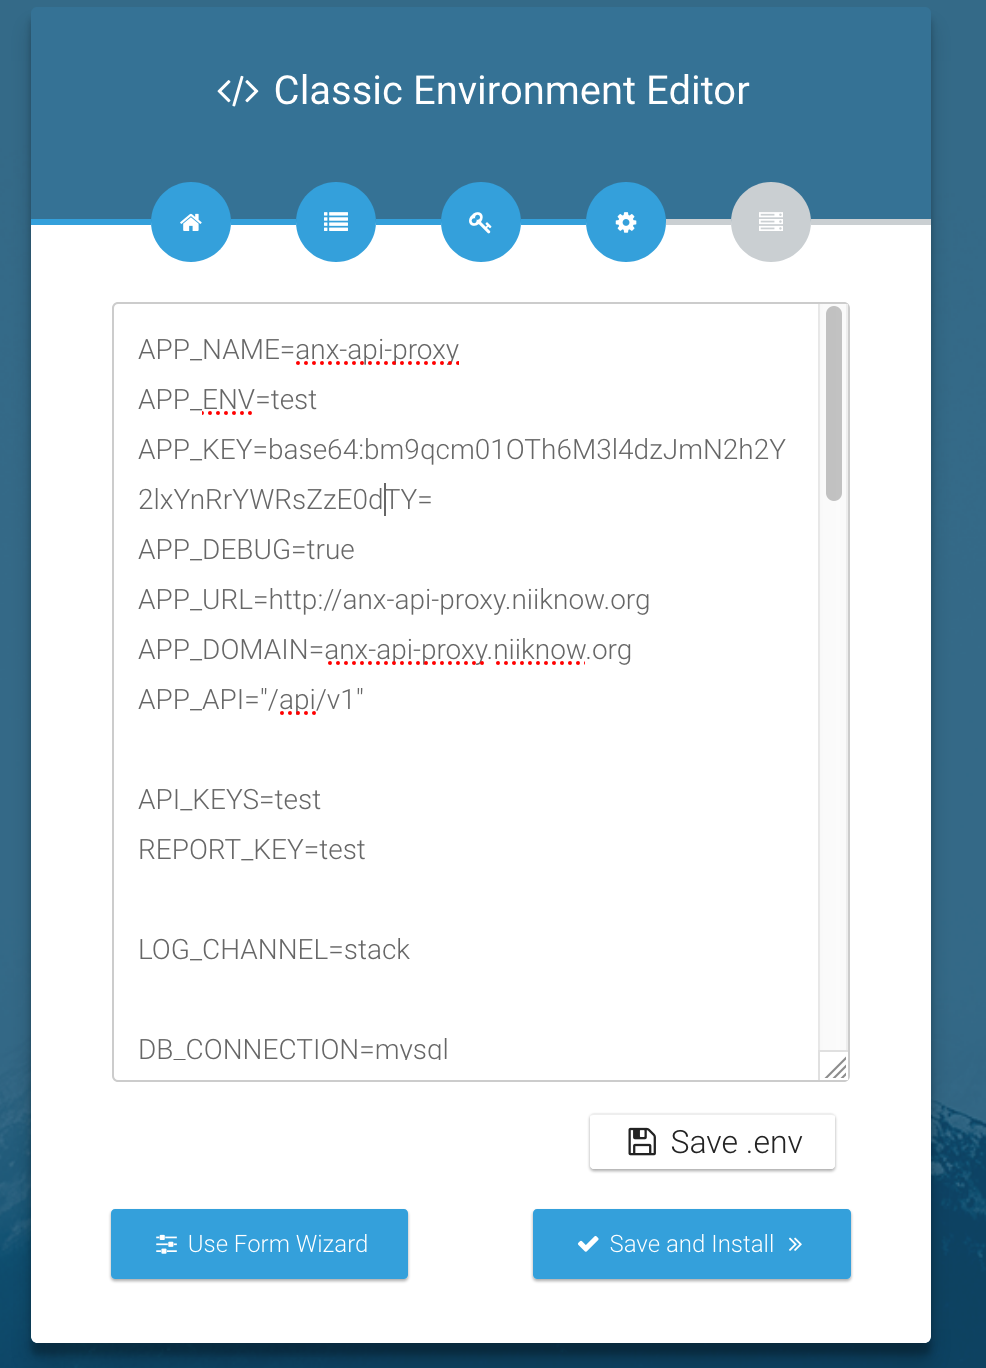
- Congratulation, you're all set! You can always update your
.envfile now if you need to make any additional changes.
TO UPDATE/UPGRADE
- run
composer app:packageagain - upload and extract like you've done in installation above
- public/init.php - execute this by visiting example.app/init.php in the browser
- then visit your site
/updateinstead of/install
Configuration/env Note
API_KEYS=set this to secure your api withX-API-KeyheaderREPORT_KEY=set this to authenticate with report download
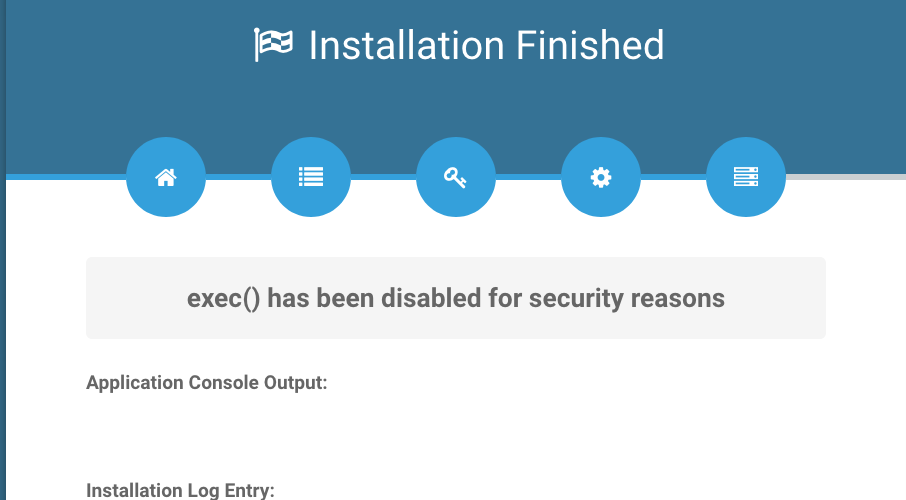
If you get redirect to /install and the page is blank. Check your cpanel error log for details. Make sure you pick the correct php version. Some older server default to php7+ instead of php8+.
If you have an issue and need to restart installation, simply delete the file storage/installed and visit /install again.
At the moment, we really have no reason for having a database since this is only use as a Proxy.