Hermes is a dev tool designed to help teams to collaborate in the use of third party services that emit HTTP requests and need to be forwarded to your team's local machines. It provides a multi-users alternative to ngrok or localtunnel.
You are working on your local machine on a piece of code that need to listen from an online service — providing HTTP requests (e.g. webhooks, chatBot service...). Basically, your computer is connected to your personal network (behind your NAT), so your localhost is invisible from the outside world...
The solution is well known: you need a HTTP/SSH tunneling system that forwards the requests to your computer. It's perfect when you're alone! But now, you are working as a team and each developer is running his own instance of the code locally and he would like to receive the payloads also. By design tunneling systems are limited to communicate with one user at a time.
Here comes Hermes and provides two modules:
- The bridge is running on any of your servers online and listen to any provider requests
- The adaptor is running on each local machine and replicate all the requests to the local server
When the response is emitted from the local server, it brings the response back to the provider following the same logic.

This is the most basic case. It applies for a single developer working on his machine receiving a request from a provider

Concurrency mode allows concurrent calls among clients (aka Adaptors). By default, the first response received from any client (adaptor) will be used as the final response for the provider. This feature is particularly useful for teams of developers working in parallel when the provider do not require a client-specific response.

Exclusive mode permits to temporally choose a single adaptor as responsible for building the response sent to the provider.

- NodeJS >= 8.10.0
You need to procure any kind of server able to allow specific port access (different from 80 and 443) — you'll need 3 available ports.
All the code snippets provided below are gathered into this example directory
$ mkdir basic-bridge && cd basic-bridge
$ npm init
$ npm install hermes-bridge dotenv
We encourage you to use dotenv package in order to protect your sensitive data from being published online. NB: .env should be listed into your .gitignore
// index.js
const createBridgeServer = require('hermes-bridge')

// Response used when no adaptors are connected (some providers like Facebook, accept 2xx status code only)
const responseFallback = {
  statusCode: 500,
  headers: { 'content-type': 'application/json; charset=utf-8' },
  body: JSON.stringify({ error: 'No local server provided' })
}

createBridgeServer({
  httpHost: 'localhost', // default '127.0.0.1'
  httpPort: 8000, // port on which the Bridge will listen
  socketHost: 'localhost', // default httpHost || '127.0.0.1'
  socketPort: 9000, // this port will be reused for the adaptor configuration
  dashboard: { // for you to control your adaptors in real time
    host: 'localhost', // default '127.0.0.1'
    port: 8001, // port to access the dashboard
    adminAuth: { // credentials to connect onto the dashboard
      username: 'admin',
      password: dotEnv.parsed.ADMIN_AUTH_PASSWORD, // Change it into your .env file!
      jwtSecret: dotEnv.parsed.ADMIN_AUTH_JWT_SECRET // Change it also into your .env file!
    }
  },
  loggerLevel: 'verbose', // 'info',
  defaultResponse: responseFallback // by default, hermes provide the fallback described above
})
Notes: If you plan to not use any internal routing system (Apache, Nginx...), you should set httpHost, socketHost, dashboard.host to '0.0.0.0' to expose your Bridge and Dashboard to the world.
$ node index.js
Notes
- For a basic DNS resolution you can use our NGINX configuration file
- Some providers require to use HTTPS, we recommend to use Let's Encrypt with Cerbot
- For SSL usage, you can use our SSL NGINX configuration file — this example supposed you use letsencrypt & certbot
- DNS resolution for the socket endpoint is possible but not as easy as it seems. We recommend to use the IP for configuring the adaptor. BTW Contribution is more than welcome if you think it's an essential feature 🤗
- To run node as a daemon we recommend the use of forever or PM2
- Unfortunately for Heroku users, as far as the service doesn't allow multi-port exposure, hermes-bridge will not be compatible.
Navigate to the URL (or IP:port) you set up for your Hermes dashboard. You should have something like:

Then login with your admin credentials (the ones you choose into the bridge config file)
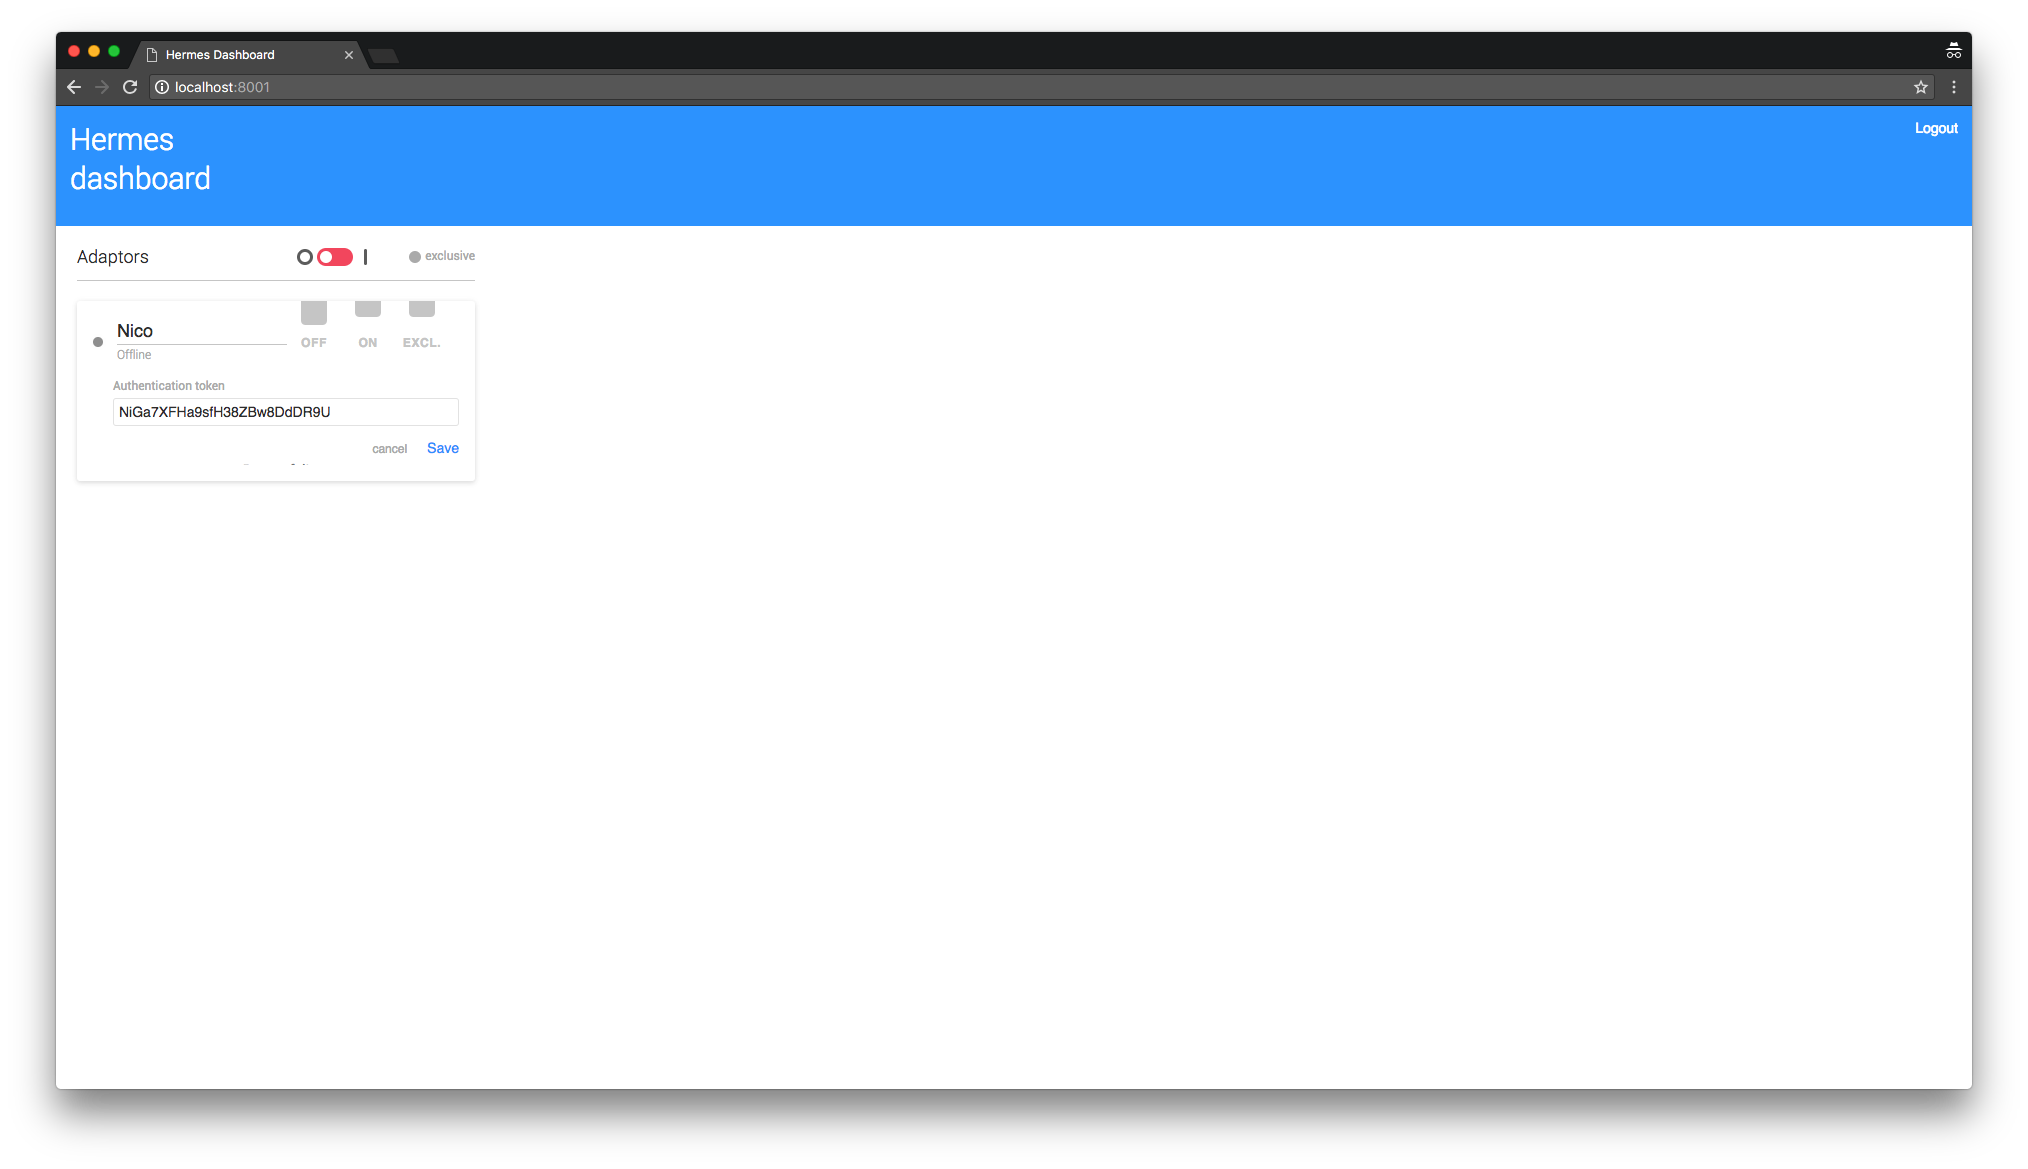
You can now add a new adaptor with the auth token of your choice — you will reuse it soon — the best is an alphanumeric string without spaces.
🎉 Server side setup is done: congrats! 🎉
The adaptor can be set in any dev environment that support NodeJS 8+.
All the information provided here are gathered into this example directory
Navigate to your project directory, then
$ npm install -D hermes-adaptor
Create a hermes.js file.
const adaptor = require('hermes-adaptor')

adaptor.init({
  bridgeHost: 'YOUR_SERVER_IP',
  bridgeSocketPort: 9000, // the port you chose previously
  localServerProtocol: 'http',
  localServerHost: 'localhost',
  localServerPort: 8888,
  maxAttempts: 10, // number of attempts to reconnect in case of network errors
  attemptDelay: 200,
  auth: {
    token: 'gHmFyUkCSpGRXiWFxvLMpGYbMXvcsi', // Put here the token you choose in the dashboard
  },
  verbose: true // logger output level
})$ node hermes.js
You need to launch your local server too if you want the all system to do his job!
Notes
- We recommend to use concurrently in order to start your dev-server in parallel with the adaptor
- For testing your setup, you can try a
curl http://YOUR_SERVER_IP:YOUR_HTTP_PORT, then you should receive the request on your adaptor console (verbose = true).
Here you should have something like:

🎉 Nice! you can now start using Hermes for your development 🎉

Concurrency: All the online adaptors receive the requests — the first adaptor that respond back will be transmit to the provider
Deny: None of the online adaptors receive the requests — this feature particularly adapted to test a network failure case to observe the provider behavior
Exclusive: Only one adaptor is receiving the requests — this feature is particularly adapted for testing a specific response toward the provider


Why not use ngrok?
Ngrok is a great product to start developing alone or as a small team. It solves most of the problem you encounter by developing locally with remote providers. It also provides a reliable and secured SSH forwarding.
The philosophy behind Hermes is a bit different.
Here, we are interested to work as a team, each guy is developing locally chatbots and real time front-ends. But, one day the team get larger, and you miss some features, like being able to select on a UI the client that should receive the next request... — So we decide to give a try by developing Hermes.
Here a small features comparison to help you choose which tool suits you best.
| Features | ngrok | hermes |
|---|---|---|
| HTTP tunnel | ✅ | ✅ |
| SSH tunnel | ✅ | ❌ |
| IP Whitelisting | ✅ | ❌ |
| Custom sub-domain | ✅ | ✅ |
| Custom domain | ❌ | ✅ |
| Command Line Interface | ✅ | ❌ (not priority) |
| Authentication | ✅ | ✅ |
| Web based real time dashboard | ❌ | ✅ |
| Concurrent clients | ❌ | ✅ |
| Concurrency management among clients | ❌ | ✅ |
| Concurrency management (clients + servers) | ❌ | ⏳ (Plan for 2.0) |
| Server to server management | ❌ | ⏳ (Plan for 2.0) |
| Retry strategy for failed requests | ❌ | ⏳ (Plan for 2.0) |
| Request replay | ✅ | ⏳ (Plan for 3.0) |
| Open-source | ❌ | ✅ |
- NodeJS 8+
- ReactJS w/ styled-components
- Jest
- Lerna
- We do not use Babel, why because we believe Node is now mature enough, and who REALLY needs
import/exportin 2018. - We try to use as less as possible package for the
bridgeandadaptorpackages in order to keep focus on performance and limitate the dependency tree. - We use the same eslint configuration for all the repository, it is opinionated, but we are good with that.
- Adaptor is able to restart on error
- Adaptor send fixed token to bridge
- Adaptor warn all users that a new adaptor connects
- Bridge validates the adaptor token
- Bridge prevents any adaptor that do not provide an auth token to receive data
- Bridge is able to emit a fallback response if no adaptor is connected
- Dashboard provides auth
- Dashboard provides adaptor management in real time
- Dashboard provides console debug in real time
- Dashboard provides provider(s) requests management
- Provide an integration test suite
- Provide multiple types of requests (string, JSON, files, buffer, methods...)
This project is distributed under the MIT License.