This is the source repository for the trusted builds of the mhubig/partkeepr
docker image releases. For more information on PartKeepr check out the website.
The most recent version is: 1.4.0-20
To use it, you need to have a working docker installation. Start by cloning the repo and running the following commands:
export PARTKEEPR_OCTOPART_APIKEY=0123456 # optional, get one here https://octopart.com
docker-compose up # add -d to run in deamon mode
This will start PartKeepr and a preconfigured MariaDB database container.
To get a list of all supported PARTKEEPR_ environment variables go to the file
mkparameters, starting at line 15.
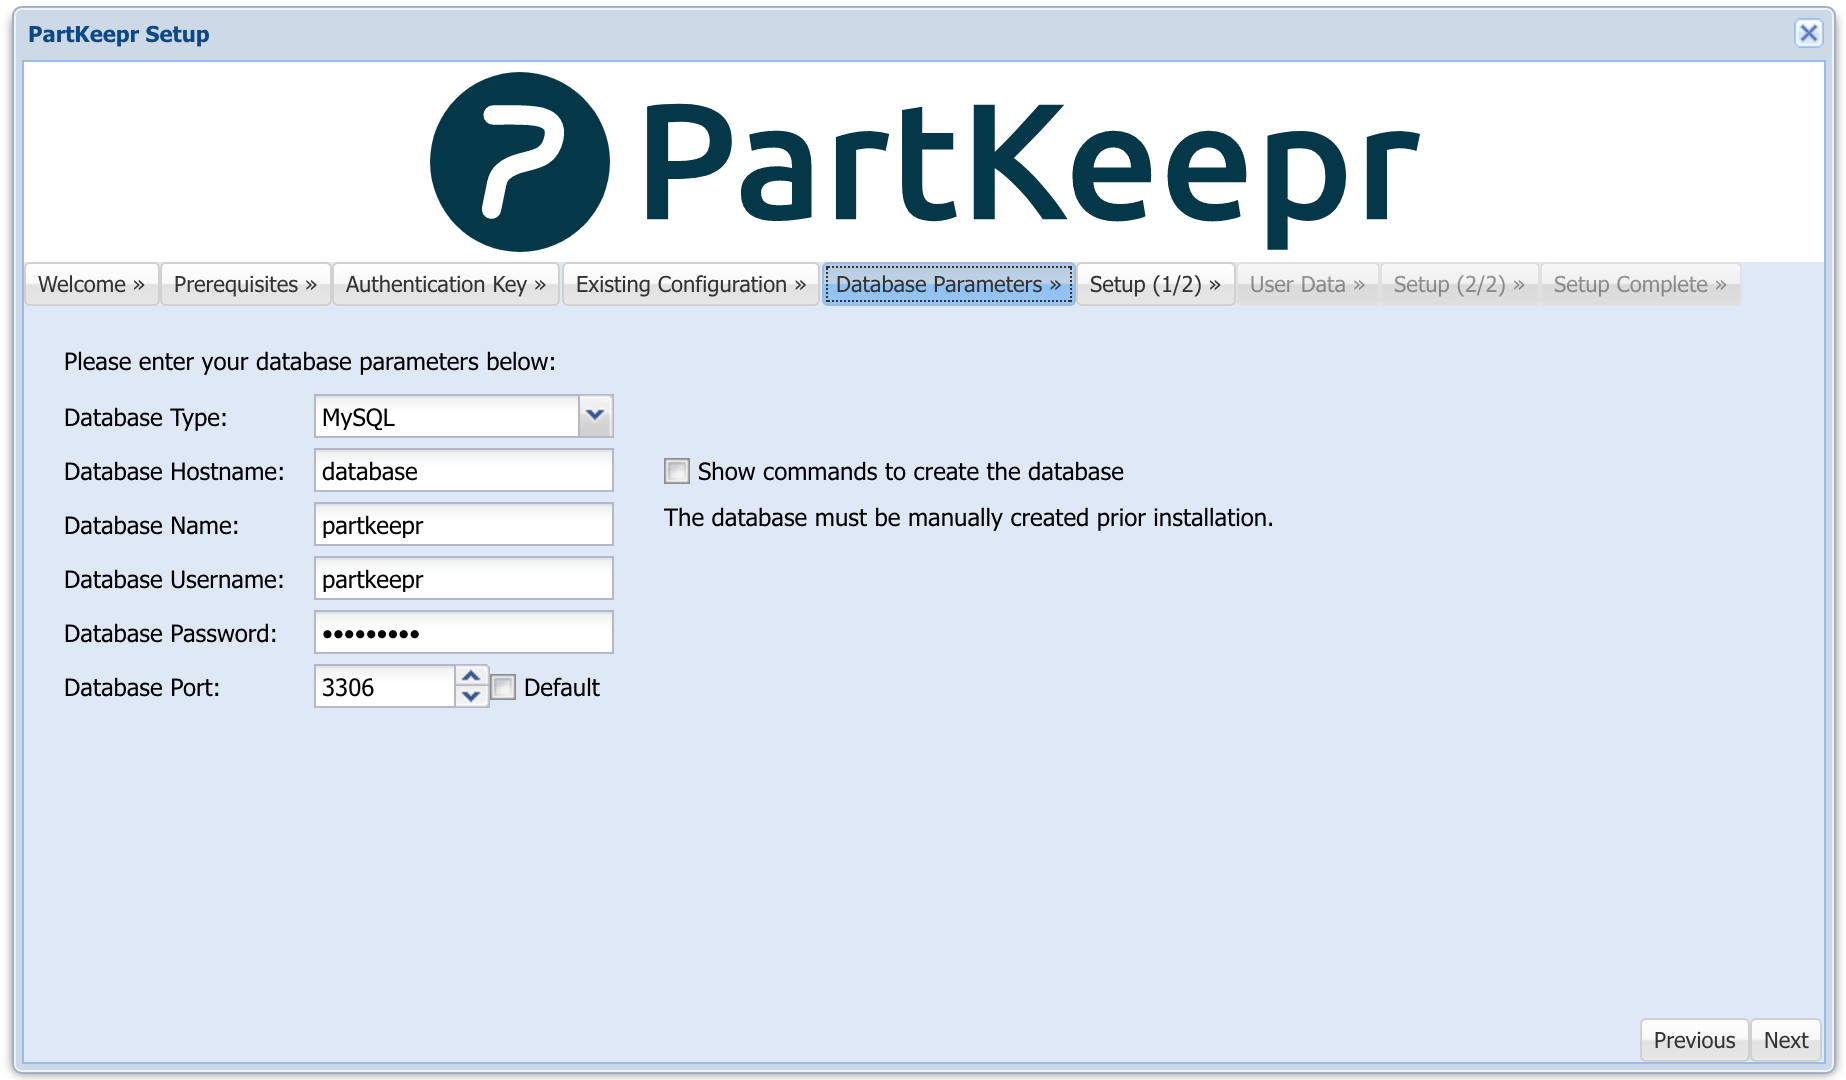
Now open the partkeepr setup page (e.g.: http://localhost:8080/setup) and follow the instructions. To get the generated authentication key execute the following command:
docker-compose exec partkeepr cat app/authkey.phpThe default database parameters are:
docker build -t mhubig/partkeepr:latest --rm .
docker run -d -p 8080:80 --name partkeepr mhubig/partkeeprSince I have switched to GitHub Flow, releasing is now quite simple. Ensure you are on master, bump the version number and push:
./bump-version.sh 1.4.0-20
git push && git push --tagsThis git repo is connected to a build Pipeline at https://hub.docker.com. A new
Image is build for every Tag pushed to this repo. The images are taged with a
version number (e.g. 1.4.0-20) and latest.
Commands to backup the volumes using a busybox container. Consider containers named: partkeepr-cronjob-1, partkeepr-database-1 and partkeepr-partkeepr-1.
- If you find any problem with busybox you can substitute
busyboxforubuntuon the commands. - You can omit the
vflag ontarto avoid verbosity.
- Move to the folder where you want to save your backups:
cd ~/backups/partkeepr. - Stop the containers:
docker stop partkeepr-partkeepr-1 partkeepr-database-1 partkeepr-cronjob-1 - Execute these commands to create compressed tarballs.
docker run --rm --volumes-from partkeepr-database-1 -v $(pwd):/backup busybox tar cvzf /backup/backup_database_$(date +"%Y-%m-%d_%H-%M").tar /var/lib/mysql
docker run --rm --volumes-from partkeepr-partkeepr-1 -v $(pwd):/backup busybox tar cvzf /backup/backup_partkeepr_$(date +"%Y-%m-%d_%H-%M").tar /var/www/html/app/config /var/www/html/data /var/www/html/web- Copy the resultant tarballs using
scporrsyncto your hard drive or cloud to backup them.
After creating a new partkeepr docker stack follow next steps to restore your data using a busybox container.
- If you find any problem with busybox you can substitute
busybox shforubuntu bashon the commands. - You can omit the
vflag ontarto avoid verbosity.
- Important! Move to the folder where you have your backups:
cd ~/backups/partkeepr. Needed to mount the tarball in the container. - Important! Stop the containers:
docker stop partkeepr-partkeepr-1 partkeepr-database-1 partkeepr-cronjob-1. It doesn't work when the containers are runnning. - Execute these commands to extract the compressed tarballs into their respective volumes.
docker run --rm --volumes-from partkeepr-database-1 -v $(pwd):/backup busybox sh -c "cd / && tar xvf /backup/backup_database_2023-03-14_16-00.tar"
docker run --rm --volumes-from partkeepr-partkeepr-1 -v $(pwd):/backup busybox sh -c "cd / && tar xvf /backup/backup_partkeepr_2023-03-14_16-00.tar"- Start again the containers:
docker start partkeepr-partkeepr-1 partkeepr-database-1 partkeepr-cronjob-1and use your credentials to access the UI.