Create a GitHub Action and use it in a workflow.
⛳ Start
To start this course: 
We recommend creating a public repository, as private repositories will use Actions minutes.
After you make your own repository, wait about 20 seconds and refresh. I will go to the next step.
Automation is key for streamlining your work processes, and GitHub Actions is the best way to supercharge your workflow.
- Who is this for: Developers, DevOps engineers, students, managers, teams, GitHub users.
- What you'll learn: Create workflow files, trigger workflows, find workflow logs.
- What you'll build: An Actions workflow that will check emoji shortcode references in Markdown files.
- Prerequisites: In this course you will work with issues and pull requests, as well as edit files. We recommend you take the Introduction to GitHub course first!
- How long: This course is 5 steps and can be finished in less than two hours.
📝 Step 1: Create a workflow file
What is GitHub Actions: Actions are a flexible way to automate nearly every aspect of your team's software workflow. You can automate testing, continuously deploy, review code, manage issues and pull requests, and much more. The best part, these workflows are stored as code in your repository and easily shared and reused across teams. To learn more, check out the GitHub Actions feature page, or the GitHub Actions documentation.
First, we'll define a workflow that uses the action.
What is a workflow: Workflows are defined in special files in the .github/workflows directory. Workflows can execute based on your chosen event. For this lab, we'll be using the push event.
We went ahead and made a branch and pull request for you.
- Open a new browser tab, and work on the steps in your second tab while you read the instructions in this tab.
- Open the pull request from the
emoji-workflowbranch. - Add a file at
.github/workflows/emoji.ymlon theemoji-workflowbranch. - Add the following content to the
emoji.ymlfile:name: Check emoji shortcode on: push
- Commit the changes.
- Wait about 20 seconds then refresh this page for the next step.
🔰 Step 2: Add a job to your workflow file
Here's what it means:
name: A workflow for my Hello World filegives your workflow a name. This name appears on any pull request or in the Actions tab.on: pushindicates that your workflow will execute anytime code is pushed to your repository.
Next, we need to specify jobs to run.
What is a job: Workflows have jobs, and jobs have steps.
In this step, we will add a "build" job. We will specify ubuntu-latest as the fastest and cheapest job runner available.
- Update
emoji.ymlin theemoji-workflowbranch to:name: Check emoji shortcode on: push jobs: build: name: Check emoji shortcode runs-on: ubuntu-latest
- Click Start commit in the top right of the workflow editor.
- Type your commit message and commit your changes directly to your branch.
- Wait about 20 seconds then refresh this page for the next step.
🦾 Step 3: Add actions to your workflow file
Workflows have jobs, and jobs have steps. So now we'll add steps.
What are steps: Action steps will run during our job in order. Each step must pass for the next step to run. Action steps can be used from within the same repository, from any other public repository, or from a published Docker container image.
In our action,
- We will
git checkoutthe code, using a pre-built checkout action. - We'll run a bash script to check Markdown files.
- We'll fail (
exit 1) if any Markdown file contains an emoji without using emoji shortcodes.
- Update
emoji.ymlin theemoji-workflowbranch to:name: Check emoji shortcode on: push jobs: build: name: Check emoji shortcode runs-on: ubuntu-latest steps: - uses: actions/checkout@v2 - run: | if LC_ALL=C grep -R '[^ -~]' *.md; then echo "Use emoji shortcodes instead!" echo "See https://github.com/ikatyang/emoji-cheat-sheet/blob/master/README.md" exit 1 fi
- Click Start commit in the top right of the workflow editor.
- Type your commit message and commit your changes directly to your branch.
- Wait about 20 seconds then refresh this page for the next step.
 Step 4: Merge your workflow file
Merge this pull request so the action will be a part of the main branch.
- Merge the pull request from branch
emoji-workflow. - Delete your
emoji-workflowbranch (optional). - Wait about 20 seconds then refresh this page for the next step.
▶️ Step 5: Trigger the workflow
This action will run any time a new commit is created or pushed to the remote repository. Since you just created a commit, the workflow should have been triggered.
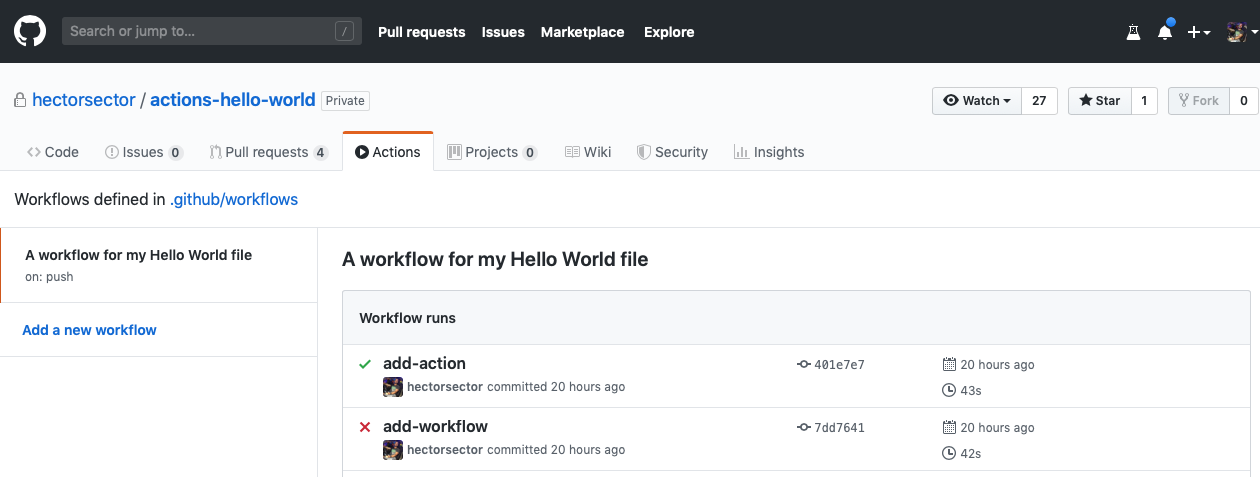
Seeing your action in action: The status of your action is shown here in the pull request (look for All checks have passed below), or you can click the "Actions" tab in your repository. From there you will see the actions that have run, and you can click on the action's "Log" link to view details.
- Make a new branch:
test-workflow. - Commit any change to your branch, such as adding an emoji to your README.md file.
- Open a pull request with branch:
test-workflow. - See your action run on your pull request.
- Wait about 20 seconds then refresh this page for the next step.
🏁 Finish

Here's a recap of all the tasks you've accomplished in your repository:
- You've created your first GitHub Actions workflow.
- You learned where to make your workflow file.
- You created an event trigger, a job, and steps for your workflow.
- You're ready to automate anything you can dream of.
- Review the GitHub Actions documentation on GitHub Docs.
- Use actions created by others in awesome-actions.
- We'd love to hear what you thought of this course in our community forum.
- Take another GitHub Learn Course.
- Read the GitHub Getting Started docs.
- To find projects to contribute to, check out GitHub Explore.
Get help: Post in our community forum • Review the GitHub status page
© 2022 GitHub • Code of Conduct • CC-BY-4.0 License