This Repo is not that much old but Astro is growing faster its hard for me to cachup due to some of my personal work. if anyone want to use this repo then please do update packages after cloning and look for astro docs to upgrade astro version. Netlify CMS intigration will work fine
This theme/template is designed and crafted by maxencewolff and futher develop by me
NB: Additional color themes can also be configured on the src/data/theme.ts file.
- You can modify all the information in the files in the
datafolder (presentation, social links, projects list, colors). - You can write articles in
markdownformat in thecontent/postsfolder. - deploy to netlify
- setup authentication for GithHub
All commands are run from the root of the project, from a terminal:
| Command | Action |
|---|---|
npm install |
Installs dependencies |
npm run dev |
Starts local dev server at localhost:3000 |
npm run build |
Build your production site to ./dist/ |
npm run preview |
Preview your build locally, before deploying |
npm run astro ... |
Run CLI commands like astro add, astro check |
npm run astro -- --help |
Get help using the Astro CLI |
-
seo friendly
-
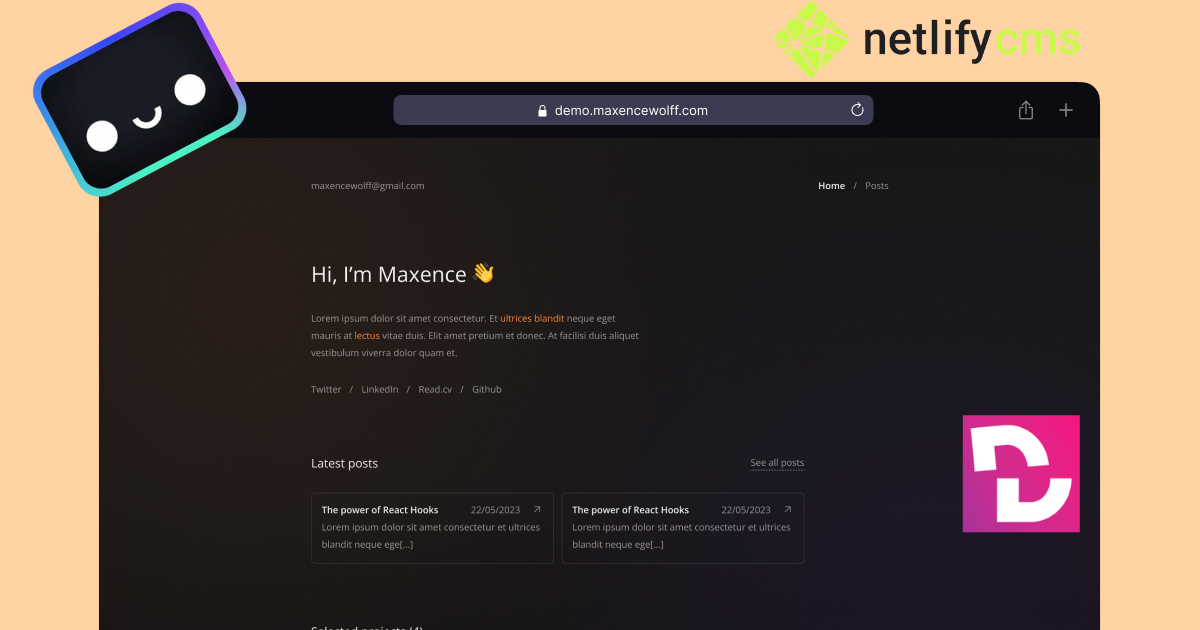
amazing UI/UX (thanks to maxencewolff)
-
easy to setup
-
write from anywhare with git based CMS
-
jampack (for optimization)
the main issue you will face will deploying the site is authentication. to solve this issue please use the guide bellow
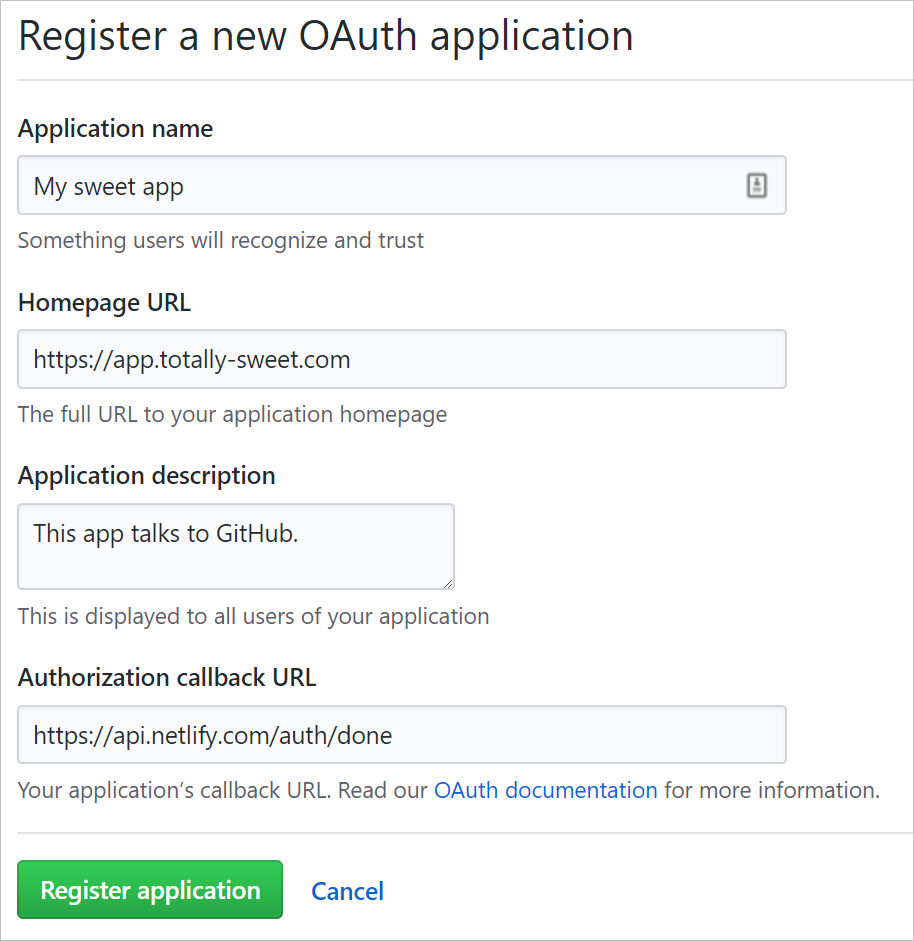
You need to create an API application and make note of the
Client IDand a Client Secret so that you can use them in your Netlify configuration.
- In GitHub, go to your account Settings and select Developer Settings, then OAuth Apps or use this shortcut.
- Select Register a new application.
- For the Authorization callback URL, enter
https://api.netlify.com/auth/done. The other fields can contain anything you want. - On your new application’s GitHub overview page, make note of the
Client ID. - Generate a
Client Secretand make note of it for later. You can’t access this secret again.
When you complete application registration with GitHub, you need to add the Client ID and Client Secret to your Netlify site:
- Go to Site configuration > Access control > OAuth.
- Under Authentication Providers, select Install Provider
- Select GitHub and enter the Client ID and Client Secret from earlier, then save.
That's it now enjoy 🥂