Payment Gateway - Allows merchants or/and merchant service providers to manage their hardware payment terminals’ configuration (such as wallet address) and set up the service provider–specific fees; provides additional transaction reporting and analytics. Also can handle online payments, plugin for work with platform WooCommerce.
**Hardware / Systems Requirement: **
OS: Ubuntu 18.04 LTS Bionic
| Name | Build Requirments | Run Requirements |
|---|---|---|
| RAM, GB | 8 | 2 |
| CPU, Cores | 2 | 2 |
| Storage, GB | 100 | 100 |
Note: In order to GraftNode (also called the cryptonode) work properly 28680 (P2P) port should be opened for incoming and outgoing traffic. If you are using other ports, please, make sure that you are open P2P port of the cryptonode.
- OS Linux, version - Needs Ubuntu 18 to build graft node (you have to install it yourself), Connections established from the Node are using P2P network. In order to work properly 28680 port should be opened for incoming and outgoing traffic.
- MySQL server, version - was tested with 8.0.13
- SMTP Server credentials (you have to do it yourself)
- Exchange Broker (you have to do it with: https://github.com/graft-project/exchange-broker/blob/master/README.md)
- Git
- Nginx server
sudo apt-get install -y git
You don`t need this step if you created this folder for Exchange Broker
2.1. Open a command prompt and run the following commands:
wget -q https://packages.microsoft.com/config/ubuntu/18.04/packages-microsoft-prod.deb
sudo dpkg -i packages-microsoft-prod.deb
2.2. Update the products available for installation, then install the .NET SDK.
In your command prompt, run the following commands:
sudo apt-get install apt-transport-https
sudo apt-get update
sudo apt-get install dotnet-sdk-2.1
If database was installed for Exchange Broker you need doing only command marked bold.
3.1. Update your package index:
sudo apt update
3.2. Install the mysql-server package:
sudo apt install mysql-server
3.3. Run the security script:
sudo mysql_secure_installation
This will take you through a series of prompts where you can make some changes to your MySQL installation security options.
- The first prompt will ask whether you’d like to set up the Validate Password Plugin, which can be used to test the strength of your MySQL password. Type y and ENTER to enable it. You will also be prompted to choose a level from 0–2 for how strict the password validation will be. Choose 1 and hit ENTER to continue.
- The next prompt will be to set a password for the MySQL root user. Enter and then confirm a secure password of your choice.
- From there, you can press Y and then ENTER to accept the defaults for all the subsequent questions. This will remove some anonymous users and the test database, disable remote root logins, and load these new rules so that MySQL immediately respects the changes you have made.
3.4. Test mysql is running:
sudo systemctl status mysql
3.5. If MySQL isn't running, you can start it with:
sudo systemctl start mysql
3.6. Login to mysql as root (password was created in 3.3):
sudo mysql -u root -p
You stay in mysql>
3.7. List databases:
show databases;
3.8. Create database and user:
create new database:
create database <DB name for PaymentGateway>
For example:
create database pg_test;
3.9. Create a new user and give it a strong password:
CREATE USER '<username>'@'localhost' IDENTIFIED BY '<user password>';
For example:
CREATE USER 'user1'@'localhost' IDENTIFIED BY 'User_001';
3.10. Grant new user the appropriate privileges for database:
GRANT ALL PRIVILEGES ON pg_test . * TO '<username>'@'localhost';
For example:
GRANT ALL PRIVILEGES ON pg_test . * TO 'user1'@'localhost';
3.11. Each time you update or change a permission be sure to use the Flush Privileges command:
FLUSH PRIVILEGES;
Check database:
show databases;
Quit MySql:
exit
Enter to MySql with new user:
sudo mysql -u <username> pg_test -p;
sudo mysql -u user1 pg_test -p;
Check tables of database (you must have empty set):
show tables;
Quit MySql:
exit
Include MySQL to autorun:
sudo systemctl enable mysql
If nginx was installed for Exchange Broker you need doing only command marked bold.
4.1. Install nginx
sudo apt install nginx
4.2. Check that nginx is running:
sudo systemctl status nginx
4.3. If you need to start nginx:
sudo systemctl start nginx
4.4. To enable the service to start up at boot:
sudo systemctl enable nginx
4.5. Creating Self-signed Certificates:
sudo openssl req -x509 -nodes -days 365 -newkey rsa:2048 -keyout /etc/ssl/private/<name+domain name >.key -out /etc/ssl/certs/<name+domain name >.crt
For example: For pg-test.graft.network
sudo openssl req -x509 -nodes -days 365 -newkey rsa:2048 -keyout /etc/ssl/private/pg-test.graft.network.key -out /etc/ssl/certs/pg-test.graft.network.crt
You will be asked a few questions about our server in order to embed the information correctly in the certificate. Fill out the prompts appropriately.
While we are using OpenSSL, we should also create a strong Diffie-Hellman group, which is used in negotiating Perfect Forward Secrecy with clients.
sudo mkdir /etc/nginx/ssl
sudo openssl dhparam -out /etc/nginx/ssl/dh2048.pem 2048
4.6. Make configuration files for in nginx:
go to /etc/nginx/conf.d:
cd /etc/nginx/conf.d
Create files <name + domain name>.conf
For example, for pg-test.graft.network.conf:
sudo nano pg-test.graft.network.conf
Insert next information: For our example pg-test.graft.network.conf:
upstream localhost-5000 {
keepalive 64;
  server 127.0.0.1:5000 max_fails=2 fail_timeout=5s;
}

upstream localhost-5001 {
keepalive 64;
  server 127.0.0.1:5001 max_fails=2 fail_timeout=5s;
}

server {
        listen 80;
        server_name pg-test.graft.network;
        access_log  /var/log/nginx/pg-test.graft.network.access.log;

        location /.well-known/ {
            alias /var/www/pg-test.graft.network/.well-known/;
        }

        location / {
            proxy_pass       http://localhost-5000;
            proxy_set_header Host      $host;
            proxy_set_header X-Real-IP $remote_addr;
#            return 301 https://$host$request_uri;
        }
}


server {
       listen 443 ssl http2;

        server_name pg-test.graft.network;
       access_log  /var/log/nginx/pg-test.graft.network.ssl.access.log;

       location / {
              proxy_pass       https://localhost-5001;
              proxy_set_header Host      $host;
              proxy_set_header X-Real-IP $remote_addr;
              proxy_set_header X-Forwarded-Proto $scheme;
        }

    ssl_certificate      /etc/ssl/certs/pg-test.graft.network.crt;
    ssl_certificate_key  /etc/ssl/private/pg-test.graft.network.key;
    ssl_dhparam /etc/nginx/ssl/dh2048.pem;
    ssl_session_cache shared:SSL:60m;
    ssl_session_timeout 1d;
    ssl_session_tickets off;

    ssl_protocols TLSv1 TLSv1.1 TLSv1.2;
    ssl_ciphers 'ECDHE-ECDSA-CHACHA20-POLY1305:ECDHE-RSA-CHACHA20-POLY1305:ECDHE-ECDSA-AES128-GCM-SHA256:ECDHE-RSA-AES128-GCM-SHA256:ECDHE-ECDSA-AES256-GCM-SHA384:ECDHE-RSA-AES256-GCM-SHA384:DHE-RSA-AES128-GCM-SHA256:DHE-RSA-AES256-GCM-SHA384:ECDHE-ECDSA-AES128-SHA256:ECDHE-RSA-AES128-SHA256:ECDHE-ECDSA-AES128-SHA:ECDHE-RSA-AES256-SHA384:ECDHE-RSA-AES128-SHA:ECDHE-ECDSA-AES256-SHA384:ECDHE-ECDSA-AES256-SHA:ECDHE-RSA-AES256-SHA:DHE-RSA-AES128-SHA256:DHE-RSA-AES128-SHA:DHE-RSA-AES256-SHA256:DHE-RSA-AES256-SHA:ECDHE-ECDSA-DES-CBC3-SHA:ECDHE-RSA-DES-CBC3-SHA:EDH-RSA-DES-CBC3-SHA:AES128-GCM-SHA256:AES256-GCM-SHA384:AES128-SHA256:AES256-SHA256:AES128-SHA:AES256-SHA:DES-CBC3-SHA:!DSS';
    ssl_prefer_server_ciphers on;
}
After that, press Ctrl-X and Y and ENTER
4.7. Restart nginx:
sudo systemctl restart nginx
5.1. Create a folder to store the sources (for example src) and clone the repositories into this folder:
mkdir  src
cd src
git clone --recurse-submodules  https://github.com/graft-project/payment-gateway.git
5.2. Go to folder:
cd payment-gateway/PaymentGateway
5.3. Build and publish the binaries into created folder:
dotnet publish -c release -v d -o "/home/ubuntu/graft/pg" --framework netcoreapp2.1 --runtime linux-x64 PaymentGateway.csproj
Where
/home/ubuntu/graft/pg - a folder where stored the binaries (created automatically),
Ubuntu - username for OS Ubuntu.
After this you will have compiled binaries of the Payment Gateway stored in the folder /home/ubuntu/graft/pg. The next step is to prepare the database.
All settings related to the Payment Gateway application stored in the config file ‘appsettings.json’ located in the root bin directory, in our case "home/ubuntu/graft/pg". Open this file and add/edit following sections:
sudo nano /home/ubuntu/graft/pg/appsettings.json
6.1 EmailSender – this settings required to send emails via your SMTP server.
"EmailSender": {
    "UserName": "<smtp-user-name>",
    "Password": "<password>",
    "Server": "<your-server-url>.com",
    "Port": "587",
    "Address": "info@graft.network",
    "DisplayName": "GRAFT Network"
  },
6.2. DB – settings to access previously created database
"DB": {
    "UserName": "root",
    "Password": "testpass",
    "DbName": "payment_gateway",
    "Server": "127.0.0.1",
    "Port": "3306"
  },
Take in mind these sections contain sensitive information! After this edit following sections:
6.3. Watcher – this is internal service responsible for monitoring application state and inform the administrator via email in case of any troubles.
  "Watcher": {
    "AdminEmails": "admin-addres@mail.com",
    "ErrorEmailSubject": "Payment Gateway Error (_service_name_)",
    "WarningEmailSubject": "Payment Gateway Warning (_service_name_)",
    "RestoreEmailSubject": "Payment Gateway Restore (_service_name_)",
    "CheckPeriod": "10000"
  },
service_name - is a placeholder for the particular service, leave it as it is.
CheckPeriod – interval in milliseconds to perform periodical check of the application state
6.4. RateCache - this is internal service responsible for getting and store current exchange rate for the supported cryptocurrencies. At this moment BTC, ETH and GRFT are supported.
"RateCache": {
	"SupportedCryptocurrencies": [
  	{
    	"Validity": 30000,
   	 "TolerancePeriod": 300000,
    	"CurrencyCode": "BTC",
    	"CurrencyName": "Bitcoin",
    	"Ticker": 1
  	},
  	{
    	"Validity": 30000,
    	"TolerancePeriod": 300000,
    	"CurrencyCode": "ETH",
    	"CurrencyName": "Ethereum",
    	"Ticker": 1027
  	},
  	{
    	"Validity": 30000,
    	"TolerancePeriod": 300000,
    	"CurrencyCode": "GRFT",
    	"CurrencyName": "GRAFT",
    	"Ticker": 2571
  	}
	],
	"SendErrorEmail": true,
	"SendWarningEmail": true,
	"SendRestoreEmail": true
  },
In this section, you can edit ‘Validity’ and ‘TolerancePeriod’ parameters. All other parameters leave as they are.
Validity – time period in milliseconds in which we don't need to pull fresh exchange rate from the server.
TolerancePeriod – time period in milliseconds in which it is allowed to use stored exchange rate. This parameter used when there are issues accessing the rate server – in this period if the new rate cannot get, old rate will be used. After the expiration of the Tolerance Period, an error will be produced when trying to make a payment through the gateway.
6.5. PaymentService - this section contains settings for Pay-out Broker.
  "PaymentService": {
    "PaymentTimeout": 960000,
    "DapiUrl": "http://localhost:28690/dapi/v2.0/",
    "GraftWalletAddress": "F...",
    "GraftWalletUrl": "http://localhost:29800/"
  }
where:
PaymentTimeout – wallet time-out (15min)
DapiUrl – GRAFT DAPI URL.
GraftWalletAddress – Graft Wallet address, which will receive money from the Exchange Broker and from which we will send money to the Exchange Broker to exchange for stable currencies.
GraftWalletUrl – RPC address for GRAFT wallet
6.6. ExchangeBroker – this section contains Exchange Broker URL. See the Exchange Broker setup instructions.
  "ExchangeBroker": {
	"Url": "https://localhost:44303/v1.0/"
  },
After you have edited all required parameters, save the ‘appsettings.json’. Next step – database initialization.
6.7. Admin - settings for service administrator
"Admin": {
    "DefaultPassword": "GRAFT_admin1"
  },
where: GRAFT_admin1 - default password for service administrator
7.1. To run the application, open a command prompt and run the following commands:
cd /home/ubuntu/graft/pg
nohup ./PaymentGateway &
After this payment gateway should be accessible https:// URL. In case of issues see log files. If you need to restart the application, e.g. when editing configuration files, use following commands:
pkill PaymentGateway
nohup ./PaymentGateway &
7.2. Logging Payment Gateway application writes log files into logs directory (in our example - ~/graft/pg). How logs are collected configured via ‘nlog.config’ file. You can edit this file, to apply new setting Payment Gateway need to be restarted:
pkill PaymentGateway
nohup ./PaymentGateway &
8.1. Open the link: https:// Where: is name, which you created in ngnix + your domain name.
For example:
https://pg-test.graft.network
8.2. You should see the screen Payment Gateway Terminal (pic.1):
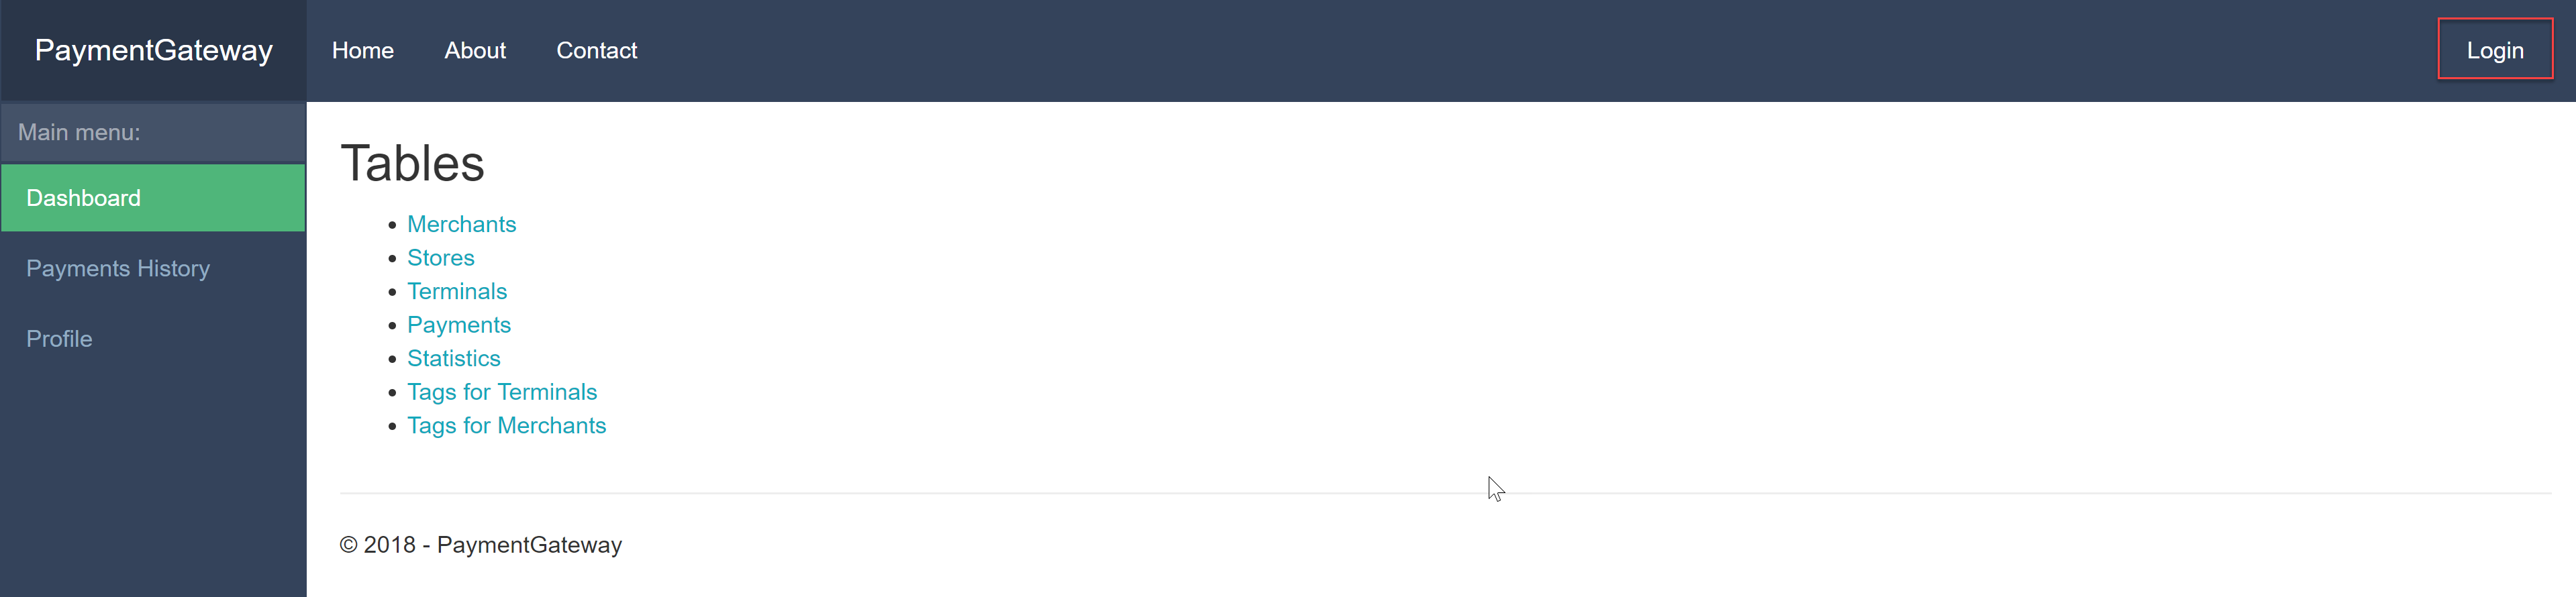
Pic.1
8.3. Press Login button (pic.1)
8.4. You should see the screen (pic.2):
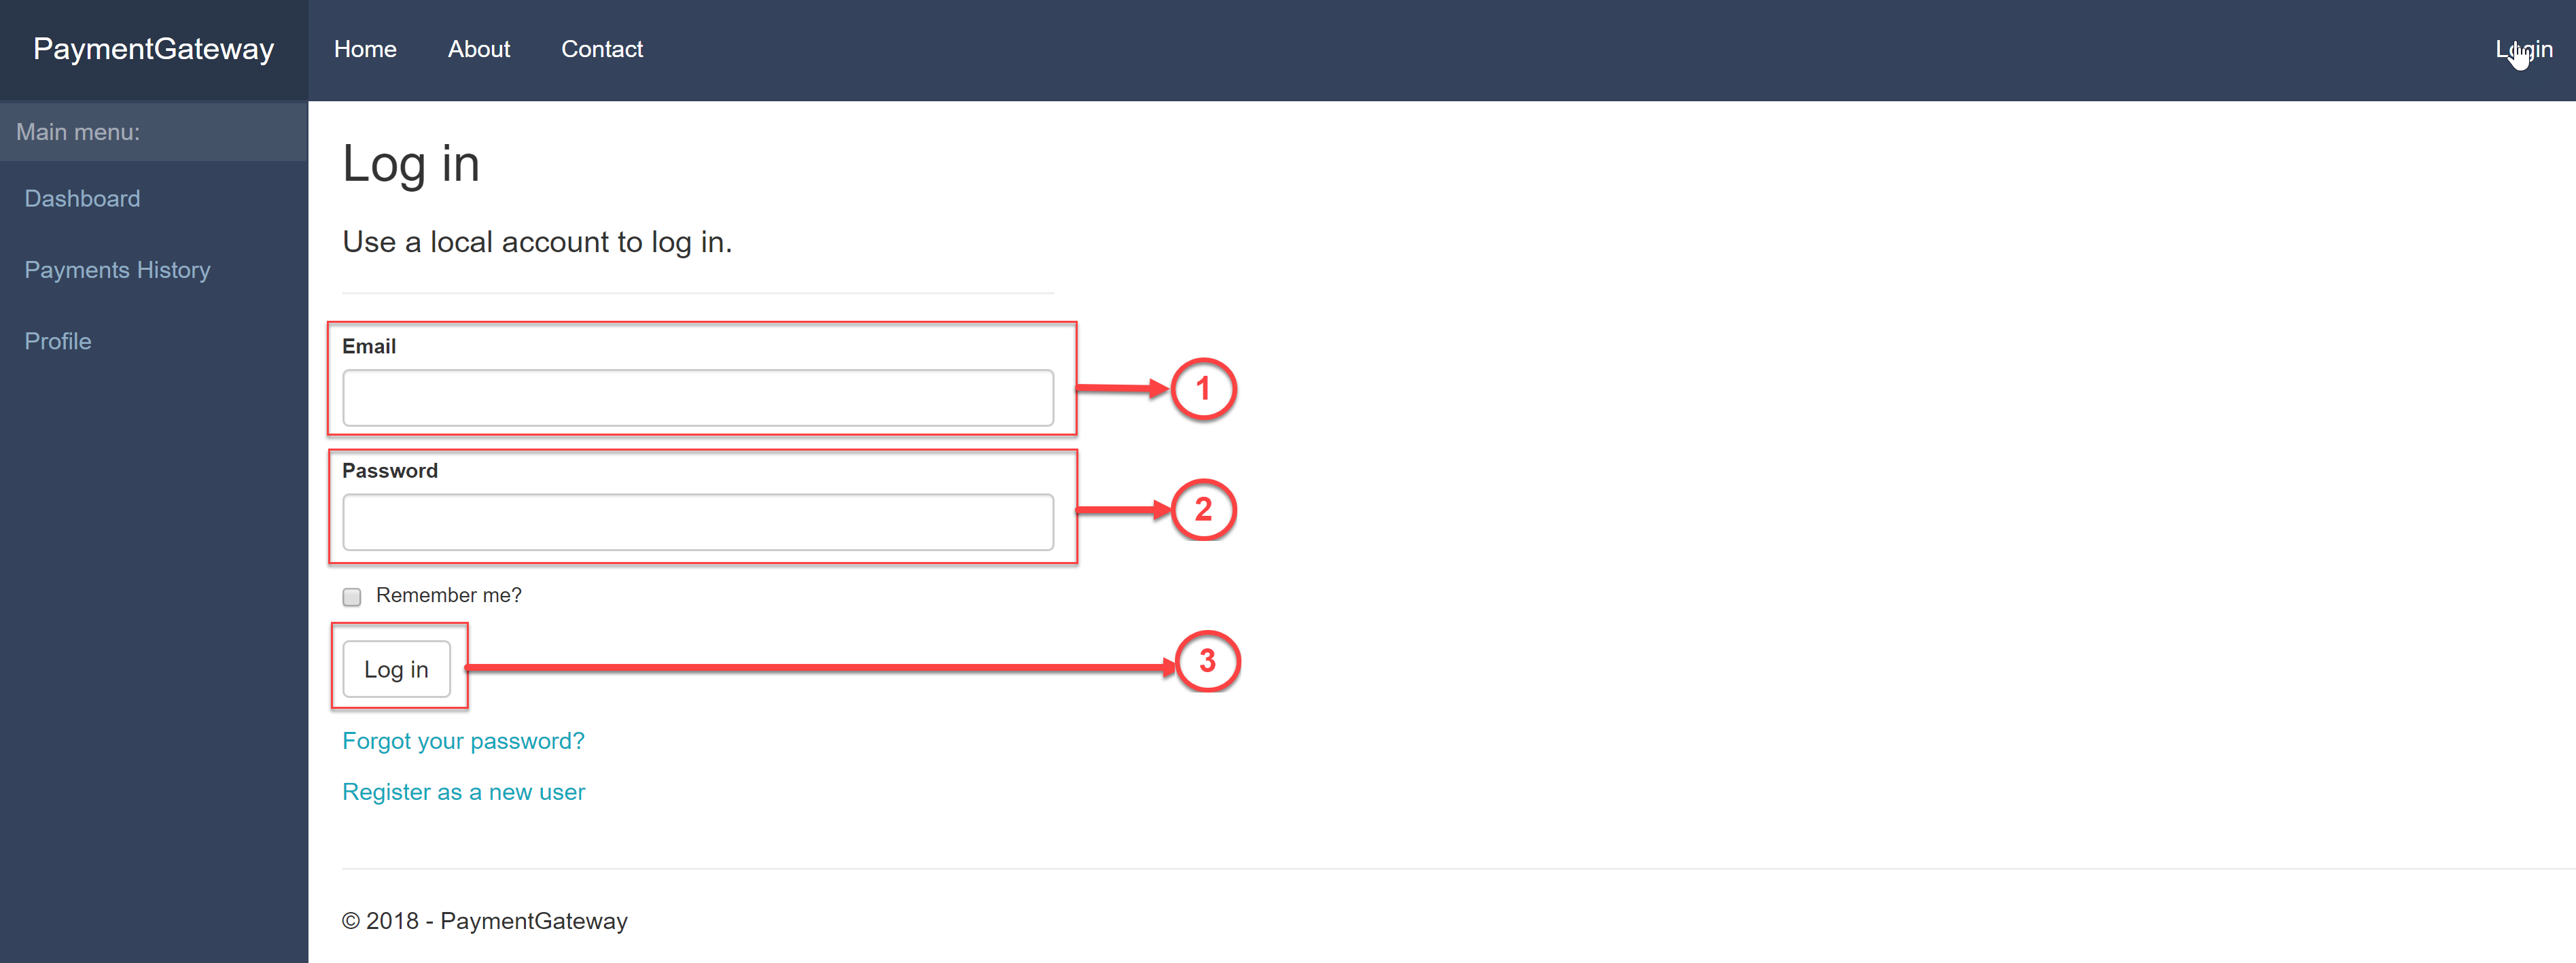
Pic.2
8.5. Enter admin in field (pic.2, [1]), password(pic.2, [2]) from setting section “Admin” and press “Log in” button (pic.2, [3]).
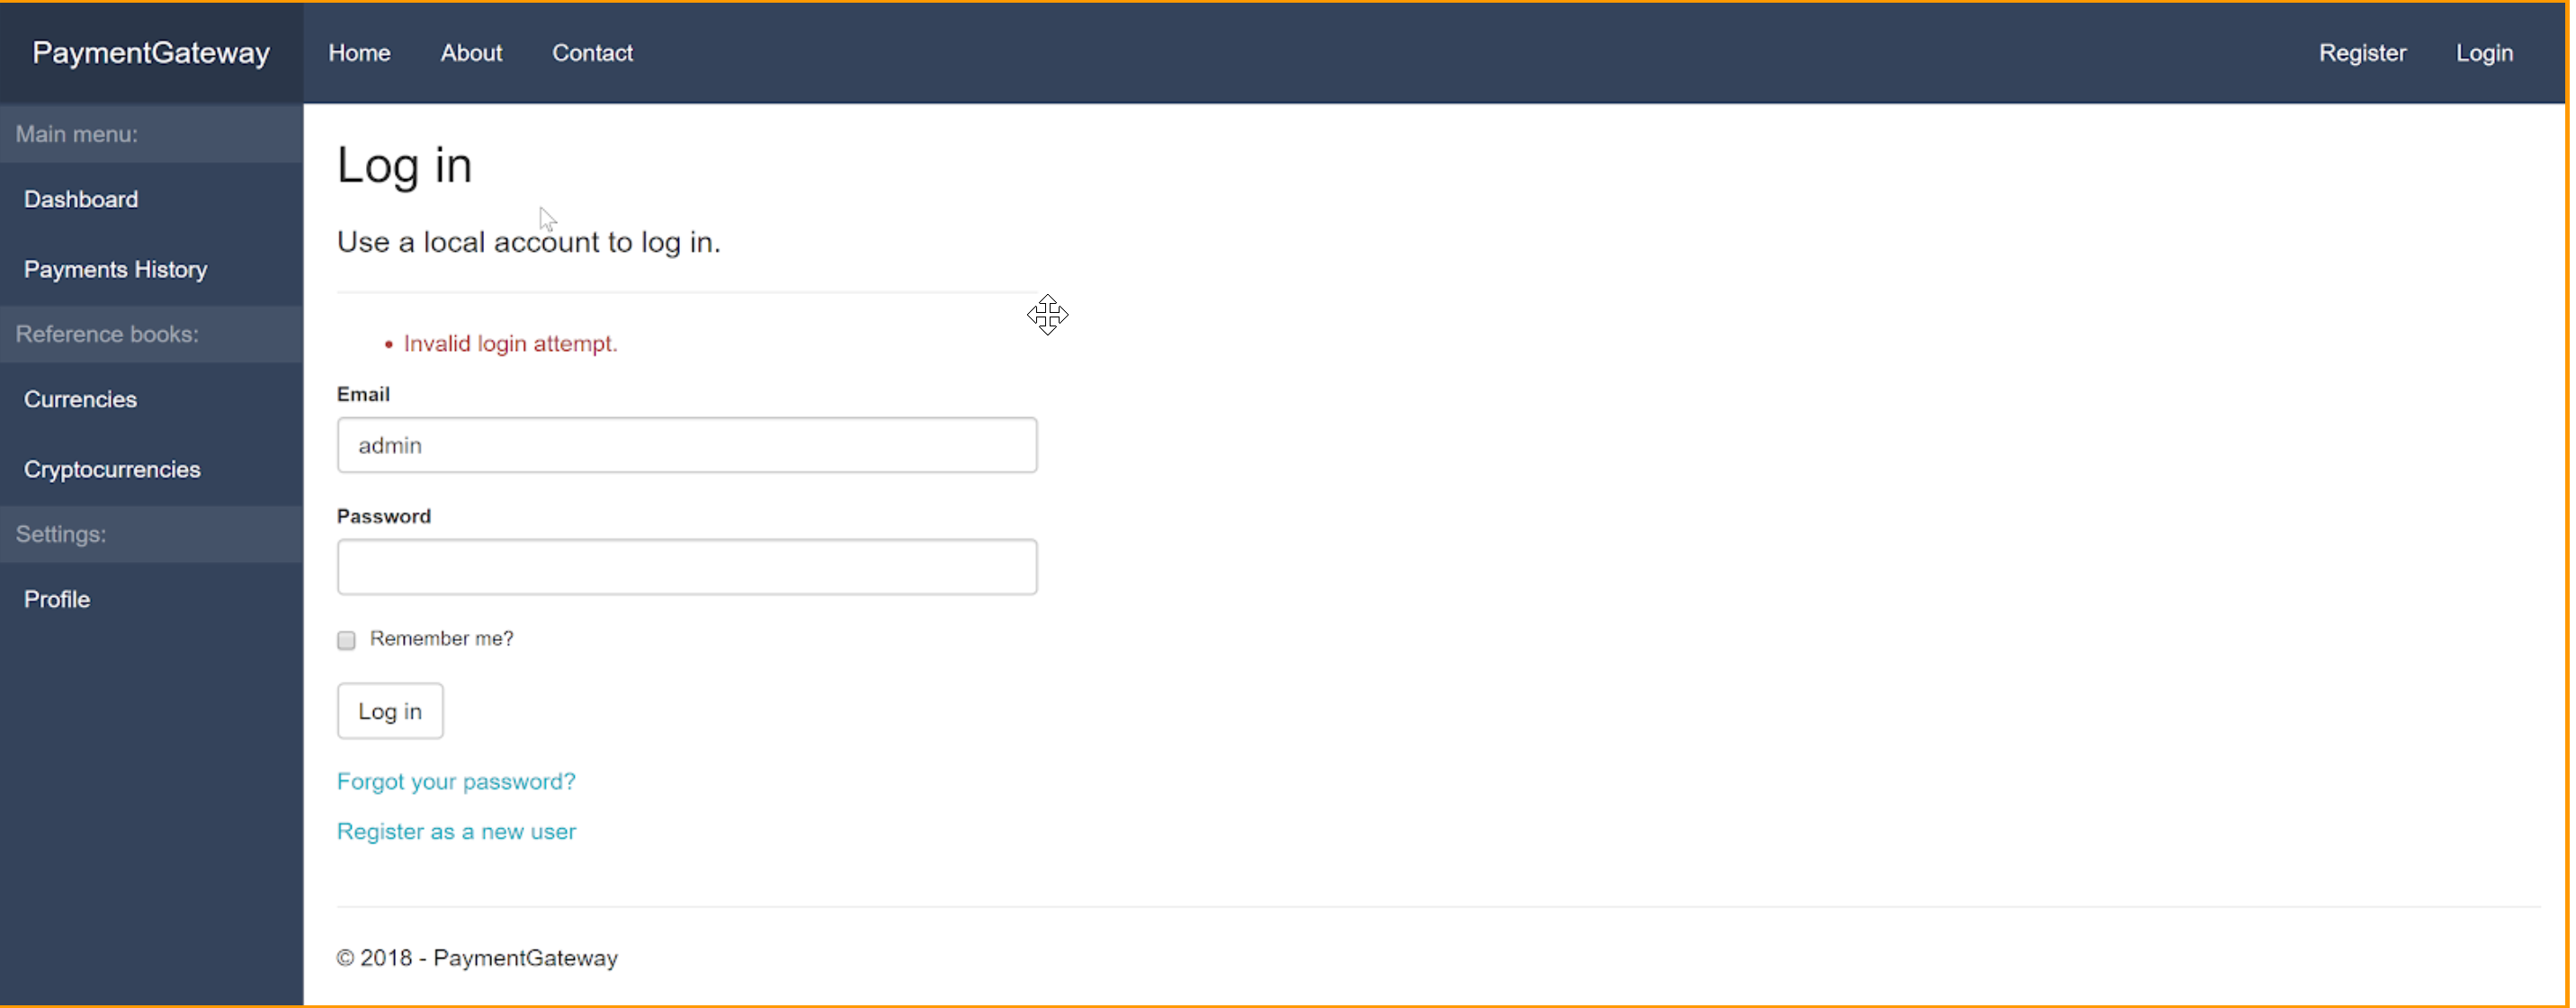
8.6. Payment Gateway Terminal is successful installed if you should see the main menu on the screen (pic.3):

8.7. You have to do next steps with guides “Service Provider” and “Merchant” .
Error # 1
 Solution: Run Payment Gateway (see )
Error # 2
 Solution: check entered login and password with setting section “Admin”.