GUI for OpenGL 4 for C#
This code originated with my second generation graphics engine (Orchard Sun) and was then incorporated into my voxel engine (Summer Dawn) which powers Live Love Farm. I thought it would be neat to release all of this code as open source, since it might be interesting and helpful. This code also supports the new System.Numerics code from the OpenGL library, so you can compile with USE_NUMERICS if you would like!
Check the included LICENSE.md file for the license associated with this code. The code is currently licensed under the MIT license.
This project includes a .sln and .csproj file which will create a class library. This class library uses the OpenGL.UI namespace, which extends the OpenGL namespace from OpenGL 4 for C#.
OpenGL.UI.Controls contains several built-in controls.
- Button
- Check Box
- Color Picker (standard HSL with RGB output)
- Console (a TextBox with input)
- List Box
- Slider
- Text
- Text Box
- Text Input
There are several more controls on the way. They just have to be converted from Live Love Farm over to this new OpenGL.UI project. Currently I have only tested the Text and Button Controls in this new project. However, I expect the Check Box, Dialog Box, List Box, Slider and Text Box should (for the most part) function correctly. I do not expect the Console or Text Input to work at all, since they rely on Keyboard input, which OpenGL.UI does not currently support.
I will include several example projects in the Examples directory.
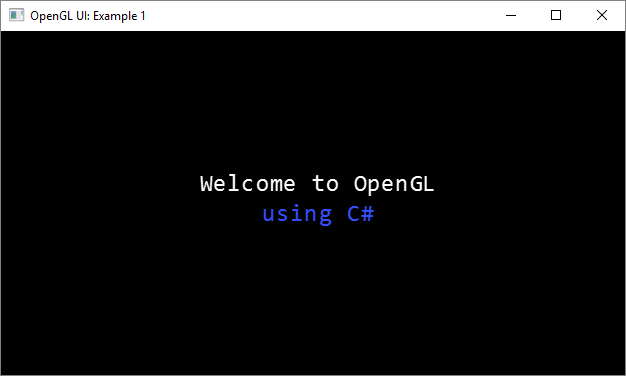
In this first example we create a window using FreeGlut. Nearly all of the code in this example is either to initialize FreeGlut, or to hook up the callbacks from FreeGlut correctly. The interesting portion of the code is here:
// create some centered text
OpenGL.UI.Controls.Text welcome = new OpenGL.UI.Controls.Text(OpenGL.UI.Controls.Text.FontSize._24pt,
	"Welcome to OpenGL", OpenGL.UI.Controls.BMFont.Justification.Center);
welcome.RelativeTo = OpenGL.UI.Corner.Center;

// create some colored text
OpenGL.UI.Controls.Text coloredText = new OpenGL.UI.Controls.Text(OpenGL.UI.Controls.Text.FontSize._24pt,
	"using C#", OpenGL.UI.Controls.BMFont.Justification.Center);
coloredText.Position = new OpenGL.UI.Point(0, -30);
coloredText.Color = new Vector3(0.2f, 0.3f, 1f);
coloredText.RelativeTo = OpenGL.UI.Corner.Center;

// add the two text object to the UI
OpenGL.UI.UserInterface.AddElement(welcome);
OpenGL.UI.UserInterface.AddElement(coloredText);
We add two Text objects to the screen. Notice that they are marked as being relative to the center of the screen. This means their positions will update properly when the screen is resized. Try it out!
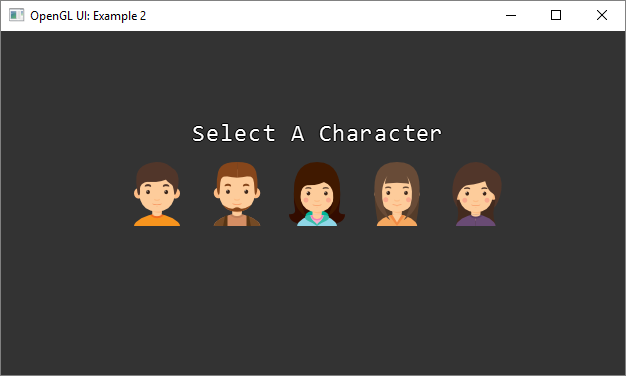
In this second example we create several Button elements and attach OnMouseEnter, OnMouseLeave, OnMouseClick, OnMouseDown and OnMouseUp events. Each Button has a Texture that is loaded from an included data directory. Here's the interesting bit of code, which makes heavy use of lambda functions.
// create buttons in a row, each of which uses a Texture (the Texture gives the initial size of the Button in pixels)
OpenGL.UI.Controls.Button button = new OpenGL.UI.Controls.Button(textures[i]);
button.Position = new OpenGL.UI.Point(xoffset, 5);
button.RelativeTo = OpenGL.UI.Corner.Center;

// change the color of the button when entering/leaving/clicking with the mouse
button.OnMouseEnter = (sender, e) => button.BackgroundColor = new Vector4(0, 1f, 0.2f, 1.0f);
button.OnMouseLeave = (sender, e) => button.BackgroundColor = Vector4.Zero;
button.OnMouseDown = (sender, e) => button.BackgroundColor = new Vector4(0, 0.6f, 1f, 1f);
button.OnMouseUp = (sender, e) => button.BackgroundColor = (OpenGL.UI.UserInterface.Selection == button ? new Vector4(0, 1f, 0.2f, 1.0f) : Vector4.Zero);

// update the text with the character name when the button is clicked
button.OnMouseClick = (sender, e) => characterName.String = string.Format("You selected {0}!", character);
Note: Icons made by Freepik from http://www.flaticon.com are licensed by CC 3.0 BY.
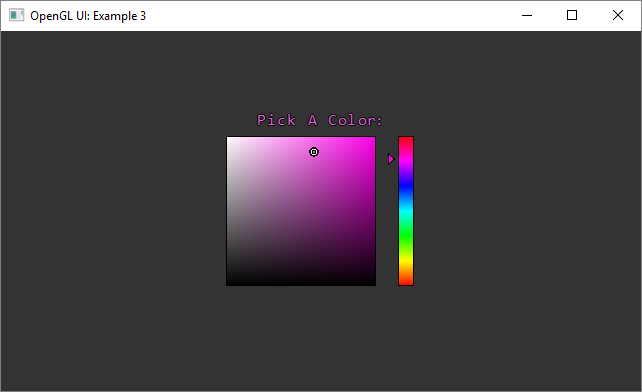
In this third example we try out some color picking. There are two built-in controls that can help with this (I have plans to merge them into a single control later). We can create a hue slider and a color picker. Here's the relevant code.
// create the color picker itself
OpenGL.UI.Controls.ColorGradient gradient = new OpenGL.UI.Controls.ColorGradient();
gradient.RelativeTo = OpenGL.UI.Corner.Center;
gradient.Position = new OpenGL.UI.Point(-20, 0);
gradient.OnColorChange = (sender, e) => selectText.Color = gradient.Color;

// and create a hue slider that can control the types of colors shown in the color picker
OpenGL.UI.Controls.HueGradient hue = new OpenGL.UI.Controls.HueGradient();
hue.RelativeTo = OpenGL.UI.Corner.Center;
hue.Position = new OpenGL.UI.Point(80, 0);

// add the color picker and its hue slider to the UI
OpenGL.UI.UserInterface.AddElement(gradient);
OpenGL.UI.UserInterface.AddElement(hue);
Also, to switch things up a bit I moved this example over to SDL2, which is more modern and deals with newer versions of Windows a bit better. I wrapped most of the SDL calls into a Window class, so that makes the Program.cs file much smaller and easier to understand. Here's the color picker in action (low quality gif to save on size):
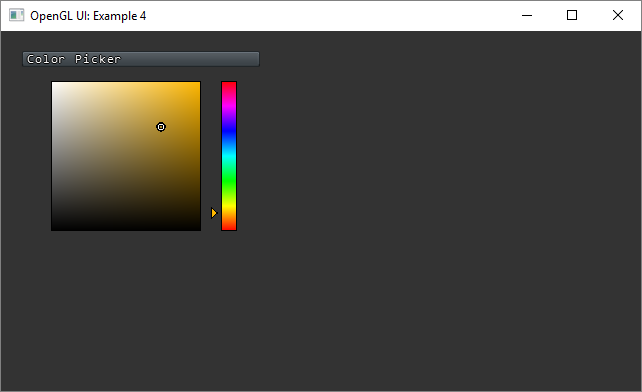
In this next example we place the color picker into its own UIContainer. The UIContainer can hold as many user interface elements as we would like, including other containers! If we move the UIContainer then all of its child elements will move as well. This allows us to create dialog boxes, menus and other groupable/moveable things.
I've put a menubar in the UIContainer, and added some simple code that will move the entire UIContainer with the mouse. Here's the relevant code:
// add some events that will move the entire color picker container with the menu bar
bool moving = false;
menu.OnMouseDown = (sender, e) =>
    {
        moving = true;
        menu.BackgroundTexture = menuSelectedTexture;   // make it look nice by swapping the menubar texture
    };
menu.OnMouseUp = (sender, e) =>
    {
        moving = false;
        menu.BackgroundTexture = menuTexture;   // make sure to restore the menubar texture
    };
menu.OnMouseMove = (sender, e) =>
    {
        if (moving)
        {
            int x = colorPickerContainer.Position.x +
			    OpenGL.UI.UserInterface.MousePosition.x - OpenGL.UI.UserInterface.LastMousePosition.x;
            int y = colorPickerContainer.Position.y +
			    OpenGL.UI.UserInterface.MousePosition.y - OpenGL.UI.UserInterface.LastMousePosition.y;
            colorPickerContainer.Position = new OpenGL.UI.Point(x, y);
            colorPickerContainer.OnResize();
        }
    };
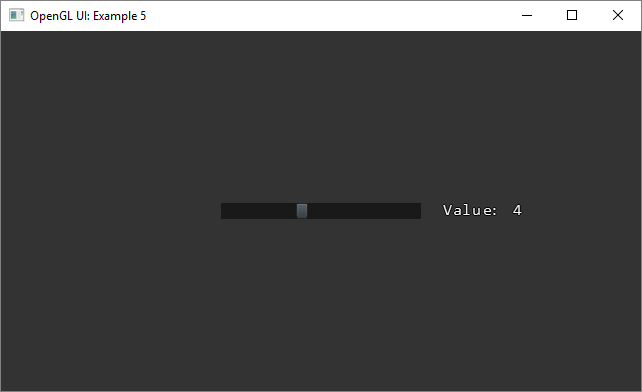
This this fifth example we try out the Slider control. The slider is pretty simple to use, with a maximum, minimum and value property. You can also lock the slider to the closest integer value, which results in the animated image above. Here's the relevant construction of the Slider control:
// create a slider with a specified texture
sliderTexture = new Texture("data/slider.png");

OpenGL.UI.Controls.Slider slider = new OpenGL.UI.Controls.Slider(sliderTexture);
slider.RelativeTo = OpenGL.UI.Corner.Center;
slider.BackgroundColor = new Vector4(0.1f, 0.1f, 0.1f, 1f);
slider.LockToSteps = true;
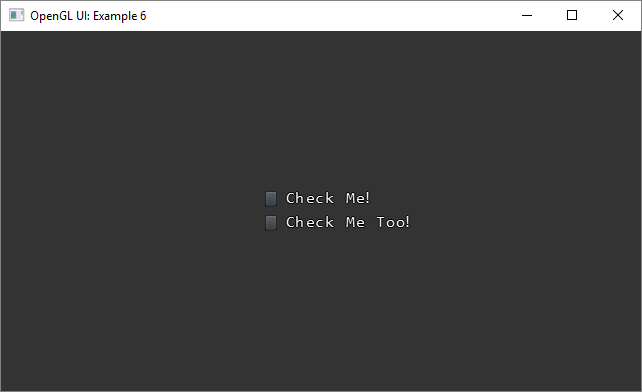
In this example we create two simple CheckBox controls. They're pretty simple, and use two textures - one for the 'checked' state, and one for the 'unchecked' state. Here's the relevant code:
OpenGL.UI.Controls.CheckBox checkbox1 = new OpenGL.UI.Controls.CheckBox(checkBoxTexture, checkBoxCheckedTexture,
    OpenGL.UI.Controls.BMFont.LoadFont("fonts/font16.fnt"), "Check Me!");
checkbox1.RelativeTo = OpenGL.UI.Corner.Center;
checkbox1.Position = new OpenGL.UI.Point(-50, 12);
checkbox1.OnCheckedChanged = (sender, e) => checkbox1.Text = (checkbox1.Checked ? "Thanks!" : "Check Me!");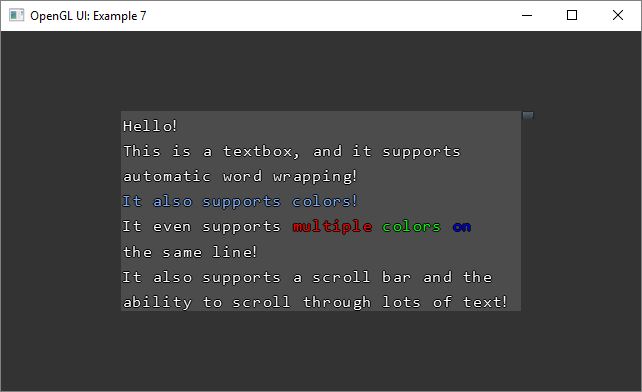
In this example we create a TextBox control. The TextBox control has a lot of functionality, including word wrapping, color, scrollbar support and more. Here's the code to create a TextBox:
OpenGL.UI.Controls.TextBox textBox = new OpenGL.UI.Controls.TextBox(
    OpenGL.UI.Controls.BMFont.LoadFont("fonts/font16.fnt"), scrollTexture);
textBox.RelativeTo = OpenGL.UI.Corner.Center;
textBox.Size = new OpenGL.UI.Point(400, 200);
You can then write as many lines as you would like (within reason) to the TextBox:
textBox.WriteLine("Hello!");
textBox.WriteLine("This is a textbox, and it supports automatic word wrapping!");
textBox.WriteLine(new Vector3(0.5f, 0.7f, 1.0f), "It also supports colors!");

In this example we create a ListBox control, which allows for a drop-down TextBox control and selection of one of multiple elements. I'd still like to improve the functionality of this control. However, the basic functionality works! It's also pretty easy to drop into your user interface. Here's the relevant code:
OpenGL.UI.Controls.ListBox listBox = new OpenGL.UI.Controls.ListBox(scrollTexture, scrollTexture,
    OpenGL.UI.Controls.BMFont.LoadFont("fonts/font16.fnt"), new string[] { "Item 1", "Item 2", "Item 3" });
listBox.RelativeTo = OpenGL.UI.Corner.Center;
listBox.Size = new OpenGL.UI.Point(200, 20);
listBox.Invalidate();
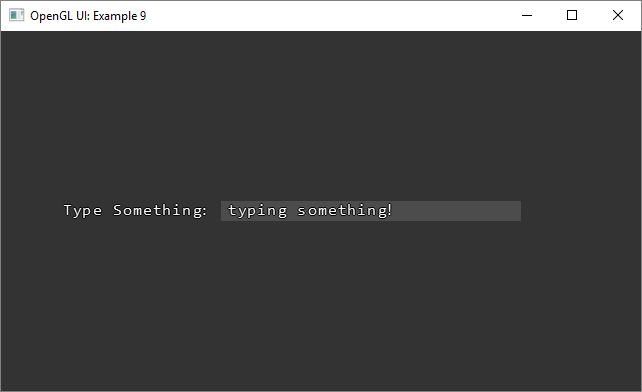
In this example we create a TextInput and some labelling text. If a user clicks the TextInput to get focus then all keyboard presses will be routed to the TextInput. For now the Input class has been included with OpenGL.UI, but it will be probably pulled into its own OpenGL.Input or OpenGL.Platform namespace in the future.
// create a text input control
OpenGL.UI.Controls.TextInput textInput = new OpenGL.UI.Controls.TextInput(
    OpenGL.UI.Controls.BMFont.LoadFont("fonts/font16.fnt"));
textInput.Size = new OpenGL.UI.Point(300, 20);
textInput.RelativeTo = OpenGL.UI.Corner.Center;
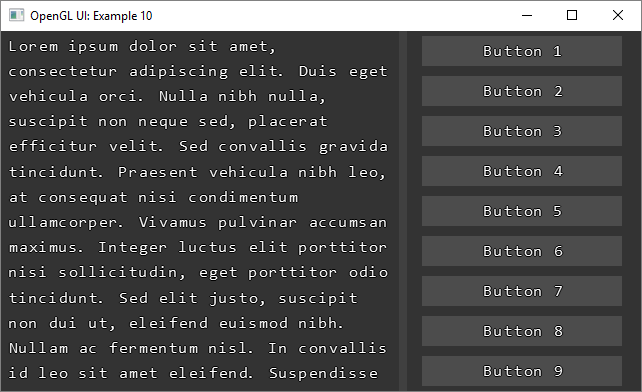
In this tutorial we create two containers, and then fill those containers with some other controls. Finally, we add a divider that will allow the containers to be resized. By setting the RelativeTo property to Fill, the TextBox on the left will automatically resize. For the Buttons on the right we must resize them manually, but by setting their RelativeTo property to Center it is still pretty easy.
// create the left and right containers
OpenGL.UI.UIContainer leftContainer = new OpenGL.UI.UIContainer(
    new OpenGL.UI.Point(Window.Width / 2, Window.Height), "LeftContainer");
OpenGL.UI.UIContainer rightContainer = new OpenGL.UI.UIContainer(
    new OpenGL.UI.Point(Window.Width / 2, Window.Height), "RightContainer");

leftContainer.RelativeTo = OpenGL.UI.Corner.BottomLeft;
rightContainer.RelativeTo = OpenGL.UI.Corner.BottomRight;