![]()
This is an open source project that intended to help people to create autonomous drone missions that operate with a pixhawk controller.
The project is written in C++ and Python in order to enable fast image processing and operating the drone in real time.
The project also includes built in missions. Our goal was to fly to a specific GPS location, scan the area for a bullseye target and land on the center of the target.
You can use the framework to create your own missions.
The framework includes an API that helps to stream live video over wifi or/and record the video to file.
We’ve created this project in the Geomatric Image Processing lab at the Technion. Our goal was to create a simple framework to manage simple and complex missions represented by state machine
- g++ install g++ for mac or install for ubuntu : apt-get install g++
- boost you can install it with apt-get in linux or with brew in mac.
- boost-python - to link cpp with python check that github project for examples
- Opencv cpp - for image processing [you don’t need the opencv for Python, because the image processing is done in the C++ code] you can install opencv on mac with 'port' or with brew or install with apt-get in linux.
- Armadillo you can install it with apt-get in linux or with brew in mac.
- LAPACK — Linear Algebra PACKage you can install it with apt-get in linux or with brew in mac.
- BLAS - Basic Linear Algebra Subprograms if you installed lapack you suppose to have blas check under /usr/lib
- python install python form mac or install for ubuntu : apt-get install python
- pip - python package manager
- python packages : 'websocket-client', 'websocket-server', 'enum34', 'dronekit', 'dronekit-sitl', 'numpy' run
pip install -r requirements.txtin to project_root to install all - nodeJs + http-server or any other way to simply create a localhost html server for displaying the UI
You can build the project by running sudo make in the root directory
We divided the system to 3 main components:
- vehicle - all the code that runs on the drone
- ground - send commands to the drone and helps manage drone's missions.
- common - common code that useful for both ground and vehicle
If the installation process went smoothly you should have dronekit-sitl already installed.
dronekit-sitl is a program that simulates the pixhawk controller.
you can test it by running dronekit-sitl copter in the terminal, and it should look like this:
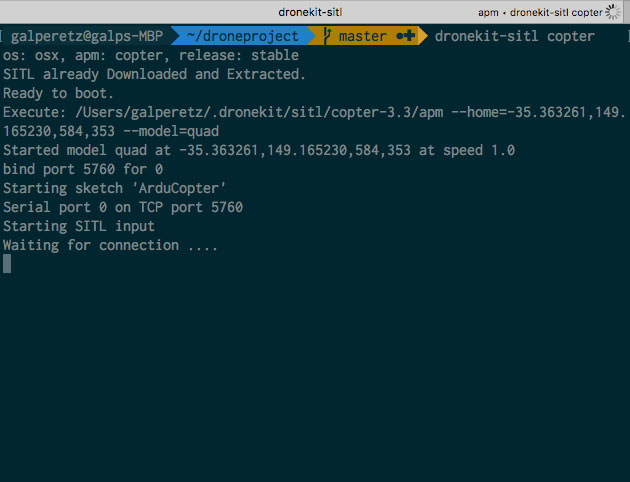
You can see that the simulator waiting for connection on port 5760 .
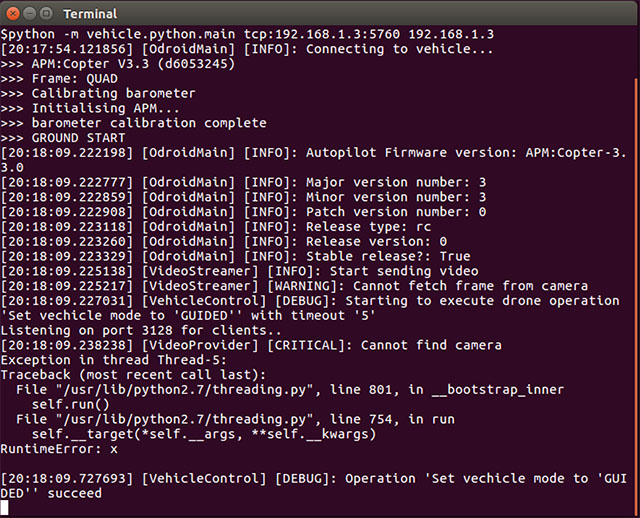
now you can run the vehicle program.
just run that in the project root directory:
python -m vehicle.python.main tcp:<ip where you run dronekit-sitl>:5760 <ip where you want to see the live video stream>
(we will explain later how to see the video stream)
For example if you run the code in the same pc that you run dronekit-sitl you can just run:
python -m vehicle.python.main tcp:127.0.0.1:5760 127.0.0.1
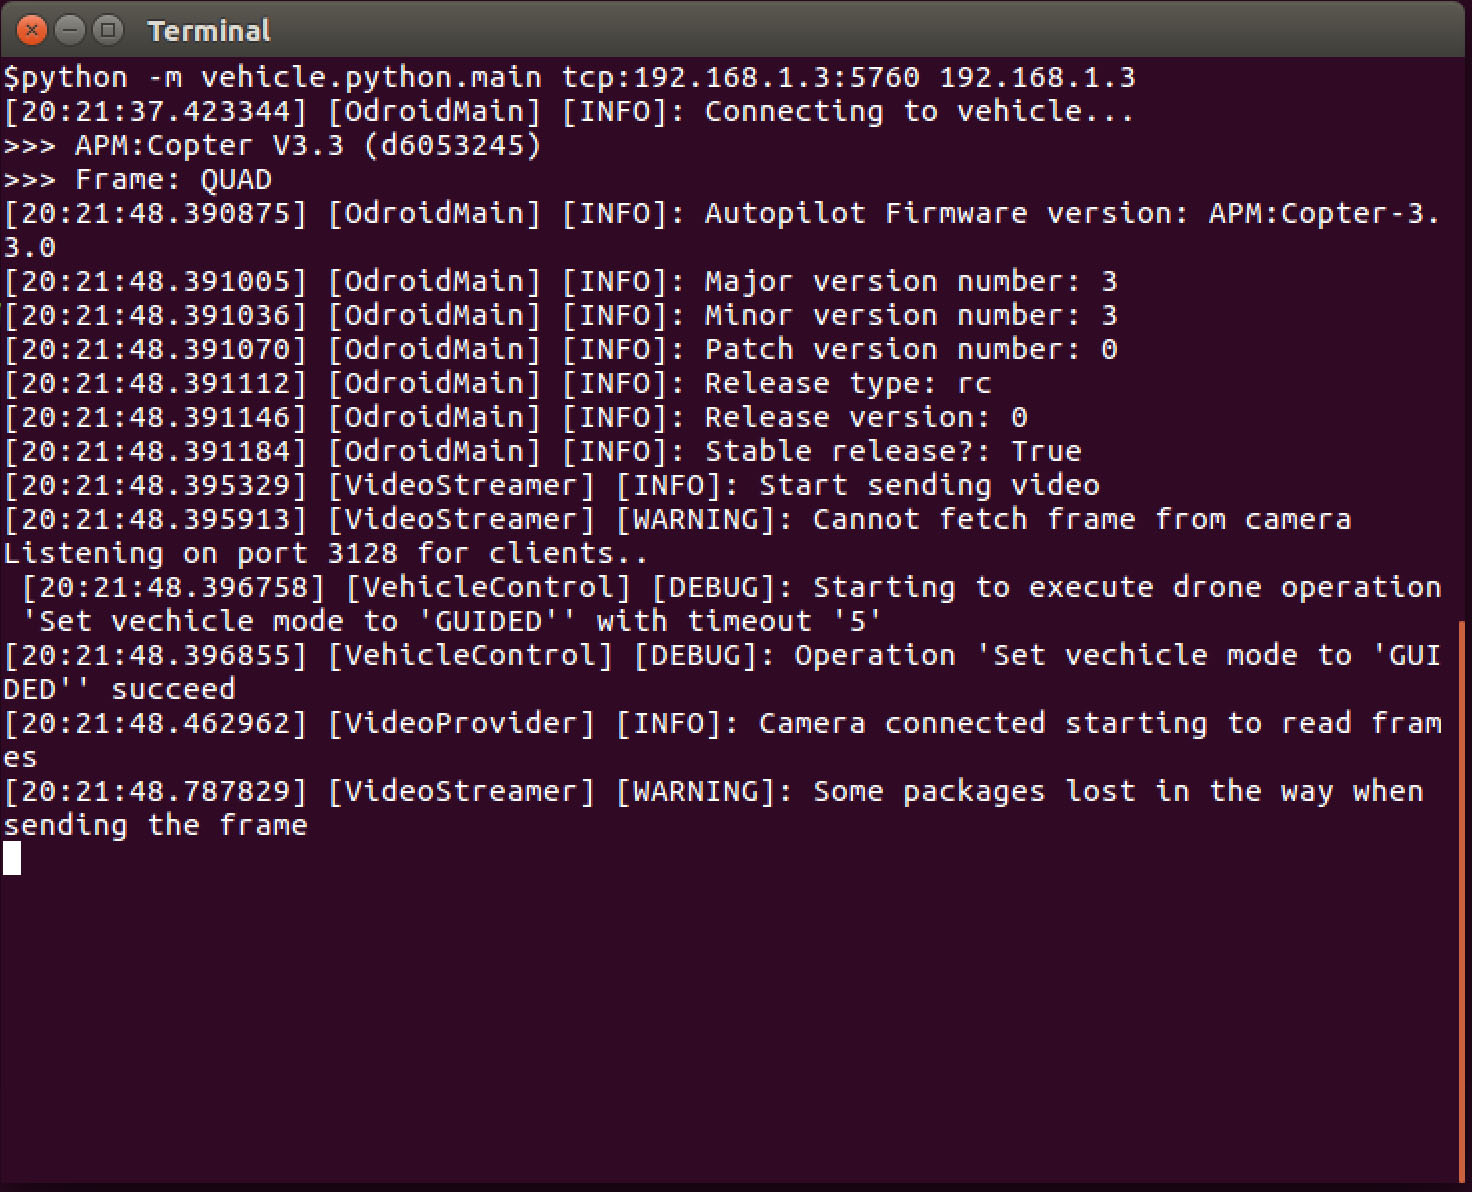
You should see something like that if you don't have camera connected:
Or something like that if you do :
Working with a real pixhawk instead of a simulator:
If you working with Pixhawk and you have Odroid computer (or any other linux machine) that connects to it
You can run that line to connect the computer to the pixhawk and start send it commands.
python -m vehicle.python.main /dev/ttyUSB0,115200 <ground_ip>
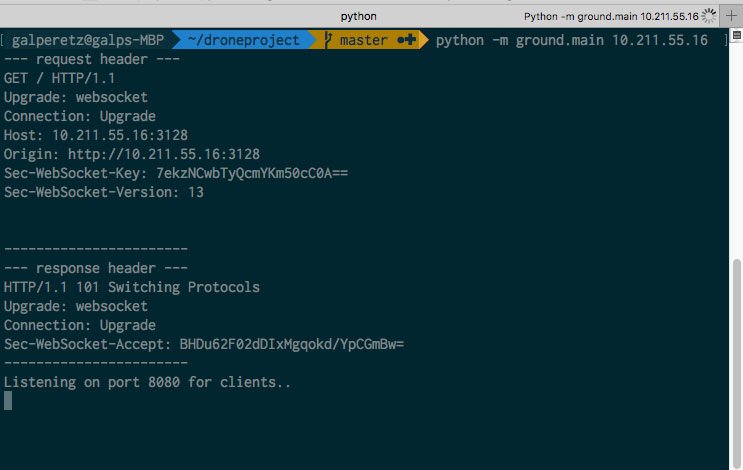
Now we need to create a communication between the vehicle(the drone) and the ground(the browser) Run this code to establish the communication channel
python -m ground.main <drone_ip>
For example if you run all in the same pc just run
python -m ground.main 127.0.0.1
It should look something like that :
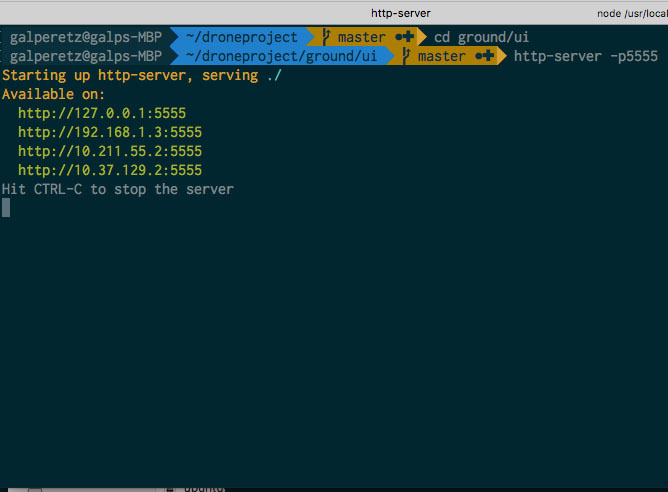
We use html and javascript to display the state of the mission.
You can use http-server to display the GUI just follow those steps:
- Install nodeJs
- Installing nodeJs should install npmJs 'node package manager' use npm to install http-server by running
npm install -g http-serverin the terminal - navigate to droneproject/ground/ui and run http-server -p5555
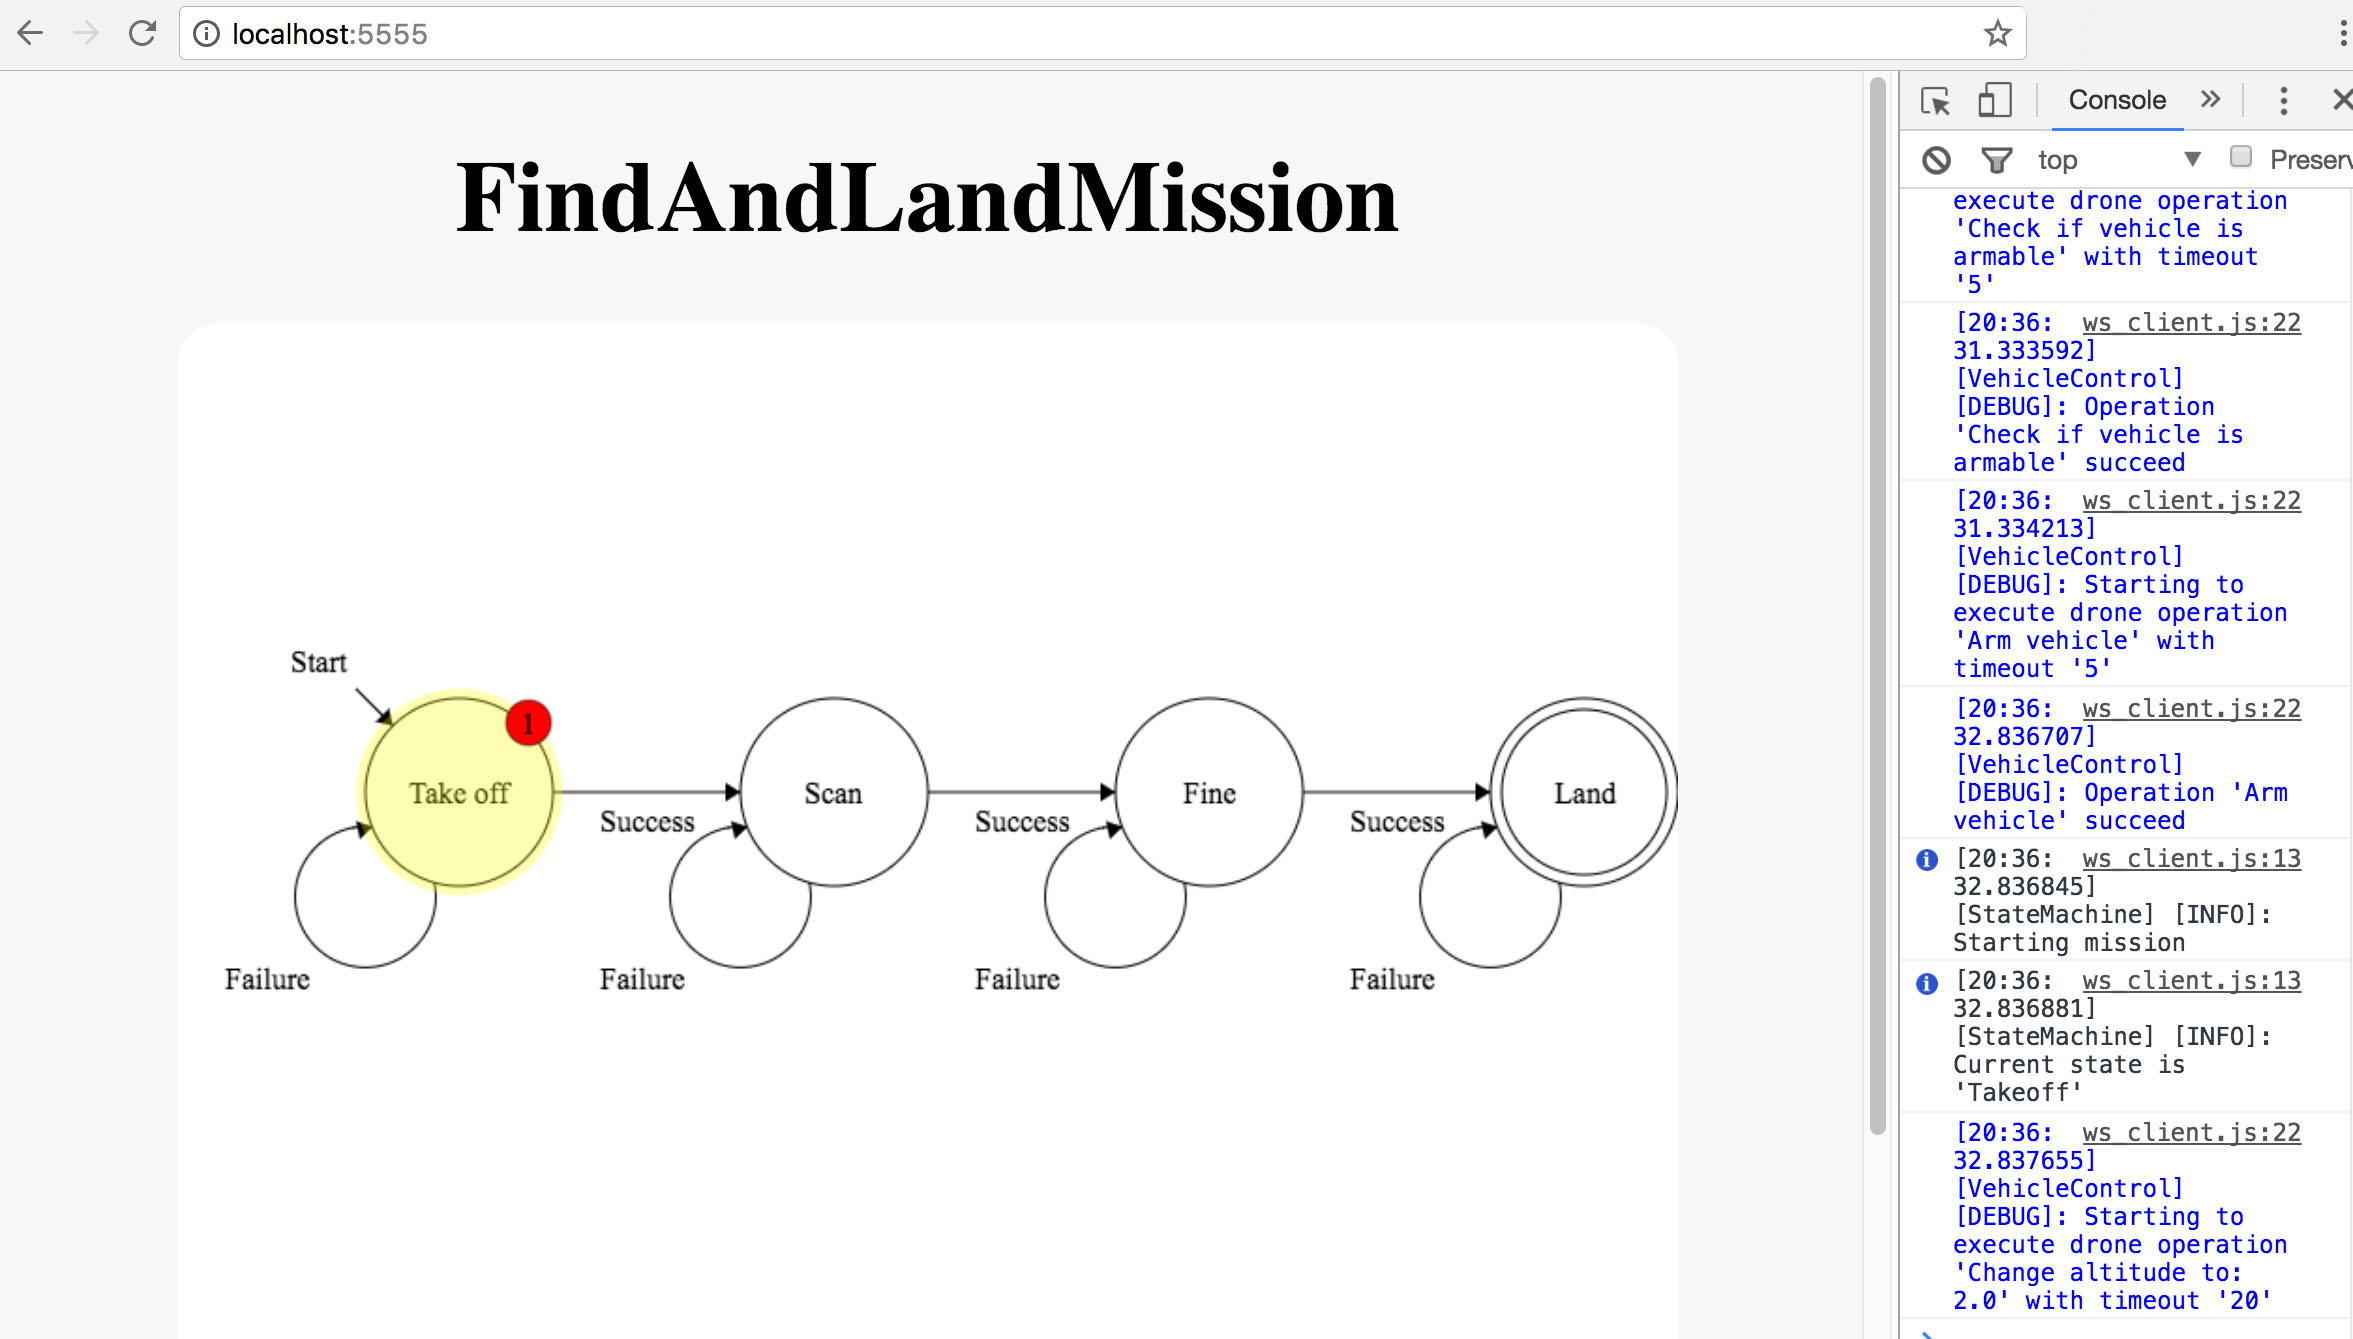
- naviagte to http://localhost:5555/ in chrome and open the console
- load the mission by running loadMission("FindAndLandMission")
It should Look like this when you run http-server from the terminal:
If you’ve already successfully established communication with the drone you are ready to connect, else just jump back to the Communication section.
Connect the UI to the browser by following these steps:
- Navigate to the browser open the console and load the mission by running loadMission("FindAndLandMission").
- Connect to the drone by running client.connect().
- Start the mission by running client.send('{"type" : "CMDTypes.FIND_AND_LAND_MISSION" , "body": {"alt":2, "distance": 100}}').
And after the mission start

And then when you run the mission from the browser :
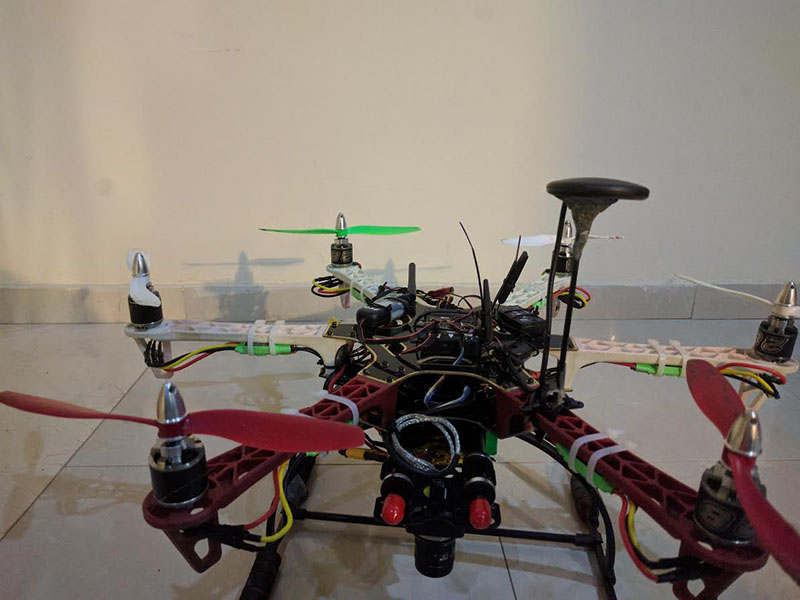
Note : the 'Find and land' mission fits to our specific drone.
the camera sits on the drone at specific rotation and we analyzing the image based on that, and control the drone to move in order to minimize the distance to the center of the target.
To better understand the architecture of that project start by reading the project's presentation that explains about all of the components.
Then you can take a look at the missions that we’ve already created under project_root/vehicle/cpp/src/mission. (for example understand how 'Up and down' mission works).
Finally you can try to create your own simple mission.
The system provides an easy and convenient way to create missions for your drone.
Every mission can be represented by a state machine. Every state in the state machine represents a state in the drone's mission.
you can add mission by adding it to the mission folder under vehicle/cpp/src/mission/.
you can take a look on the UP_AND_DOWN_MISSION vehicle/cpp/src/mission/up_and_down_mission.hpp ,that is a simple mission with 2 states takeoff and land.
Under ‘tools’ folder, you can find a script that will help you create mission. In order to use the tool, you need to create a json file (please refer to the examples in ‘ground/ui/Mission’).
After creating the json file, run the script. The outputs are .hpp .cpp files that you can use. The only thing left for you is to implement the logic inside. Enjoy :)
Under project_root/presentation
you can find our final project presentation, one version is a pdf and one is power point.
We divid the video stream to channels.
There are 2 channels in the system for now but you can add more.
The DEFAULT channel:
when you want to get the original video from the camera you should read the frame from the DEFAULT channel .
The DEBUG channel:
you can apply collection of modifiers to that channel . before the video provider provides a frame from that channel (or from any custom channel) it will change the frame according to the that collection of modifiers that applied for that channel.
Create custom channel:
You can create any custom channel very easily and the apply any collection of modifiers that you want like the DEBUG channel . take a look in the vide_provider.hpp for more info.
when you runs the drone code and get logs that every thing good with the camera and the video provider started to get frame for it you can start the video_server that sits under the ground folder run:
cd ground/video_server
./server 10000
And you should be able to see a live stream video from your drone The video streamer sends the video stream from DEBUG channel so you would be able to apply any masks filters and transformations on the video stream before you get it on the ground see the scan state in the find_and_land_mission for example.
The video recorder can record the video and save it under flights_video folder .
In order to start recording you need to put the --record flag when you run the drone code .
python -m vehicle.python.main tcp:127.0.0.1:5760 127.0.0.1 --record
The video recorder reads the video from the DEAFULT channel so he gets the original video without any modifications. if you want to modify the video before saving it to disk create RECORD channel and set collection of modifiers to that channel and change the video recorder to read from that channel instead.
Find and land mission's videos from the drone camera (without the go to GPS part) After takeoff, the drone starts to scan the area and then decides where to go base on the image algorithm that tells him where is the center of the target.
Click on the GIF to see the full video: