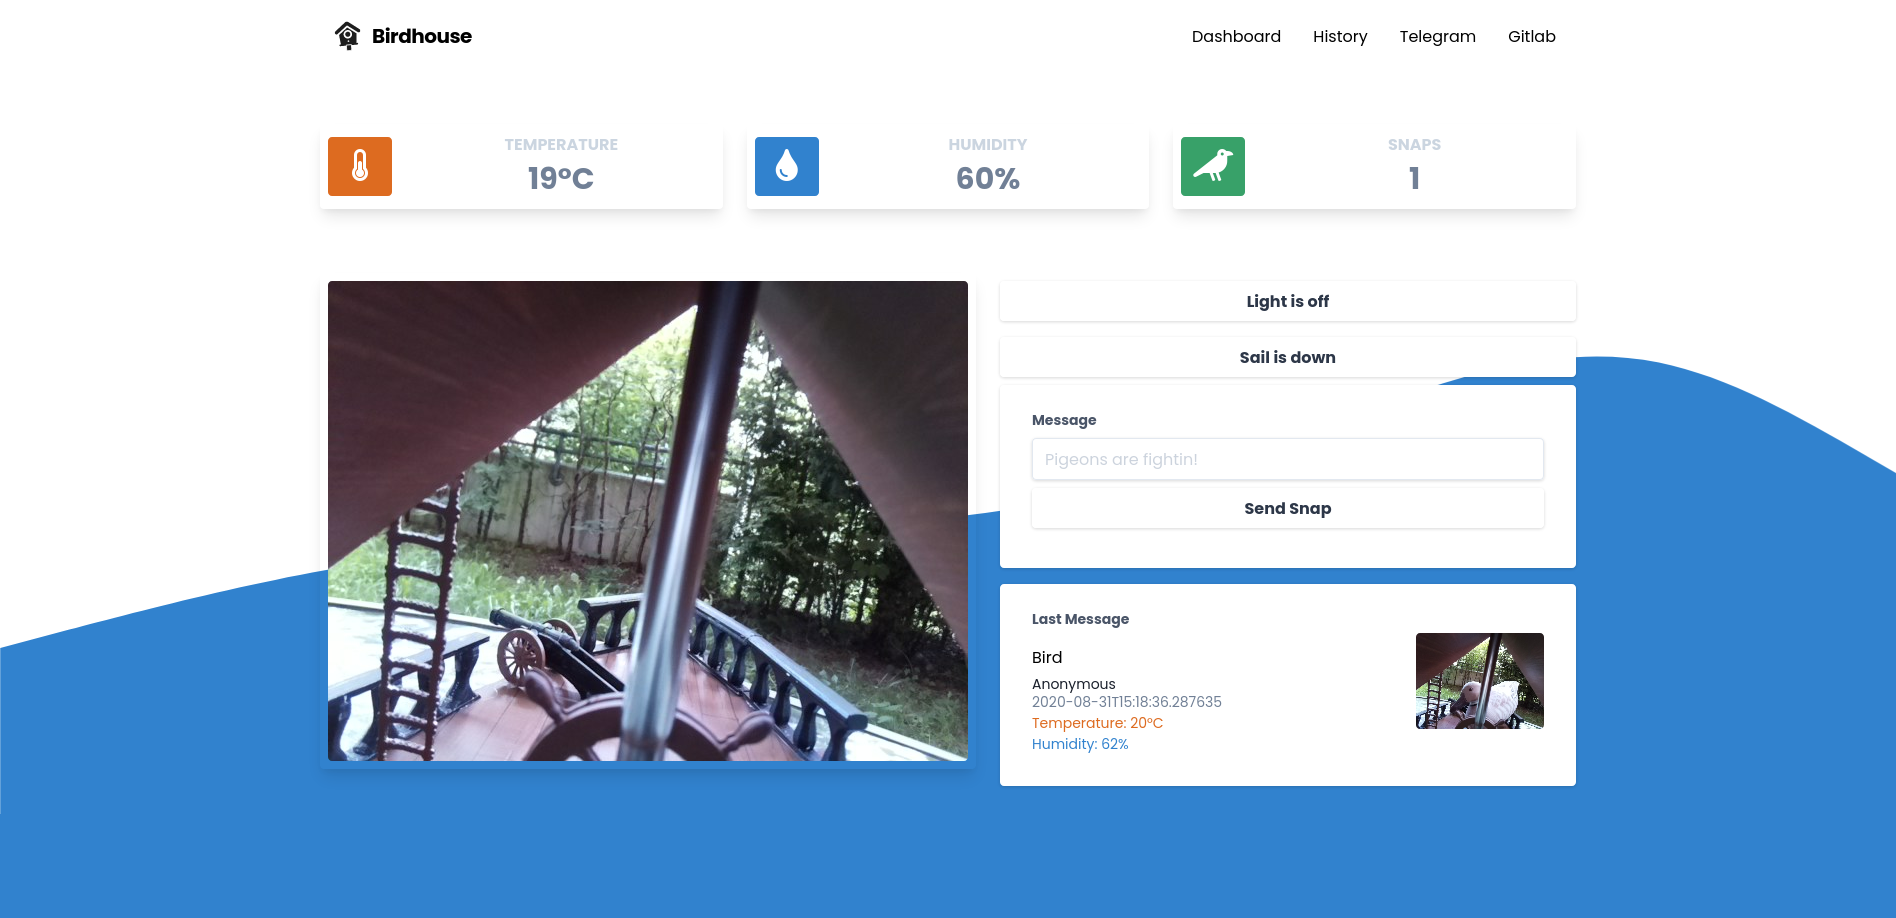
We are using the following hardware for our birdhouse:
- Raspberry Pi 3
- Raspberry Pi Camera V2
- A simple LED connected to GPIO Pin 18 and GND
- A simple Servo motor connected to GPIO Pin 23, 5V and GND
- A DHT22 Temperature/Humidity sensor connected to GPIO Pin 4, 3.3V and GND
| GND | 3.3V | 5V | GPIO | |
|---|---|---|---|---|
| DHT22 | x | x | 4 | |
| Servo | x | x | 23 | |
| LED | x | 18 |
To setup your development environment on either Mac, Linux or Windows head over to the official nerves documentation.
We do also need node.js for our UI.
- Prepare your Phoenix project to build JavaScript and CSS assets:
These steps only need to be done once.
cd bird_app_ui
mix deps.get
npm install --prefix assets- Build your assets and prepare them for deployment to the firmware:
# Still in ui directory from the prior step.
# These steps need to be repeated when you change JS or CSS files.
npm install --prefix assets --production
npm run deploy --prefix assets
mix phx.digest- Change to the firmware app directory
cd ../bird_app_firmware- Specify your target and other environment variables as needed:
export MIX_TARGET=rpi3
export MIX_ENV=dev

# For the telegram bot functions
# export TELEGRAM_BOT_TOKEN=bot_token
# export TELEGRAM_CHAT_ID=chat_id
# export TELEGRAM_CHAT_URL=chat_url
#
# If you're using WiFi:
# export NERVES_NETWORK_SSID=your_wifi_name
# export NERVES_NETWORK_PSK=your_wifi_password- Set up the config
Configure the hardware pins and the ssh keys you want to use
# bird_app/bird_app_firmware/config/target.exs

# ...
config :bird_app_hardware,
  led_pin: 18,
  dht_pin: 4,
  servo_pin: 23
# ...

# ...
keys =
  [
    Path.join([System.user_home!(), ".ssh", "id_rsa.pub"]),
    Path.join([System.user_home!(), ".ssh", "id_ecdsa.pub"]),
    Path.join([System.user_home!(), ".ssh", "id_ed25519.pub"])
  ]
# ...- Get dependencies, build firmware, and burn it to a SD card:
mix deps.get
mix firmware
mix firmware.burn-
Insert the SD card into your target board and connect the USB cable or otherwise power it on
-
Wait for it to finish booting (5-10 seconds)
-
Open a browser window on your host computer to http://nerves.local/ or ssh to the raspberry with
ssh nerves.local -
Now whenever you update the code you can also deploy the update via ssh
#create new firmware
cd bird_app_firmware
mix deps.get
mix firmware
mix uploadIf you are ready to deploy to a production environment set your MIX_ENV environment variable to prod
export MIX_ENV=prodAnd configure the domain and SSL configuration accordingly like in the following example:
# bird_app/bird_app_firmware/config/target.exs

# ...
config :bird_app_ui, BirdAppUiWeb.Endpoint,
  # Nerves root filesystem is read-only, so disable the code reloader
  code_reloader: false,
  http: [port: 80, protocol_options: [idle_timeout: :infinity]],
  # Use compile-time Mix config instead of runtime environment variables
  load_from_system_env: false,
  # Start the server since we're running in a release instead of through `mix`
  server: true,
  url: [host: "birdhouse.cam", port: 443]
# ...
# bird_app/bird_app_ui/config/prod.exs
# ...
config :bird_app_ui, BirdAppUiWeb.Endpoint,
cache_static_manifest: "priv/static/cache_manifest.json",
check_origin: ["//*.birdhouse.cam"],
live_reload: [
patterns: [
~r"priv/static/.*(js|css|png|jpeg|jpg|gif|svg)$",
~r"priv/gettext/.*(po)$",
~r"lib/bird_app_ui_web/(live|views)/.*(ex)$",
~r"lib/bird_app_ui_web/templates/.*(eex)$"
]
],
https: [
port: 443,
cipher_suite: :strong,
otp_app: :bird_app_ui,
keyfile: "priv/crt.key",
certfile: "priv/crt.crt",
cacertfile: "priv/crt.ca-bundle",
transport_options: [socket_opts: [:inet6]]
]
config :bird_app_ui, BirdAppUiWeb.Endpoint,
force_ssl: [hsts: true]
# ...