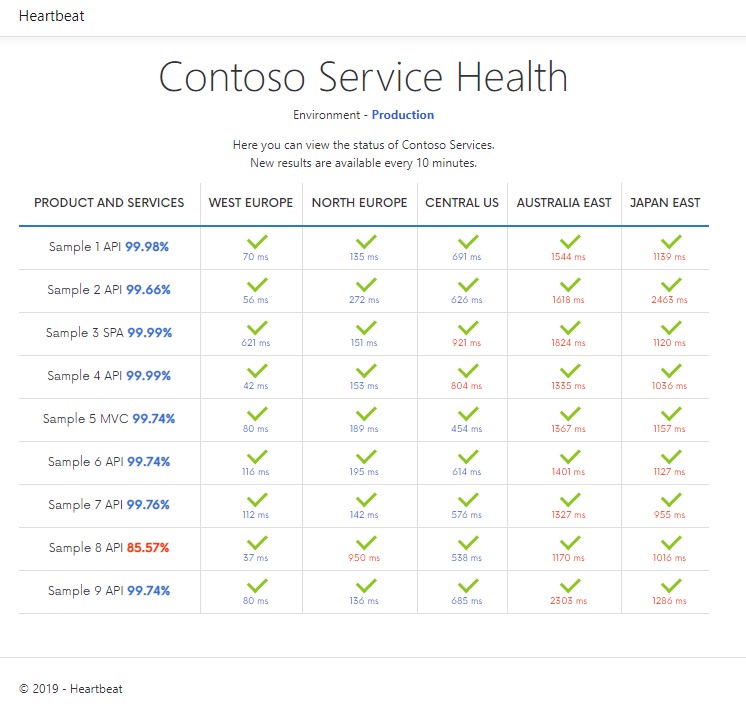
Azure cloud service health monitoring page. Application Insights heartbeat checker
Before starting to fill appsettings.json with your Azure Cloud details you need to do some additional work:
-
Register Azure Active Directory app with application permission to access your all application insights resources
- Azure Active Directory > App registrations > New registration > Enter name, example: "AdAppForAppInsights" & select "Accounts in this organizational directory only" > Register
- Click on newly registered app > API permissions > APIs my organization uses > Application Insights API > Application permissions > Data Read. Note that this permission requires administrators approval. Because this permission will allow your application to access the data from all of your Azure Cloud Application Insights resources. Read statistics, perform queries. Your Azure Cloud administrator should go to this Azure AD app > API permissions and click on "grant concent" button.
- Your AD app > Authentication > check 2 checboxes: Access tokens, ID tokens > Save
-
Setup availability tests for your application insights resources and grant "Reader" Access controll for your registered AD app.
- Choose your application insights resources that you would like to monitor service availability. If you don't have any then create at least 1.
- Select chosen/created application insights resource > Availability > Add test:
- Enter a name
- Select test type - URL ping test
- Enter your applications URL that you want to monitor the availability
- Uncheck both boxes: Parse dependent requests & Enable retries for availability test failures.
- Test frequency > 5 minutes
- Test locations > select locations that are important to you and be consistent with them (select the same locations for all of your app insights resources). Write down the locations you have selected.
- Configure success criteria.
- Create
- Click on application insight resource > Access control (IAM) > Add:
- Role - Reader
- Select - the name of the Azure AD app that you registered in 1st step. "AdAppForAppInsights"
- Save
- Add test and access for each application insight resource that you want to monitor
Open appsettings.json and fill the required fields:
- Domain - Get this from: portal.azure.com > Azure Active Directory > Overview > First line before you company name
- ClientId - Get this from: portal.azure.com > Azure Active Directory > App registrations > Your AD APP which has permissions to access all APP Insights > Overview > Application (client) ID
- ClientSecret - Get this from: portal.azure.com > Azure Active Directory > App registrations > Your AD APP which has permissions to access all APP Insights > Certificates & secrets > Client secrets > Create & copy secret
- AvgAvailabilityForDays - Default 30, calculates average availability for 30 days.
- AvgLatencyPerMinutes - default 10. Calculates average per 10 minutes latency from specific location.
- MinAvailability - default 99.9. Your SLA %. If the value is lower than specified then the percentage will be displayed in red.
- MaxLatency - default 800. Your maximum allowed latency. If the value is higher than specified then the number will be displayed in red.
- Applications - enter all the resource names of your application insights resources that you have configured availability tests and granted reader access for Azure AD app.
- Locations - enter the same locations that you have written down before when you created the availability tests.
- ApplicationInsights:InstrumentationKey (optional) - if you want to monitor the healths app logs then configure application insights for this application. (Visual studio > Right click on project > Configure application insights )