

A cookiecutter template for Wagtail CMS was built using Zurb Foundation front-end framework. A demo of a default project generated from this cookiecutter is available at https://wagtail.chrisdev.com.
Read the Docs: http://wagtail-cookiecutter-foundation.readthedocs.org/en/latest/
A Django project with Wagtail CMS pre-installed with support for all the Zurb Foundation components.
- Supports Django 2.0
- Renders Django projects with 100% starting test coverage
- Built using Zurb Foundation
- 12-Factor based settings via django-environ
- Optimised development and production settings
- Built with Let's Encrypt
- Comes with a number of Custom Page models & templates such as Blog, Photo Gallery, Events and much more) to kickstart your site
- Uses Grunt for image compression
- Livereloading via python-livereload
- Ansible for provisioning to and deployment to services like Digital Ocean and Linode
- Works with Python 3.6.x
These projects come with a number of useful pages and a prebuilt content structure that will save you a tonne of work. Did I say that it automatically sets up SSL for your site using Letsencrypt!
Here is how we create a new Django project quickly while letting cookiecutter to do all the work.
To get started we assume the following dependencies are installed on your development enviroment :
pip
virtualenv/pyvenv/virtualenvwrapper
PostgreSQL
Get Cookiecutter :
$ pip install cookiecutterNow run it against this repo:
$ cookiecutter https://github.com/chrisdev/wagtail-cookiecutter-foundation.gitYou'll be prompted for some values. Provide them as illustrated in the video below.
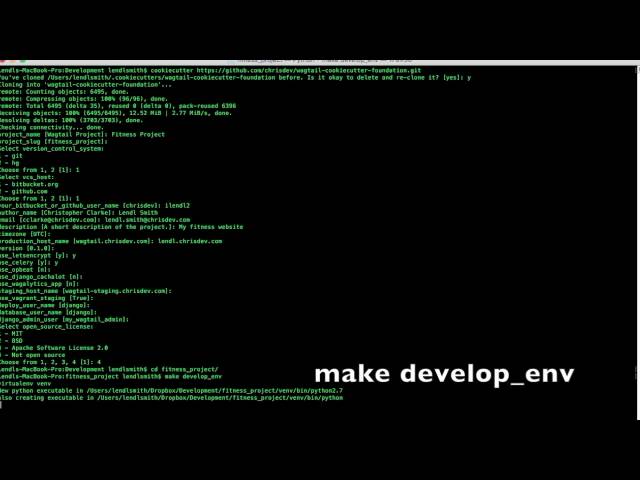
A full featured Wagtail project will be generated for you. Enter the project :
$ cd wagtail_project/Create a git repo and push it there:
$ git init
$ git add .
$ git commit -m "first awesome commit"
$ git remote add origin git@github.com:cclarke/my_site.git
$ git push -u origin master
To create your project's virtual environment, install all pip dependencies, create the development database, run migrations and load initial data to database, install front-end dependencies and finally start the development server for you run :
make develop_envYou can access your site at http://localhost:8000. The Admin back-end is available at http://localhost:8000/admin/.The default Admin username is admin and The default Admin password is admin123.
Once you've created your project you can use the bundled make commands to to easily deploy and provision your site on platforms like Linode and Digital Ocean. We also support platforms like PythonAnywhere and Aldryn Cloud. The video below shows the process for a DigitalOcean droplet running Ubuntu 16.04.
We're assuming that you've already created a DO droplet and you've added the project owner's public SSH keys to the droplet. Due to the fact the DO Ubuntu 16.04 droplets don't come with the necessary Python dependencies to support serverside Ansible, the first thing we need to run is:
$ make pre_taskNext we run :
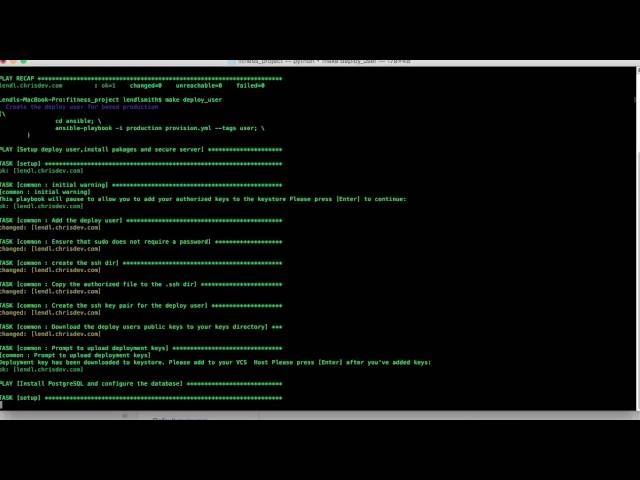
$ make deploy_userThis creates a deployment user on the Droplet. The playbook will pause so you can copy your SSH public key to your projects keystore directory. At the end of this task (play), the deployment user is created and the public keys are downloaded to the keystore. You must add them to the Bitbucket or GitHub VCS repo that your project. We support both private and public repos here.
At this point, you're ready to provision, secure your server and deploy your code to the droplet. However, you may wish to pause and make changes to your project's 12 Factor settings which are stored in file called env.example. The secrets have been automagically generated using Sys random but you may want to use your own values. Once you are satisfied run :
$ make provisionThis will:
- Install all the required Linux packages and libraries on the server.
- Setup basic security on the using UFW Firewall and fail2ban.
- Install and configure PostgresSQL.
- Install and configure Nginx for SSL serving using Letsencrypt
- Install and configure Redis and ElasticSearch.
- Clone the project’s VCS repository, setup a virtual environment and install all Python dependencies
- Setup Gunicorn and Supervisor
- Configure and install a Celery worker process
Once the the playbook in done, you can check out your site at https://production_host_name. The Admin back-end is available at http://production_host_name/admin/. The Django SuperUser name and password are to be found in your project's `ansible/host_vars/production_host_name`:
Our Documentation provides deatiled instructions for deploying on PythonAnywhere and Aldryn Cloud.
Contributions are always welcome to improve this project. If you think you've found a bug or are interested in contributing fork this project and send the pull request. After review, your pull request will be merged. We are always happy to receive pull requests. If you identify any issue, please raise it in the issues section.