🚀 Do you want to install Tiledesk on your server with just one click?
Use Docker Compose Tiledesk installation guide
Chat21-web-widget is a Free Live Chat Widget built on Firebase with Angular5 that lets you support and chat with visitors and customers on your website. More information about web widget here : http://www.tiledesk.com
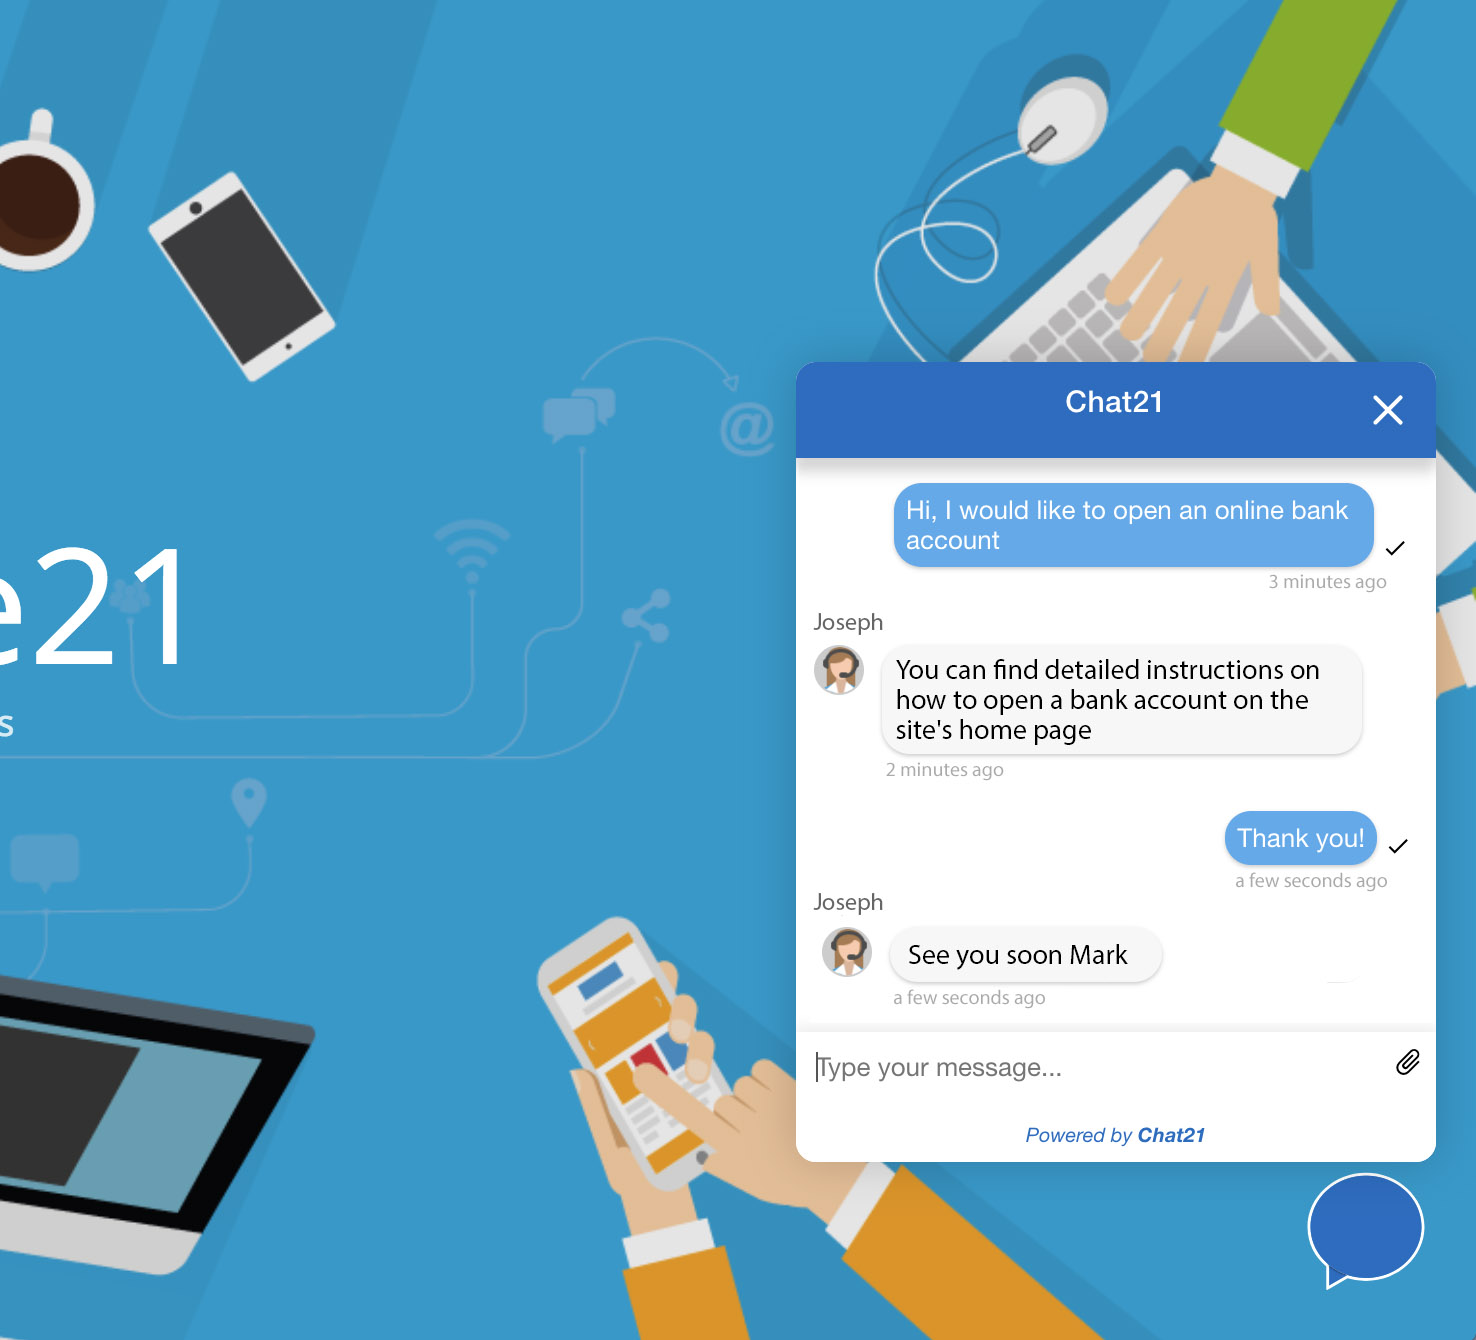
With Chat21-web-widget you can:
- Invite your website visitors to share feedback and suggestions to better understand their needs.
- Answer questions from website visitors instantly to increase trust
- Add a code snippet to your website easly
- It's a HTML5 widget built with Google Firebase, Angular5 and Bootstrap
- Send a direct message to a preset user
- Receive realtime support from your team
- Form to enter the chat sentiment
- Configure the widget with company logo and colors
- Chat21 Web Widget is free and open source.
- Install Git
- Install Angular CLI with
npm install -g @angular/cli. More info here https://github.com/angular/angular-cli#installation - Create a Firebase project. Create one free on
https://firebase.google.com - "Chat21 Firebase cloud functions" installed. Instructions:
https://github.com/chat21/chat21-cloud-functions
Do you want to install all the Tiledesk components on your server with just one click? Use Docker Compose Tiledesk installation guide
- Clone the repository from master (or use a tagged release) with command:
git clone https://github.com/chat21/chat21-web-widget <YOUR_PATH> - Move to the downloaded project path
cd <YOUR_PATH> - Build running:
npm install
Configure the environment.ts file in src/environments/.
Use the Firebase configuration file from your Firebase project to correctly configure the 'firebase' section.
export const environment = {
  production: true,
  version: require('../../package.json').version,
  remoteConfig: false, // for performance don't load settings from remote
  remoteConfigUrl: '/widget-config.json',
  loadRemoteTranslations: true,
  remoteTranslationsUrl: 'https://<YOUR_REMOTE_TRANSLATIONS_URL>/',
  chatEngine: "mqtt", // OR YOUR CUSTOM CHAT ENGINE
  updloaEngine: "native", // OR YOUR CUSTOM UPLOAD ENGINE
  fileUploadAccept:"*/*",
  logLevel: '<YOUR-PREFERRED-LOG-LEVEL-NUMBER>',
  firebaseConfig: {
    apiKey: '123ABC..',
    authDomain: 'XYZ.firebaseapp.com',
    databaseURL: 'https://XYZ.firebaseio.com',
    projectId: 'XYZ',
    storageBucket: 'XYZ.appspot.com',
    messagingSenderId: '123456',
    appId: "CHANGEIT",
    tenant: 'tilechat',
  },
  chat21Config: {
    appId: 'tilechat',
    MQTTendpoint: 'mqtt://<YOUR-MQTT-ENPOINT>',
    APIendpoint: 'http://<YOUR-MQTT-API-ENPOINT>'
  },
  apiUrl: 'https://<YOUR-TILEDESK-API-URL>/',
  baseImageUrl: 'https://<YOUR-BASE-IMAGE-URL>/',
  defaultLang : 'en',
  storage_prefix : 'widget_sv5',
  authPersistence: 'LOCAL',
  supportMode: true,
};-
logLevel: The Chat21-ionic supports 4 log levels. The order is as follows:Error < Warn < Info < Debug -
fileUploadAccept: The Chat21-ionic allows you to manage the type of files that can be uploaded. By default, all file types are accepted.
Run the app with ng serve
For production installation, configure the environment.prod.ts file in src/environments/.
export const environment = {
  production: true,
  ...
};Run ng build to build the project. The build artifacts will be stored in the dist/ directory. Use the -prod flag for a production build.
Build for production with : ng build --prod --base-href --output-hashing none
Copy the content of the dist folder to your Web Server (for example Apache or Nginx)
Run ng serve for a dev server. Navigate to http://localhost:4200/. The app will automatically reload if you change any of the source files.
You can see a configuration of this widget in action on 'https://www.tiledesk.com'
Copy the content of the dist folder to your Web Server (for example Apache or Nginx)
Run : aws s3 sync . s3://tiledesk-widget
Or With a different AWS Profile:
Run : aws --profile f21 s3 sync . s3://tiledesk-widget
If you use AWS Cloud Front enable gzip compression.
To run Chat21-ionic on port 8080 run:
curl https://raw.githubusercontent.com/chat21/chat21-web-widget/master/env.sample --output .env

nano .env #configure .env file properly

docker run -p 4200:80 --env-file .env chat21/chat21-web-widget