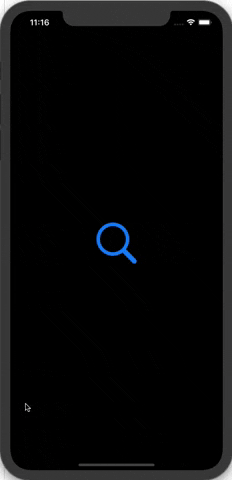
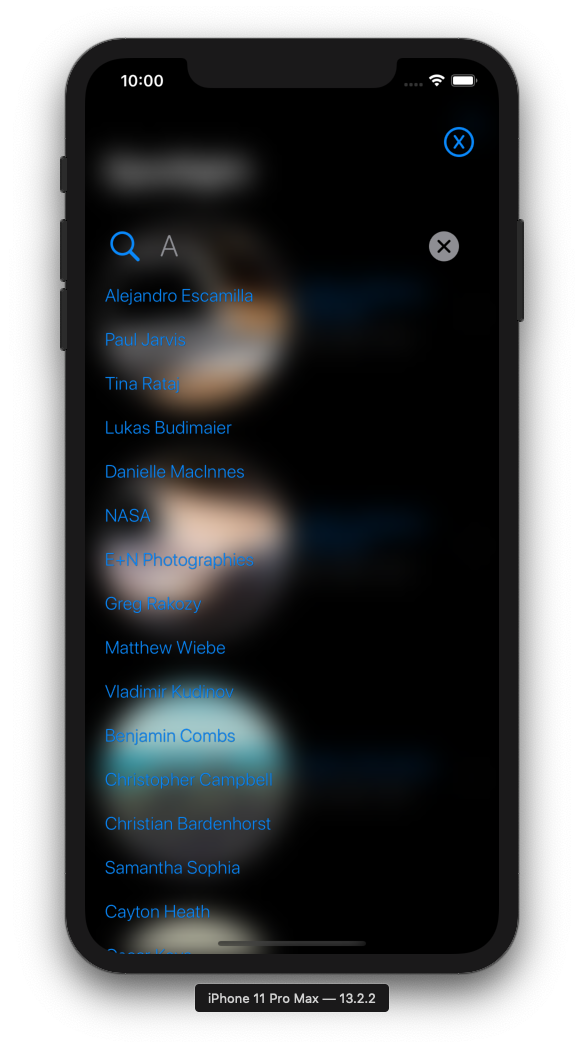
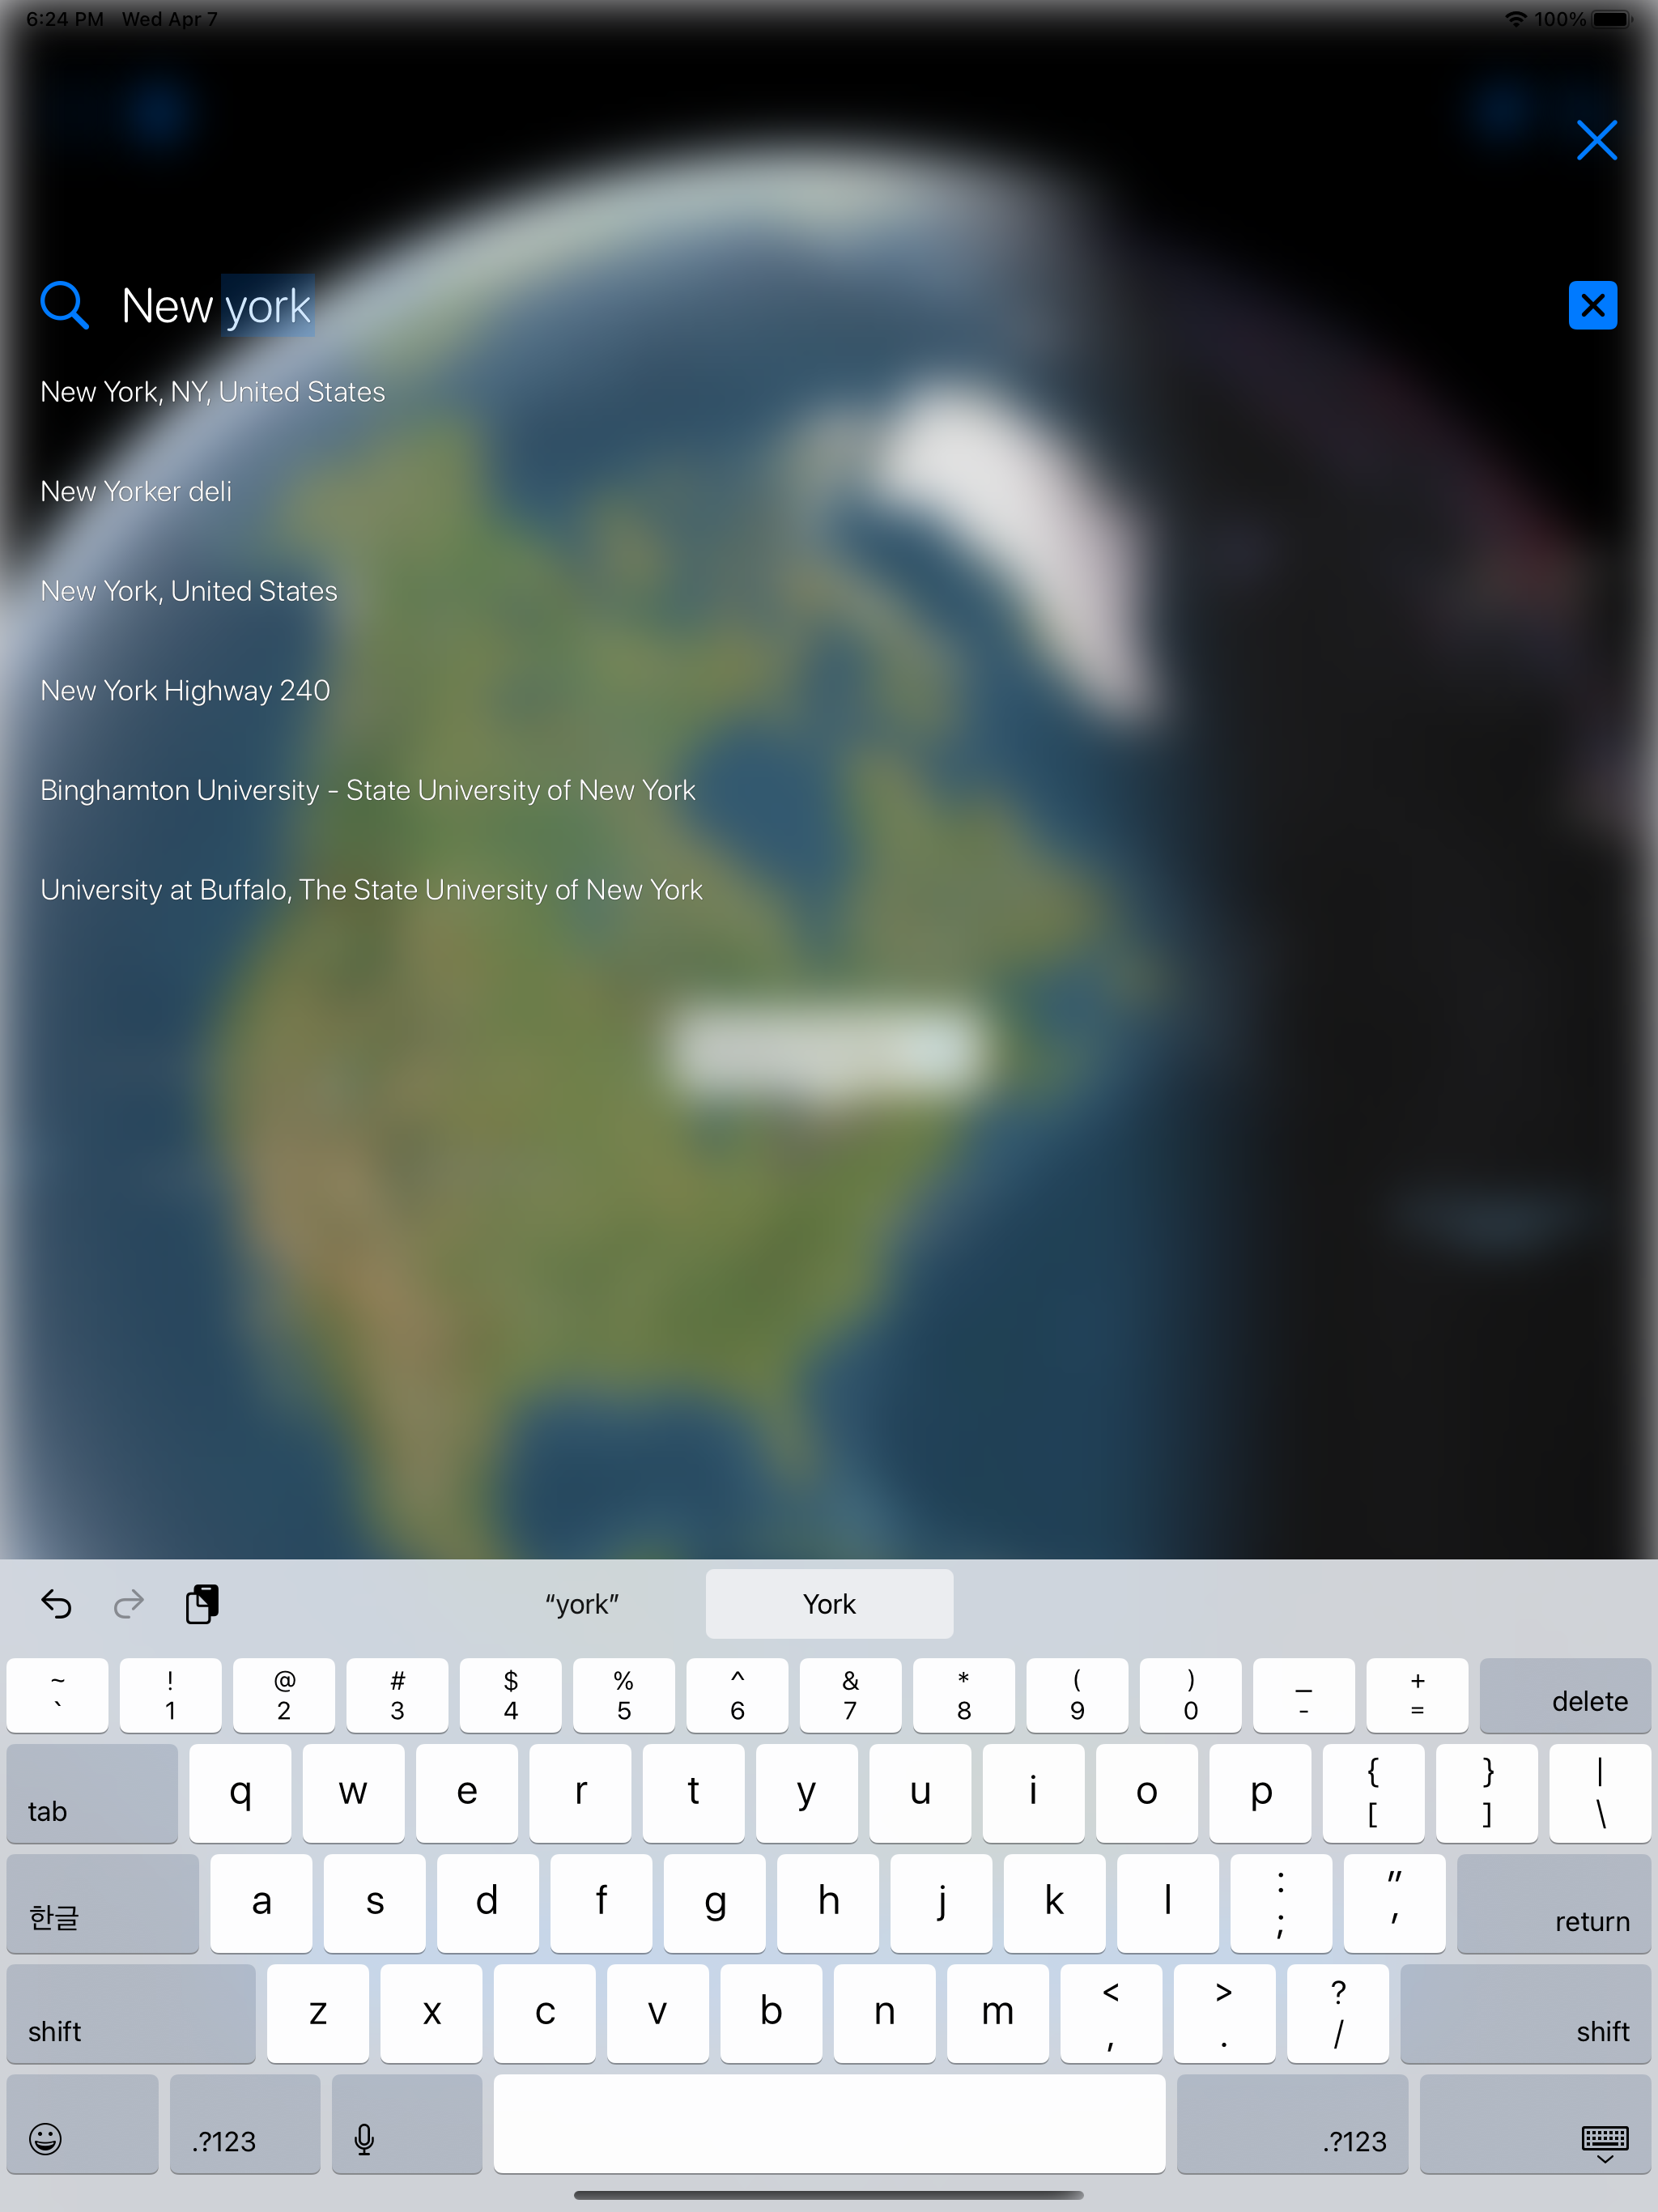
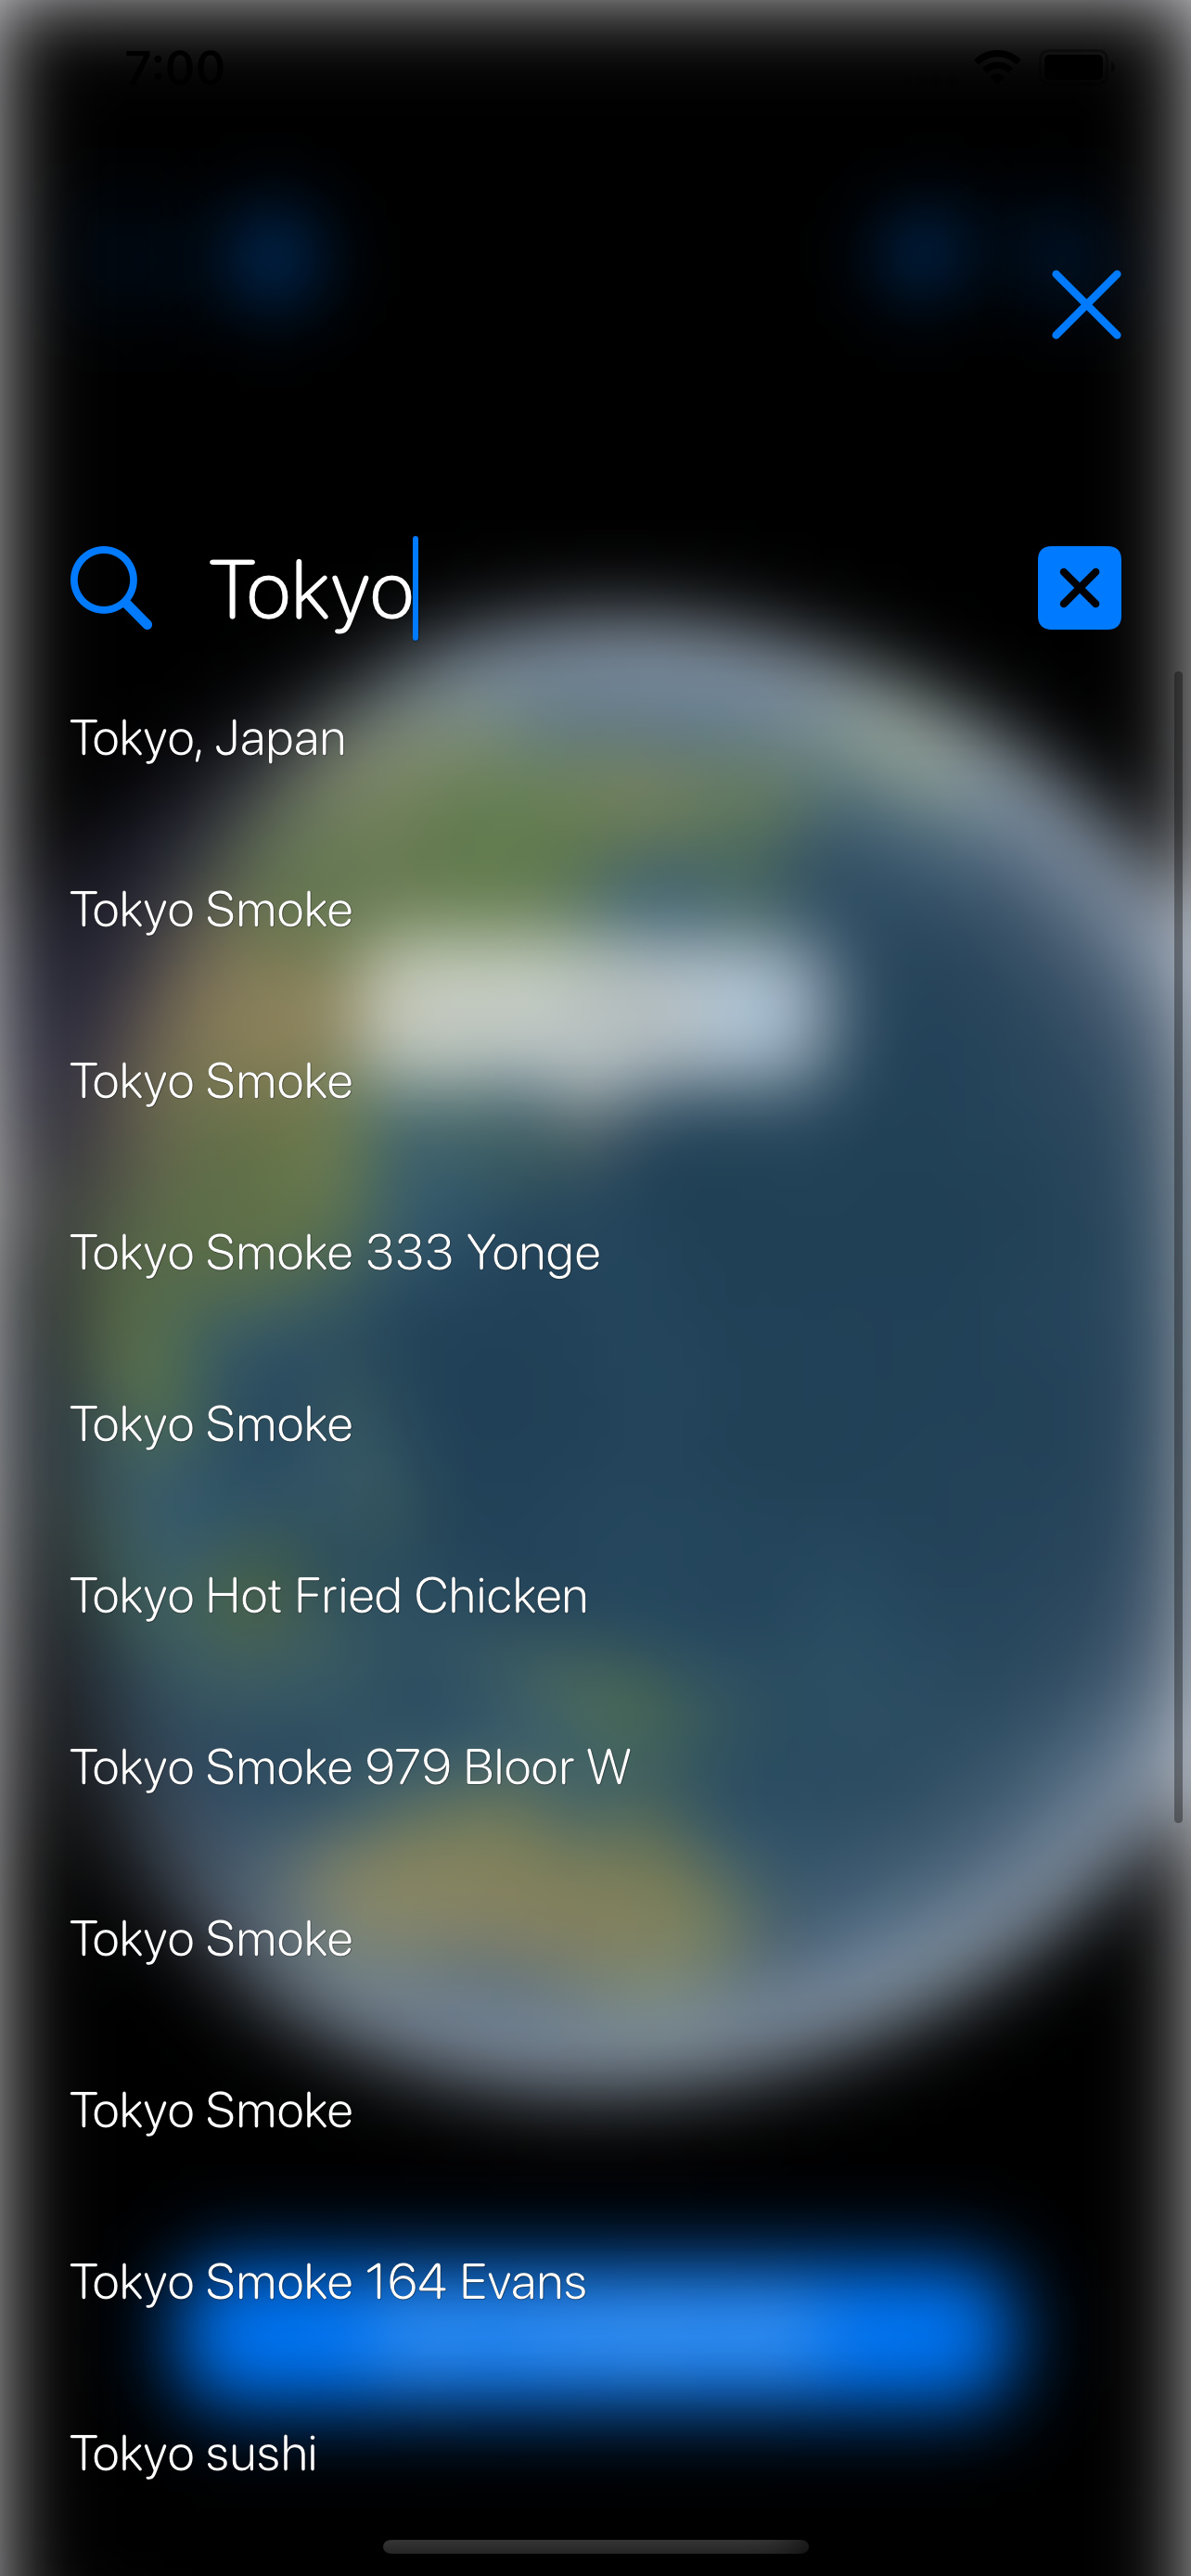
a SwiftUI library that helps you search on iOS in a similar way MacOS Spotlight does.
SpotlightSearch is purely written in SwiftUI and Combine.


Youtube video URL Link for how it works in dark mode:
link0
Youtube video URL Link for how it works in normal mode:
link0
Drop it.
var body: some View {
    SpotlightSearch(
        viewModel: spotlightViewModel,
        isSearching:$isSearching,
        didSearchKeyword: search,
        didTapItem: { print("didTapItem : \($0)") }) {
            /// 😎 your main UI goes here.
            Text("Your all main views goes here")
        }
}
If you would like use NavigationView,
var body: some View {
    NavigationView {
        SpotlightSearch(
            viewModel: spotlightViewModel,
            isSearching:$isSearching,
            didSearchKeyword: search,
            didTapItem: { print("didTapItem : \($0)") }) {
                /// 😎 your main UI goes here.
                Text("Your all main views goes here")
        }
    }
}To run the example project, clone the repo, and run pod install from the Example directory first.
It includes examples for UIKit as well as SwiftUI.
- iOS 14.1 or later
- Swift 5.0 or later
- Xcode 11.0 or later
- SwiftUI Simplified version. just copy and paste below code. It will work.
- clone repository
- Switch and select 'QuickExample' target.
- Build and run.
In 'QuickExample' directory, there are sample codes.
//
//  ContentView.swift
//  QuickExample
//
//  Created by Seoksoon Jang on 2019/12/05.
//  Copyright © 2019 Seoksoon Jang. All rights reserved.
//

/// Step0: 😆 import `SpotlightSearch`!
import SpotlightSearch
import SwiftUI

struct ContentView: View {
    /// Step1: 🙃 This is "View Model" for Spotlight Search exclusively.
    /// InitialDataSource can be mutated in runtime.
    /// In order to mutate, use update method of SpotlightSearchViewModel. (refer to code example down below)
    /// InitialDataSource can be []. Then internally, Google auto suggestion is used out of box.

    @ObservedObject var spotlightViewModel = SpotlightSearchViewModel(initialDataSource:["Swift", "Clojure"])
    @State private var isSearching = false

    // This is your View Model Example.
    // It should be independent of SpotlightSearchViewModel.
    // It should never be related to SpotlightSearchViewModel.
    // Totally separate one.
    @ObservedObject var viewModel = LocalViewModel(helloText: "")

    // MARK: - Body

    /// Step2: 😆 Declare `SpotlightSearch` and inject spotlightViewModel.
    var body: some View {
        SpotlightSearch(
            viewModel: spotlightViewModel,
            isSearching:$isSearching,   // To show SpotlightSearch,
            didSearchKeyword: search,   // To update data source of SpotlightSearch,
            didTapItem: { print("didTapItem : \($0)") }) {  // When a search item is clicked,
            /// Step3: 😎 your UI goes here.

            NavigationView {
                yourMainView
            }
            .navigationViewStyle(StackNavigationViewStyle())
        }
    }
}

// MARK: - Variables
extension ContentView {
    var yourMainView: some View {
        VStack {
            TextField("say something", text: $viewModel.helloText)
                .padding(100)

            Button(action: {
                withAnimation(.easeIn(duration: 0.3)) {
                    isSearching.toggle()
                }
            }) {

                ZStack {
                    Image(systemName: "magnifyingglass")
                        .resizable()
                        .scaledToFit()
                        .frame(width: 80.0, height: 80.0)
                        .foregroundColor(.blue)
                }
            }

            Spacer()
        }

    }
}

// MARK: - Private Methods
extension ContentView {
    /// Optional Step: 🙃
    /// InitialDataSource of SpotlightSearchViewModel can be mutated in runtime.
    /// In order to mutate, use update method of SpotlightSearchViewModel. (refer to code example down below)
    /// InitialDataSource can be []. Then internally, Google auto suggestion is used out of box.

    private func search(searchKeyword: String) {
        DispatchQueue.global().async {
            // Assuming you did finish your logic to fetch new data from anywhere.
            let res = generateRandomString(upto:500, isDuplicateAllowed: true)


            // after that, update data source.
            DispatchQueue.main.async {
                // To update data source of SpotlightSearch,
                // if not used, initialDataSource is used for your data source
                spotlightViewModel.update(dataSource:res)
            }
        }
    }
}

// This is your View Model Example.
// It should be independent of SpotlightSearchViewModel.
// It should never be related to SpotlightSearchViewModel.
// Totally separate one.
class LocalViewModel: ObservableObject {
    @Published var helloText: String

    init(helloText: String) {
        self.helloText = helloText
    }
}
The output is as follows:
- Written in SwiftUI and Combine 100%
- Provides Search UI on iOS in a similar way that macOS Spotlight does.
- One liner, no brainer API
There are two ways officially to use SpotlightSearch in your project:
- using CocoaPods
- using Swift Package Manager
CocoaPods is a dependency manager for Objective-C, which automates and simplifies the process of using 3rd-party libraries in your projects. See the Get Started section for more details.
First,
pod 'SpotlightSearch'then in your root project,
pod installSwift Package Manager (SwiftPM) is a tool for managing the distribution of Swift code as well as C-family dependency. From Xcode 11, SwiftPM got natively integrated with Xcode.
SpotlightSearch support SwiftPM from version 5.1.0. To use SwiftPM, you should use Xcode 11 to open your project. Click File -> Swift Packages -> Add Package Dependency, enter SpotlightSearch repo's URL. Or you can login Xcode with your GitHub account and just type SpotlightSearch to search.
After select the package, you can choose the dependency type (tagged version, branch or commit). Then Xcode will setup all the stuff for you.
If you're a framework author and use SpotlightSearch as a dependency, update your Package.swift file:
let package = Package(
    dependencies: [
        .package(url: "https://github.com/boraseoksoon/SpotlightSearch", from: "0.1.1")
    ],
    // ...
)SpotlightSearch is available under the MIT license. See the LICENSE file for more info.
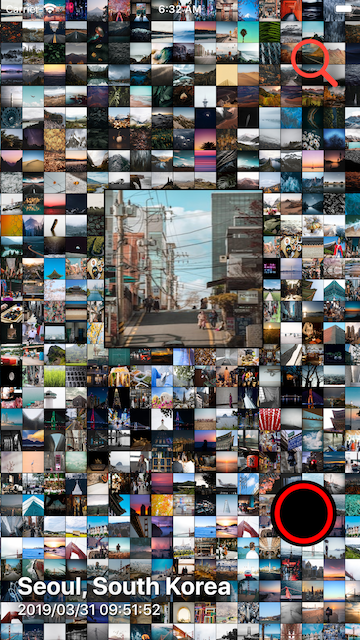
Observers : Location-based video browsing iOS app for showing what it may looks like!
PhotoCell : Time and Location-based photo browsing iOS app where you can download the photos and edit as you like for free.