
If you find LeoInteg useful, please consider sponsoring it. Also please write a review or star it on GitHub
Literate Programming with Directed Acyclic Graphs (dag)
Leo is a fundamentally different way of using and organizing data, programs and scripts. 📺 Introduction Video
See Leo, the Literate Editor with Outline, at leo-editor.github.io/leo-editor or on github, and VS Code at code.visualstudio.com.
-
Leo Editor 6.7.8 or later
Install with :pip install leo
Or with git. (See Installing Leo with git) -
Websocket Python Library
Install with :pip install websockets
(See websockets.readthedocs.io/)
- UI controls such as a Leo Outline in the explorer view, and as a standalone sidebar, body pane, opened documents selector along with a Log Window output channel.
- Keybindings that match those of the Leo editor, including arrow keys behavior for outline keyboard navigation. (Can be turned off with the 'Leo Tree Browsing' option setting)
- Derived files change detection. See External Files below for more details
- '@button' panel for creating your own commands with @buttons
- Find panel that reacts to Leo's typical keybindings, Ctrl+F, F2, F3... when focus is in the outline or body pane
- Nav and Tag panel controls are integrated in the Find panel
- Goto Anywhere panel to navigate directly from list of nodes, such as the results of Nav or Tag searches
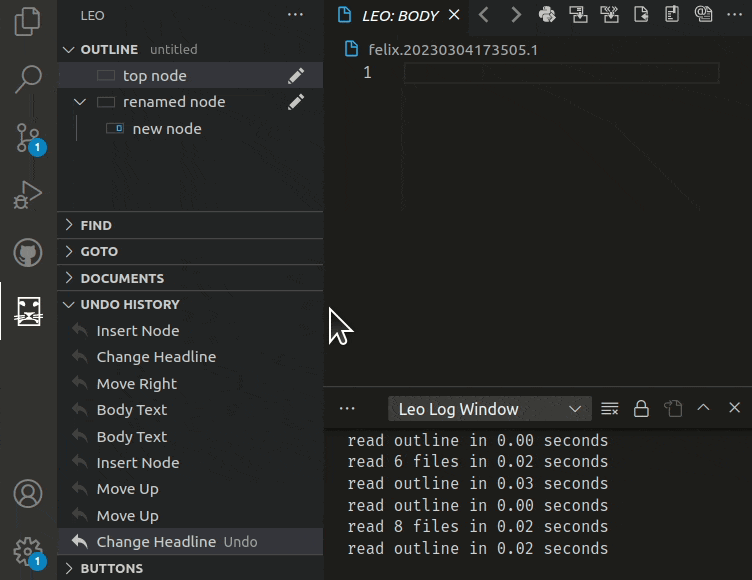
- Undo History panel, showing all actions and allowing going back, or forward, to any undo states.
LeoInteg offers an extensive set of integrated commands, accessible through a variety of interfaces — toolbar buttons, dedicated menus, and intuitive keybindings. Those commands are also discoverable via the Visual Studio Code Command Palette. (accessible through F1 or Ctrl+Shift+P)
The keybinding architecture is designed to be context-aware. When your focus is within the LeoInteg Body or Outline pane, LeoInteg-specific keybindings take precedence. Shift your focus outside these panes, and Visual Studio Code's native keybindings resume control.
For those familiar with Leo, the 'minibuffer' serves as the nerve center for command execution. Access it through Alt+X and use the complete set of Leo's commands!
Listed here are the most useful commands and their keyboard shortcuts.
| Outline Commands | |
|---|---|
| Undo / Redo | Ctrl + Z / Ctrl + Shift + Z |
| Insert Node | Ctrl + I or Shift + Insert |
| Insert Child | Ctrl + Insert |
| Edit Headline | Ctrl + H |
| Mark / Unmark | Ctrl + M |
| Copy Node | Ctrl + Shift + C |
| Cut Node | Ctrl + Shift + X |
| Paste Node | Ctrl + Shift + V |
| Delete Node | Ctrl + Shift + Backspace or Delete |
| Clone Node | Ctrl + Backquote |
| Promote / Demote | Ctrl + { and Ctrl + } |
| Moving Nodes | |
|---|---|
| Move Outline Up | Ctrl + U or Shift [+ Alt] + Up |
| Move Outline Down | Ctrl + D or Shift [+ Alt] + Down |
| Move Outline Left | Ctrl + L or Shift [+ Alt] + Left |
| Move Outline Right | Ctrl + R or Shift [+ Alt] + Right |
Move-Outline commands need the 'Alt' key modifier only when focus is on body pane.
| Common Operations | |
|---|---|
| Toggle Outline/Body | Ctrl + T |
| Focus on Body | Tab or Enter or Alt + D or Ctrl + G |
| Focus on Outline | Alt + T |
| Contract All | Alt + - |
| Sort Siblings | Alt + A |
| Start Search | Ctrl + F |
| Find Next | F3 |
| Find Previous | F2 |
| Replace | Ctrl + = |
| Replace then Find | Ctrl + - |
| Extract | Ctrl + Shift + D |
| Extract Names | Ctrl + Shift + N |
| Execute Script | Ctrl + B |
| Minibuffer Palette | Alt + X |
| Tree Navigation | |
|---|---|
| Show the LeoInteg View | Ctrl+Shift+L |
| Go Anywhere | Ctrl+P |
| Go To First Visible Node | Home or Alt + Home |
| Go To Last Visible Node | End or Alt + End |
| Tree page up/down | PgUp / pgDn |
| Go To Next Clone | Alt + N |
| Browse Tree | Arrow Keys or Alt + Arrow Keys |
| Go To Global Line | Alt + G |
With the 'Leo Tree Browsing' setting enabled by default, the arrows, home, end, pageUp/Down keys will change the outline's selection directly.
| File Commands | |
|---|---|
| Save Leo Document | Ctrl + S |
| New Leo Document | Ctrl + N |
| Open Leo Document | Ctrl + O |
| Cycle Next Document | Ctrl + Tab |
| Write File Nodes | Ctrl + Shift + W |
| Write Dirty Files | Ctrl + Shift + Q |
Use either of the Save Leo Document, Write File Nodes or Write Dirty Files commands to derive external files for any type of @file nodes.
| @<file> Kind | Sentinels | @others | .leo Data | Write Only |
|---|---|---|---|---|
| @asis | ❌ | ❌ | ✔️ | ✔️ |
| @auto | ❌ | ✔️ | ❌ | ❌ |
| @clean | ❌ | ✔️ | ✔️ | ❌ |
| @edit | ❌ | ❌ | ❌ | ❌ |
| @file | ✔️ | ✔️ | ❌ | ❌ |
| @nosent | ❌ | ✔️ | ✔️ | ✔️ |
Leo will detect external file changes, and will ask to either refresh from disk or ignore the changes.
The change detection process can be automated to always refresh, or ignore file changes: A notification will inform you of the action taken instead.
Open the command palette Ctrl+Shift+P and start typing leo settings to access LeoInteg's welcome/settings screen
(Changes are auto-saved to the user's profile after 0.5 seconds)
- Control the visibility of the outline pane in the explorer view.
- Decide how and when to refresh and synchronize content when derived (external) file are modified.
- Show additional icons on outline nodes (Move, delete, mark, copy, paste...)
- Choose to either focus on the body pane, or keep focus in the outline when a node is selected.
- Hide or show the "Open on the side" command in the context menu to open a node beside the active editor
- Set preferences for setting the address and port, and for automatically starting, and/or connecting to a Leo server.
Although the Leo integration has one instance of the leoserver script per vscode 'project' window by default, the server settings also has features that allows you to use the same instance of Leo in multiple client (vscode) windows simultaneously, with real-time updates and interaction.
(See Multiple concurrent connections)
When auto-start is set, a vscode window will start a new instance of Leo server for itself on the next available network port. If the connection limit is set to anything above the default of one (1), then the auto-start logic will consider a port being in use as being already started and will not start another one. (Letting you connect, or auto-connect to it from any additional opened vscode window.)
The server, located in your Leo-Editor installation folder, also has other options unrelated to LeoInteg that allows you to create a stand-alone internet server for other uses such as multi-user interaction over a network/internet, and more.
Run the server directly with the '--help' argument to view all server options and capabilities:
.../leo-editor/leo/core/leoserver.py --help
For more information about the Leo server see Using leoserver.py from Leo's official documentation.
Arrow keys, home/end, page up/down are used for basic navigation. But in order to find and goto specific nodes directly, use the methods described below.
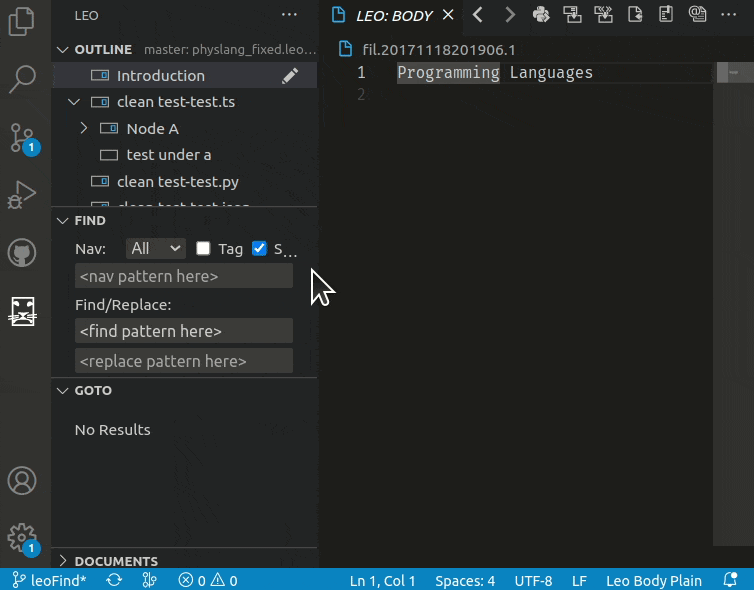
Normally in vscode, the the Ctrl+P shortcut allows you to switch to any project file, but when the focus is in one of Leo's panels, the Ctrl+P keybinding allows you to switch to a node directly by typing (part of) it's headline.
With focus in Leo's outline or body pane, Hit Ctrl+F to open the find panel.
Enter your search pattern directly in the <find pattern here> field. Press Enter to find the first match starting from your current position.
Hitting F3 repeatedly will find the subsequent matches. (F2 for previous matches)

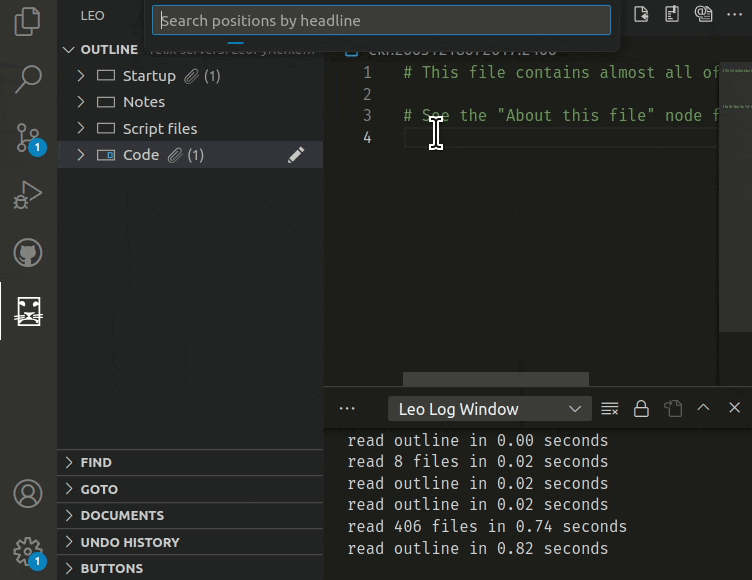
Type your search pattern in the Nav field instead to see all results show up below in leo's Goto Pane. This will show the headlines as you type.
Press Enter to freeze the results and show results also found in body text of any node. This will add a snowflake icon ❄️ to the Nav field.
From the Goto Pane, you can use the arrow keys, home/end, page up/down to cycle directly to any of those matches.
If you check the Tag option, the Nav field and Goto Pane are then used to find nodes by their tag 🏷 ua (user attribute).
In LeoInteg, the undo functionality is a multi-tiered system that segregates structural outline changes from text changes within the body pane. The Undo Panel captures outline alterations as individual 'Undo Beads', independent from VS Code's native text undo states. When focus resides in the body pane, the Undo keybinding triggers VS Code's text-specific undo action. However, once the focus shifts or a new node is selected, all concurrent text changes coalesce into a single 'Undo Bead' within the Undo Panel. These 'Undo Beads' can then be manipulated either through the Undo Panel or by keybindings, provided the focus is explicitly set on the outline pane. This dual-layer undo architecture enables precise control over both code and structural modifications.
Use the undo / redo icons above the outline or above the undo pane itself. You can also right-click on an undo step to directly switch to that specific state!
Common issues are listed below. See the repository's Issues Page to submit issues.
If you're experiencing trouble with the keyboard shortcuts for the 'Clone Node' or the 'Promote' and 'Demote' commands, set "keyboard.dispatch": "keyCode" in your vscode settings and restart vscode. See Troubleshoot Linux Keybindings for more information.
If you have a keybinding conflict for a command that you would like not to be resolved by Leo when the focus is on the body pane,
add && resourceScheme != 'leo' to the keybinding's "when" condition. (Use Ctrl+K Ctrl+S in vscode to open the Keyboards Shortcuts panel)
For some users, the Alt+[Arrow Keys], Ctrl+D and Ctrl+T keybinding are already assigned.
To help with this conflict, tree-browsing, outline-move keyboard commands, and switch focus command will only trigger with the additional condition of having no text selection in the editor.
So select at least one character to use the previously assigned original keyboard commands, while focus is in the body pane.
Refer to the issue tracker page to learn more about the known issues, or to contribute with additional information if you encounter some yourself.
Leo integration into VS Code is done by starting a python server script and connecting to it via a websocket to exchange JSON data. The server script leverages leoBridge and re-uses code from the leoflexx.py plugin.
The outline pane is made by implementing a TreeDataProvider for vscode's TreeView API, while the body-pane's virtual document is made by implementing a filesystem provider and using the outline's selected node 'gnx' as identifier.
- Edward K. Ream creator of the Leo Editor
- Eric Amodio for the welcome screen templates
- Vitalije Milošević for his contributions and support
- Arjan Mossel for his suggestions and ideas
- Thomas Passin for his contributions and support
- Viktor for his contributions and support
- Gaurami for his suggestions, bug reports and support
- Kevin Henderson for his suggestions and support
- Ville M. Vainio for his Nav tab original concept
- Jacob M. Peck for his Tags tab original concept
- Matt Wilkie for his contributions and support