Companion Jupyter Notebook for the “Image Processing in Python with Pillow and Jupyter Notebook” article.
To run this example you'll have to install the following libraries:
python3 -m pip install --upgrade jupyter
python3 -m pip install --upgrade pillow
These commands install the following modules:
- jupyter For managing and running our code effectively.
- pillow For reading and modifying EXIF metadata. Most of the code in this article will use this module.
To make experimenting with Pillow easier, you’ll edit and run the code in this article using Jupyter Notebook. It’s a web application for creating interactive documents called notebooks containing code and text.
Think of Jupyter Notebook as a web-based one-column spreadsheet where you can enter either text (in Markdown form) or code (in Python or several other programming languages) in each cell.
You can enter a single line of code into a cell and run it. You can also enter a function, several functions, or an entire class into a cell and run it. Once you run a cell, the notebook will remember any functions and classes you defined and any variables you declared within until you reload the page or restart the kernel running the code. You can update functions, classes, and variables by updating their cell and running it again.
Since it’s a web application and not a command-line one, Jupyter Notebook can display more than just text results. It can also display charts, graphs, images, and even interactive user interface controls without the need to launch an external application. Notebooks let you see graphical results right beside the code that produced them, and you’ll use this capability in this article’s exercises.
As the title of this article implies, Python should be installed on your system. You can find the latest version at the official site, Python.org, as well as with other distributions such as Anaconda, whose installer includes a lot of Python packages (including Jupyter Notebook) and tools for data scientists.
If Python is installed on your system, chances are it also has pip, the Python Package Installer, but it might not be the current version. The commands below install pip if it isn’t on your system or update it if necessary.
On Windows, do this by entering the following into PowerShell:
python -m pip install --upgrade pipOn macOS and Linux, enter the following into Terminal:
python3 -m pip install --upgrade pipThe next step is to install Jupyter Notebook, the environment you’ll use to run the code in this article. The commands below install Jupyter Notebook’s packages if they aren’t on your system or update them if necessary.
On Windows, install Jupyter Notebook by entering the following into PowerShell:
python -m pip install --upgrade jupyterOn macOS and Linux, enter the following into Terminal:
python3 -m pip install --upgrade jupyterOnce you’ve installed Jupyter Notebook, launch it by entering the following into PowerShell (if you’re on Windows) or Terminal (if you’re on macOS or Linux):
jupyter notebookJupyter Notebook will start and open the page at http://localhost:8888/tree with your default web browser. This is the Jupyter Notebook home page, and it looks like this:
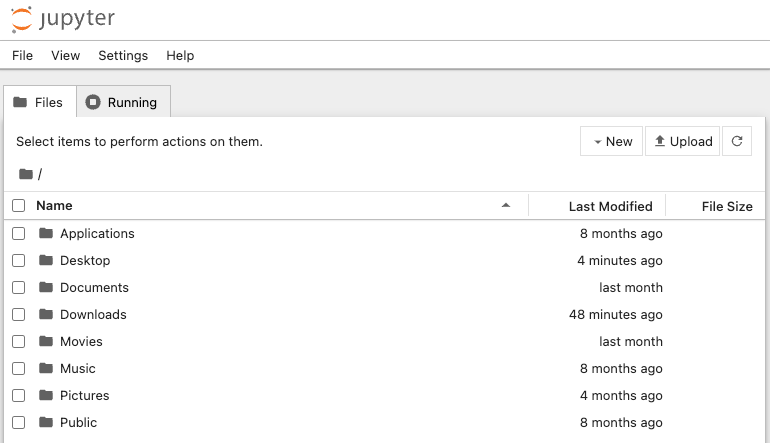
The home page is for navigating your computer’s filesystem. Use it to find a place on your local drive to store the file for this article’s exercise (to open a folder on the home page, simply double-click it as if you were navigating the filesystem using your OS’ GUI).
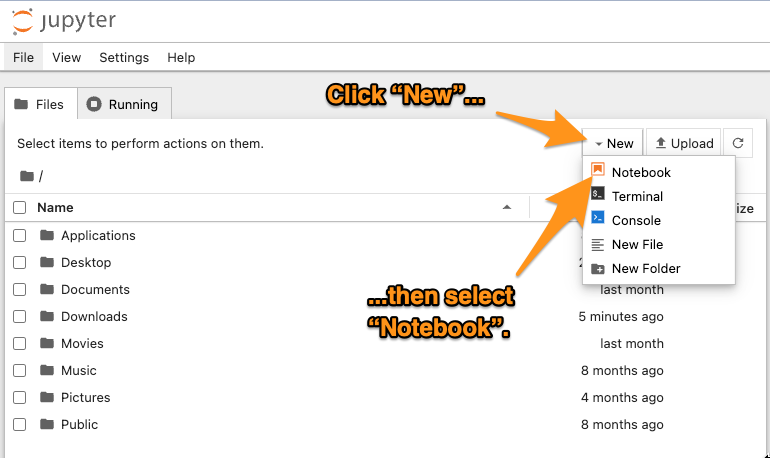
Once you’ve found a place to store the file, create a new notebook by clicking on the New button near the upper right corner of the page and selecting Notebook from the menu that appears:
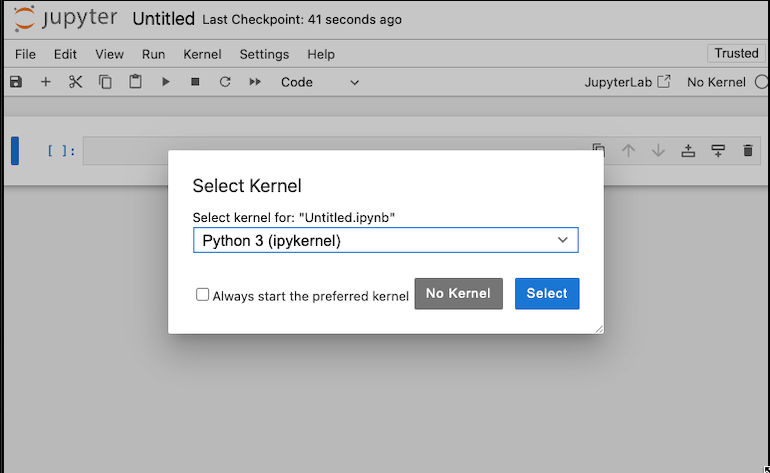
A dialog box asking you to select a kernel will appear. Kernels are processes that Jupyter Notebook uses to support programming languages. You’ll be working in Python, so make sure Python 3 (ipykernel) is selected and click the Select button:
The default installation of Jupyter Notebook includes only the Python 3 kernel. It supports several other languages, including JavaScript, Java, Kotlin, Ruby, Scala, and others — see this list to find out which languages are supported and how to install other kernels. You’ll see an empty notebook with a single cell. Let’s enter some code into it.
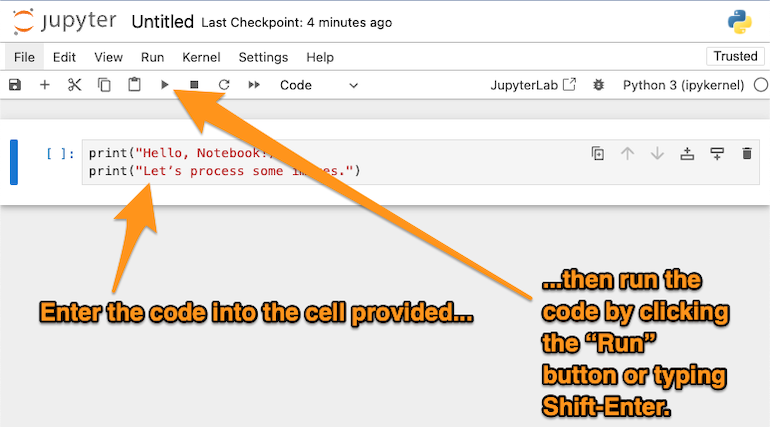
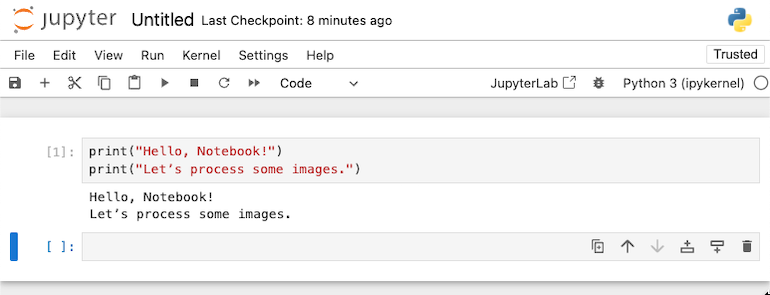
Enter the following into the cell:
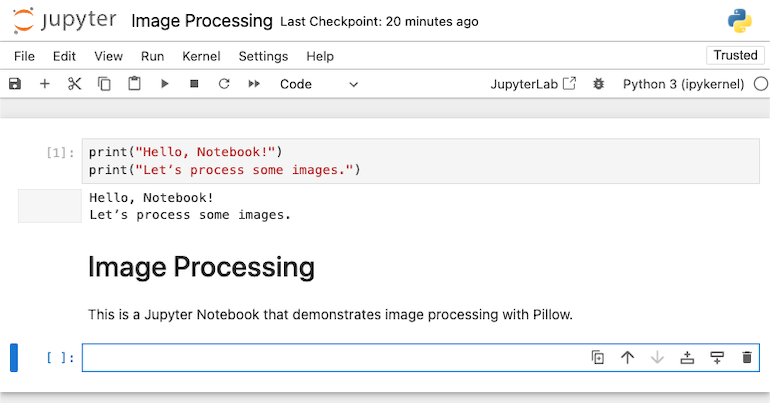
print("Hello, Notebook!")
print("Let’s process some images.")
Run the cell by either clicking on the Run button in the toolbar or typing Shift-Enter:
The code in the cell will execute, and you’ll see the following output:
Note that after running the cell, Jupyter Notebook provided you with a new cell. You can create additional cells by clicking the + button in the toolbar.
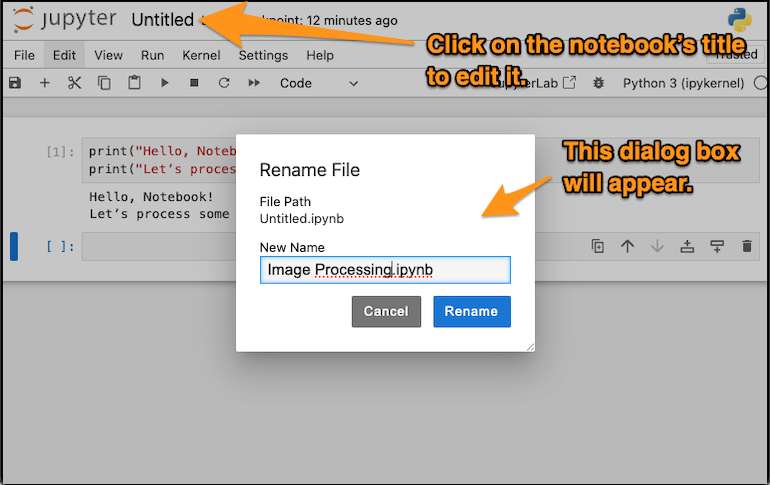
Rename the notebook by clicking on its title near the upper left corner of the page. You’ll see the Rename File dialog box. Give the file a suitable name, such as Image Processing.ipynb and click the Rename button to make the change:
In case you’re wondering why Jupyter Notebook’s filename extension is
.ipynb, it’s because it used to be called “IPython Notebook.” Save the file by clicking the Save icon in the notebook’s toolbar, selecting File → Save in the notebook’s menu bar, or using the control/command-S keyboard shortcut.
Cells in Jupyter Notebook are code cells by default. When run, the notebook interprets a code cell’s contents as code, executes that code, and displays any output.
Jupyter Notebook also supports Markdown cells, which are for text. When run, the notebook interprets a Markdown cell’s contents as Markdown, converts that Markdown to HTML, and renders the HTML.
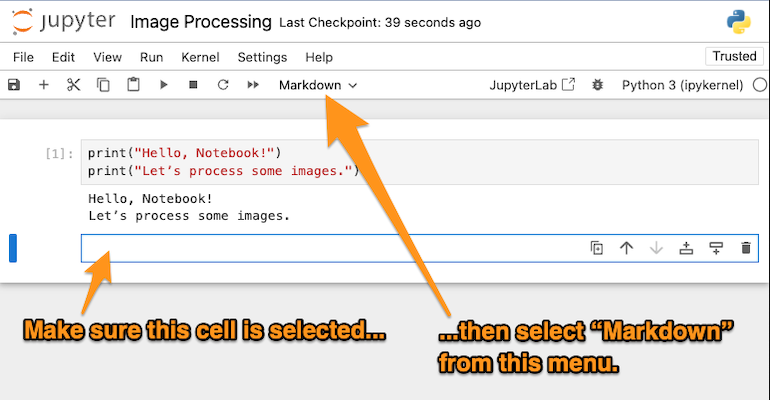
Change the newly-created empty cell into a Markdown cell by making sure it’s selected and selecting Markdown from the drop-down menu in the toolbar, as shown below:
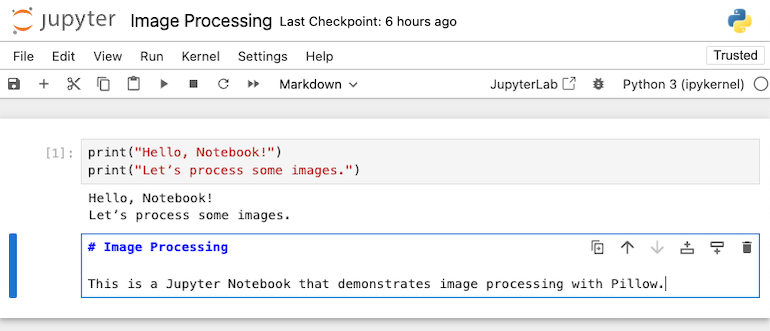
Enter this into the cell:
# Image Processing

This is a Jupyter Notebook that demonstrates image processing with Pillow.
The notebook should look like this:
Run the cell by either clicking on the Run button in the toolbar or typing Shift-Enter. The notebook will render the Markdown into HTML and display it:
To edit the Markdown cell, double-click it. The rendered version will be replaced with the editable version.
This ability to hold both code that can be executed and Markdown that can be rendered makes it possible to create documents that can be treated as:
- Code with excellent documentation, and in the spirit of literate programming, or
- Documents whose theses are proven or backed by code. Economist Paul Romer, who won the 2018 Nobel Prize in economics, uses Jupyter Notebooks to write research papers.
You could install Pillow like you installed Jupyter Notebook: using pip on the command line. But since you’re working in a notebook right now, why not use its shell command capabilities instead?
You can run any command that works in your system’s command line in Jupyter Notebook by adding the ! character before it. Let’s use this feature to install Pillow from within the notebook.
If you’re on Windows, enter this into a new cell and run it:
! python -m pip install --upgrade PillowOn macOS and Linux, enter this into a new cell and run it:
! python3 -m pip install --upgrade Pillow