Hi ${name}, and welcome to the Cubbit training repository. Here you will find all the guides and exercises to master our technologies and to become a true Javascript ninja. In the next sections, the main concepts of git and javascript will be generally explained so you can start to explore the repository and its contents independently.

Cubbit software leverages on a Javascript Full Stack environment. However, to get started with Javascript you will need first a proper text editor. Here are a bunch of them, choose wisely:
- Atom: it is a text editor that's modern, approachable, yet hackable to the core—a tool you can customize to do anything but also use productively without ever touching a config file.
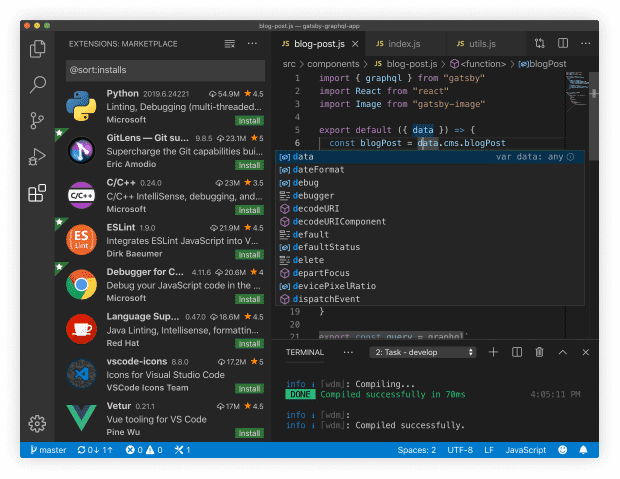
- Visual Studio Code: another full customizable modern editor powered by Electron. It embeds a terminal which can be useful (in Atom the terminal is a optional plugin)
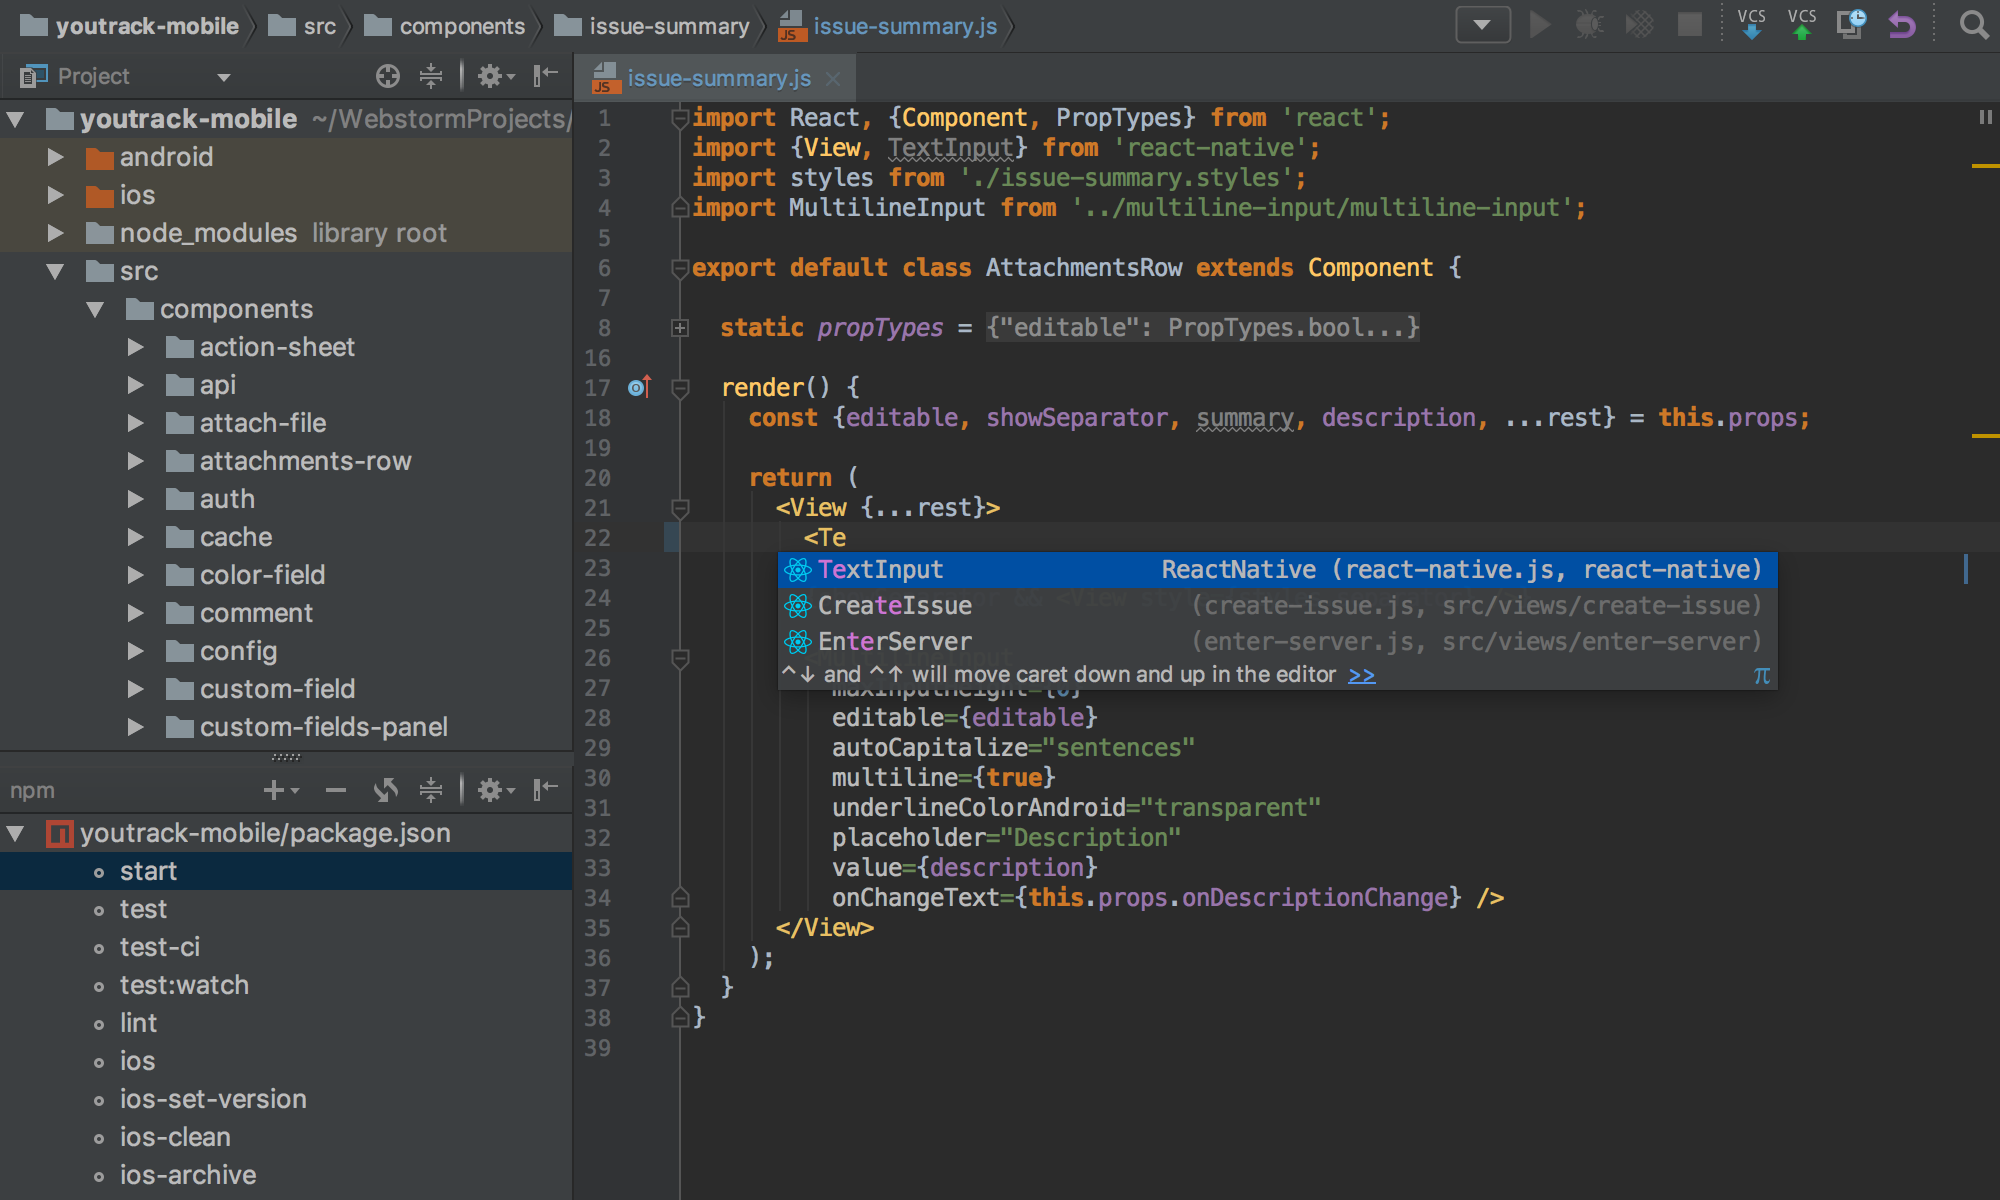
- Webstorm: Now this is more powerful! Webstorm is a complex and complete IDE for developing web application. It is a premium editor but if you have a student email such as
*@studio.unibo.itit will be free for complete year. In webstorm you can run tests in an integrated UI, crate automated task, run commands in terminal, configure deployments and format the code automatically.All of them support Typescript, Node.js and all the tools we use in our company. So choose the one you like the most. Once you have installed your favorite editor you are ready to jump to the environment setup. Get ready!

The development environment leverages on these technologies:
Solving the challenges in this repository, you will approximately learn each of them with more or less detail.
Since Node.js (and Javascript in general) is a very cutting-edge technology a new release is shipped almost every week. For this reason we encourage you to install nvm.
NVM (or, for windows machines NVM) is a version manager for Node.js. It can help changing Node.js version quite simply. Please refer to the corresponding repositories to install them.
In the Cubbit core team we are using the 7.10.1 version in production and we are planning to move to the 8.7.0
To download, compile and install the latest release of node, just type:
nvm install node
To install a specific version just type:
nvm install 7.10.1
To list all the available version installed:
nvm ls
To use a default Node.js version:
nvm alias default <version>
(or nvm alias default node for the latest version)
Now that you have installed Node.js you can run your first example but first open your terminal and write
node --version
to be sure you have the correct version installed. Ready?
Just write node in terminal to get prompted with the command line version of the engine. Now just write
> console.log('Hello world!');
Now you can procede to the next section...
Node.js ships with a really powerful package manager (npm). It allows to discover and assemble libraries and software to make it reusable and make simple to manage dependencies and modules automatically. To basically handle the package manager you just need 3 simple commands:
npm init: initialize a new package in the current directory. It also automatically creates apackage.jsonfile for you to manage your dependency and to define your project configuration.npm install <package>: allows to fetch a module from a remote repository (the default and biggest one is hosted by npm itself). The result of the command will be a new folder with the installed dependency in thenode_modulesfolder (which is automatically generated for you if it does not exist in project root). If you specify the extra parameter--saveor--save-devit will also update yourpackage.jsonfile to record the already downloaded dependency. If you launchnpm installin a directory in which is located apackage.jsonfile, it will also automatically fetch all the dependencies stored inside it.npm remove <package>: as the name suggests, it will remove the specified package. Like theinstallcommand, if called with--saveor--save-devparameter, it will also update your dependency tree in thepackage.jsonfile.
You can find further informations on the npm website.
Recently, was introduced Yarn, a fast, reliable and secure package manager to provide cached modules, minor resource utilization, offline utilization while providing full compatibility with the NPM registry and all its modules. To download it just refer to its webpage. Its beavihur is almost the same as npm.
These are the main commands in the yarn dialect:
yarn: synonym fornpm installyarn add <package>: synonym fornpm install --save <package>yarn add --dev <package>: synonym fornpm install --save-dev `yarn remove <package>: synonym fornpm remove --save <package>
We strongly suggest to use Yarn when possible.
Now that you are completely confident with the package manager let's download typescript! To do so just write:
npm install -g typescript
The -g flag stands for global and tells the package manager to install the dependency for the current user on the system. In this way we can use the installed package as a command line utility.
To confirm you have the correct version installed just write tsc --version in the terminal. We are set!
Before getting started we the challenges we finally need to introduce git and how it works. To do so please refer to this guide. It will explain the basic concepts of the Version Control Systems (VCS) such as git, mercurial and subversion (svn). Please feel free to test out the basic features of git here on Github. You can create a new account freely from the website and start tweaking around with repositories, branches, commits and releases.
We strongly suggest, to generate a new ssh key to avoid entering a password on each push request. To do so just type (on unix based systems):
ssh-keygen
in the terminal and press enter until it prompt for infos. Then copy the content of the file ~/.ssh/id_rsa.pub and paste it in the SSH & GPG keys section of the Github preferences. A smart way to copy the content of the file in the clipboard directly can be this snippet (note: pbcopy only exists on macOS machines)
cat ~/.ssh/id_rsa.pub | pbcopy
Even if a strong knowledge of the terminal's commands is fundamental to master git, we suggest to download a GUI application to manage the most complex operations with a graphical feedback. Here are a bunch of them to select from:
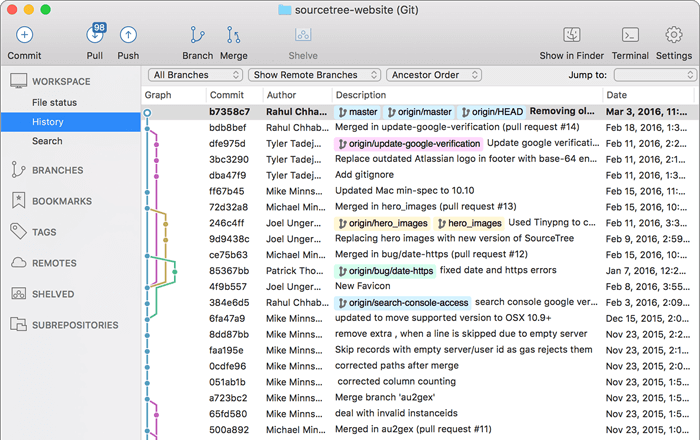
- Sourcetree: we use it in the core team but it is not available for Linux machines.
- GitKraken: written with Electron. The free version is quite enjoyable.
- Github Desktop: it is widely used in the open source community.
Select the one which suits you most and procede to the next section.
Git flow is an extension of git which allows to simplify the most common task in a development team as creating new features, releasing new software, etc... To do so it introduces some commands to best handle this situations. The commands are well explained in this guide. Note that Sourcetree already ships with a basic version of git flow which can be enabled from the preferences pane. However, to use it from terminal you have to install it.
This repository will be structured as a multilevel game. Each branch will represent a level. The first level will assume zero knowledge of the environment and will start from ground level. Since you pass each level the complexity of the exercises will increase. These are the current available levels (they will be updated during time):
To play a level just follow these steps:
- Fork this repository (see next section)
- Clone it on your computer (
git clone <url>) (see next section) - (Follow the steps in the next section)
- Checkout the branch corresponding to the level you want to play (hint:
git checkout <branch>) - Install the dependencies (
npm installoryarn). Note: all the dependencies needed to solve the challenge will be already included in thepackage.jsonfile. Try to solve the challenge without installing additional libraries. - Solve the challenge (the challenge targets will be explained in detail inside the
README.mdfile) - Push the solution to your forked repository. You can do as many commits and branches as you need to solve the channel.
- Make a pull request back to this repository to get your solution validated by our staff.
After you have forked this repository from GitHub, follow the following steps to continue following the changes on the main repository (this one):
- Clone your fork:
git clone git@github.com:YOUR-USERNAME/YOUR-FORKED-REPO.git- Add remote from original repository in your forked repository:
cd into/cloned/fork-repo
git remote add upstream git://github.com/ORIGINAL-DEV-USERNAME/REPO-YOU-FORKED-FROM.git
git fetch upstream- Updating your fork from original repo to keep up with their changes:
git pull upstream masterIf you like to customize your terminal and your prompts take a look to zsh. In combination with oh-my-zsh you can achieve results such as this to have the current node.js version always visible on the left:
 Here you can find additional themes and templates. Happy tweaking!
For info about this repository please write on the #help channel on slack or to: