Paper (draft): https://realgjl.com/paper/summer19.pdf
This summer intern project was in fact a fork of my undergraduate thesis project realgjl/sfcNordic.
Acknowledgments: Prof. Petros Aristidou, Dr Sultan Alghamdi, et al.
- Built a communication layer on top of an existing Smart Grid simulator.
- Designed physical and mathematical models (centralised secondary frequency control controller) in Python. Designed analytical models for testing and training results, such as the impacts of time delay and emergencies’ impacts on the stability of control (insensitive data analysis) in Python and MATLAB.
- Collaborated with three senior researchers, and performed a comparative analysis with decentralised networks and optimized algorithm performance to ensure that the network can be restored to normal within 300 seconds after a cyber attack or massive power outage.
Download the Miniconda installer
At a command prompt, enter (Mac):
curl -o ./Miniconda3-latest-MacOSX-x86_64.sh -k https://repo.anaconda.com/miniconda/Miniconda3-latest-MacOSX-x86_64.sh
In Linux (Ubuntu, CentOS, ...):
wget https://repo.continuum.io/miniconda/Miniconda3-latest-Linux-x86_64.sh
Mac:
bash Miniconda3-latest-MacOSX-x86_64.sh
Linux:
bash Miniconda3-latest-Linux-x86_64.sh
Follow the prompts on the installer screens. If you are unsure about any setting, accept the defaults. You can change them later. To make the changes take effect, close and then re-open your terminal window. To test your installation, in your terminal window or Anaconda Prompt, run the command conda list. For a successful installation, a list of installed packages appears.
Check if the Python has been installed successfully (version 3.x): python -V
The default shell of terminal is now "zsh" instead of "bash".
According to the offcial doc from conda (search "zsh" in the webpage), we need to find the path/direction of miniconda3's folder, for instance, in my case:
/Users/realgjl/miniconda3
Then in the Terminal.app:
source /Users/realgjl/miniconda3/bin/activate
conda init zsh
Check the python version again and/or check if "conda" command works.
Go to the file "/etc/paths", and add the path of python binary folder (like "/Users/realgjl/miniconda3/bin") to it. Make sure this new miniconda directory is the first one, meaning that it will have precedence.
p.s., to show the hidden files in Mac, press: "command" + "shift" + ".".
Before first use, the conda package management system needs some initial configuration.
Make sure all the components are updated to their latest versions by entering:
conda update conda
at the command prompt. If there are any updates, you will be prompted to agree their installation.
Necessaries: pytorch (Deep Learning package) scikit-learn (general Machine Learning package) jupyterlab notebook scipy pandas matplotlib
pip install scipy numpy pandas matplotlib
pip3 install torch torchvision torchaudio
pip install jupyterlab
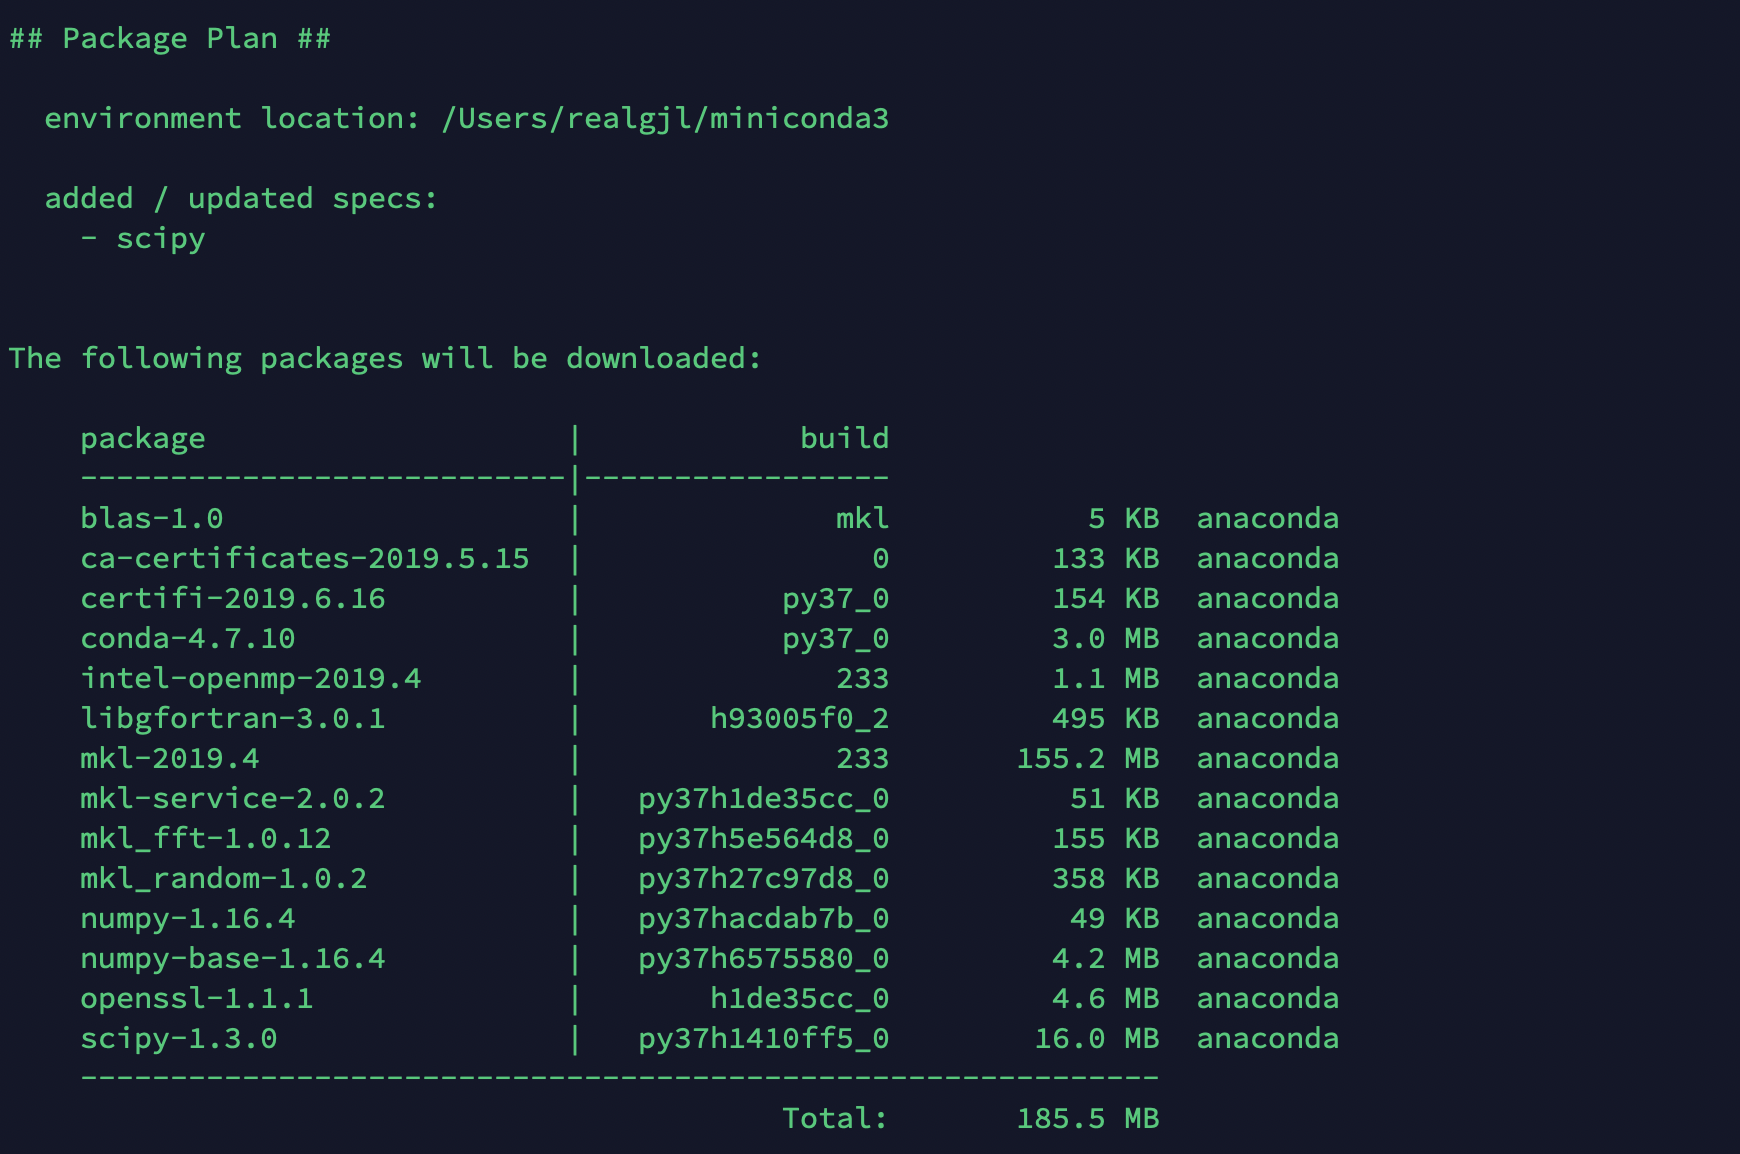
It's preferred to install scipy instead of independently installing numpy, mkl and other independencies. Scipy will automatically install packages like intel-openmp, mkl, mkl-service, numpy and blas.
To make sure that you have the MKL libraries installed, you can test via ipython:
ipython
import numpy as np
np.__config__.show()
"blas_mkl_info" should NOT shown as "not available", like:
mkl_info:
    libraries = ['mkl_rt', 'pthread']
    library_dirs = ['/home/home01/el17jg/miniconda3/lib']
    define_macros = [('SCIPY_MKL_H', None), ('HAVE_CBLAS', None)]
include_dirs = ['/home/home01/el17jg/miniconda3/include']conda install -c apetros pyramses
Test if pyramses is in your path via ipython:
import pyramses
ram = pyramses.sim()
Alternatively, you can install pyramses via pypi.
If the error "libifport.so.5: : cannot open shared object file" occurs, you may have to install Intel's redistributables package. You can review this intel's forum as a reference.
You _may need to install gnuplot although it is not necessary if you remote to a supercomputer.
You can choose to use gnuplot or not in ~/settings.dat:
$CALL_GP F;
$CALL_GP T;
# $CALL_GP F;
| Frequency Range (Hz) | Frequency Range (pu) | |
|---|---|---|
| Overshoot/Max/Min | ±0.200 = ±200m | ±0.40% = ±(1/250) |
| Settling Frequency | ±0.010 = ±10m | ±0.02% = ±(1/5000) |
TOR tor_ENTSOE_simp or TOR CONSTANT
| Machine Type | Machine Code | Generator | SNOM (MW) |
|---|---|---|---|
| SYNC_MACH | COALG15.02 | G15 | 8027.401 |
| SYNC_MACH | CCGTG16.01 | G16 | 7631.982 |
| SYNC_MACH | COALG16.02 | G16 | 3911.223 |
| SYNC_MACH | COALG17.02 | G17 | 2240.000 |
| SYNC_MACH | CCGTG18.01 | G18 | 883.047 |
| SYNC_MACH | COALG18.02 | G18 | 1356.953 |
| SYNC_MACH | CCGTG19.01 | G19 | 2186.816 |
| SYNC_MACH | NUCLG20.04 | G20 | 1500.000 |
| SYNC_MACH | CCGTG21.01 | G21 | 835.000 |
| SYNC_MACH | CCGTG22.01 | G22 | 512.000 |
| SYNC_MACH | CCGTG23.01 | G23 | 5716.446 |
| SYNC_MACH | COALG23.02 | G23 | 1604.416 |
| SYNC_MACH | CCGTG25.01 | G25 | 2176.000 |
| SYNC_MACH | CCGTG26.01 | G26 | 3964.273 |
| SYNC_MACH | COALG26.02 | G26 | 1601.727 |
| SYNC_MACH | CCGTG28.01 | G28 | 1475.995 |
| SYNC_MACH | COALG28.02 | G28 | 194.005 |
| SYNC_MACH | COALG29.01 | G29 | 643.685 |
| SYNC_MACH | COALG29.02 | G29 | 530.811 |