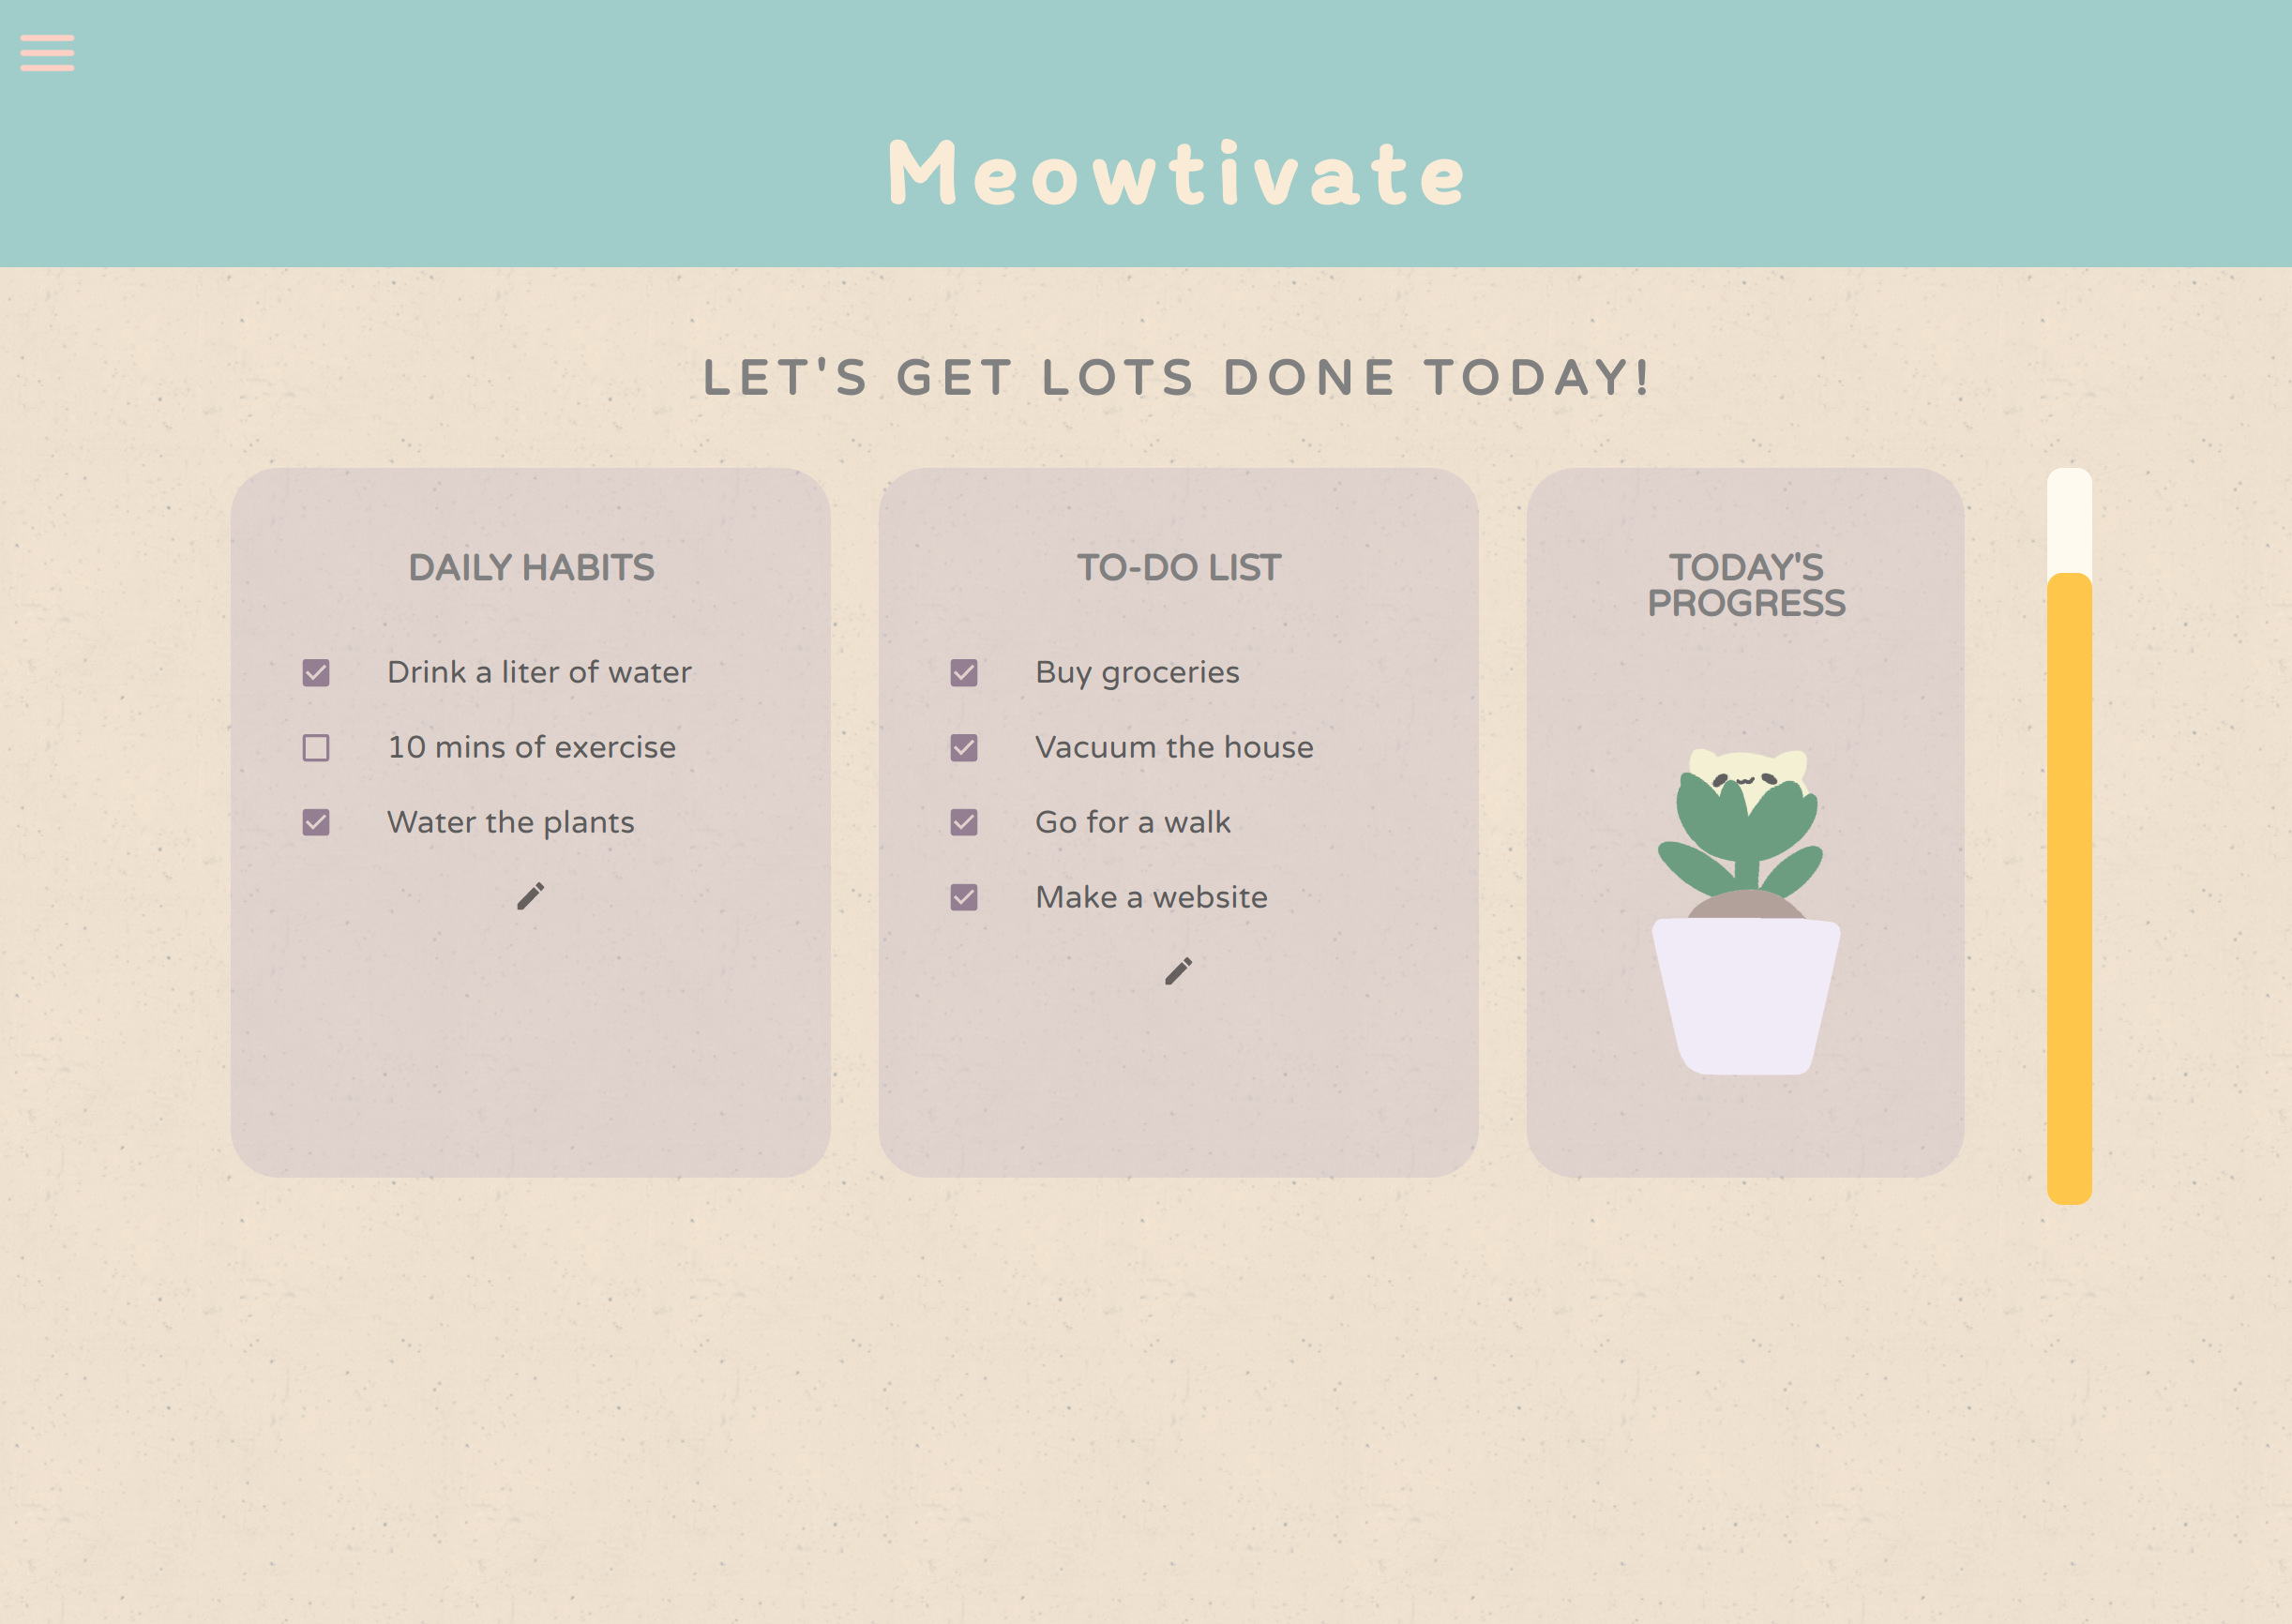
Stay meowtivated to finish your work with this whimsical to-do and habit tracker app, and collect herbaceous feline friends along the way!
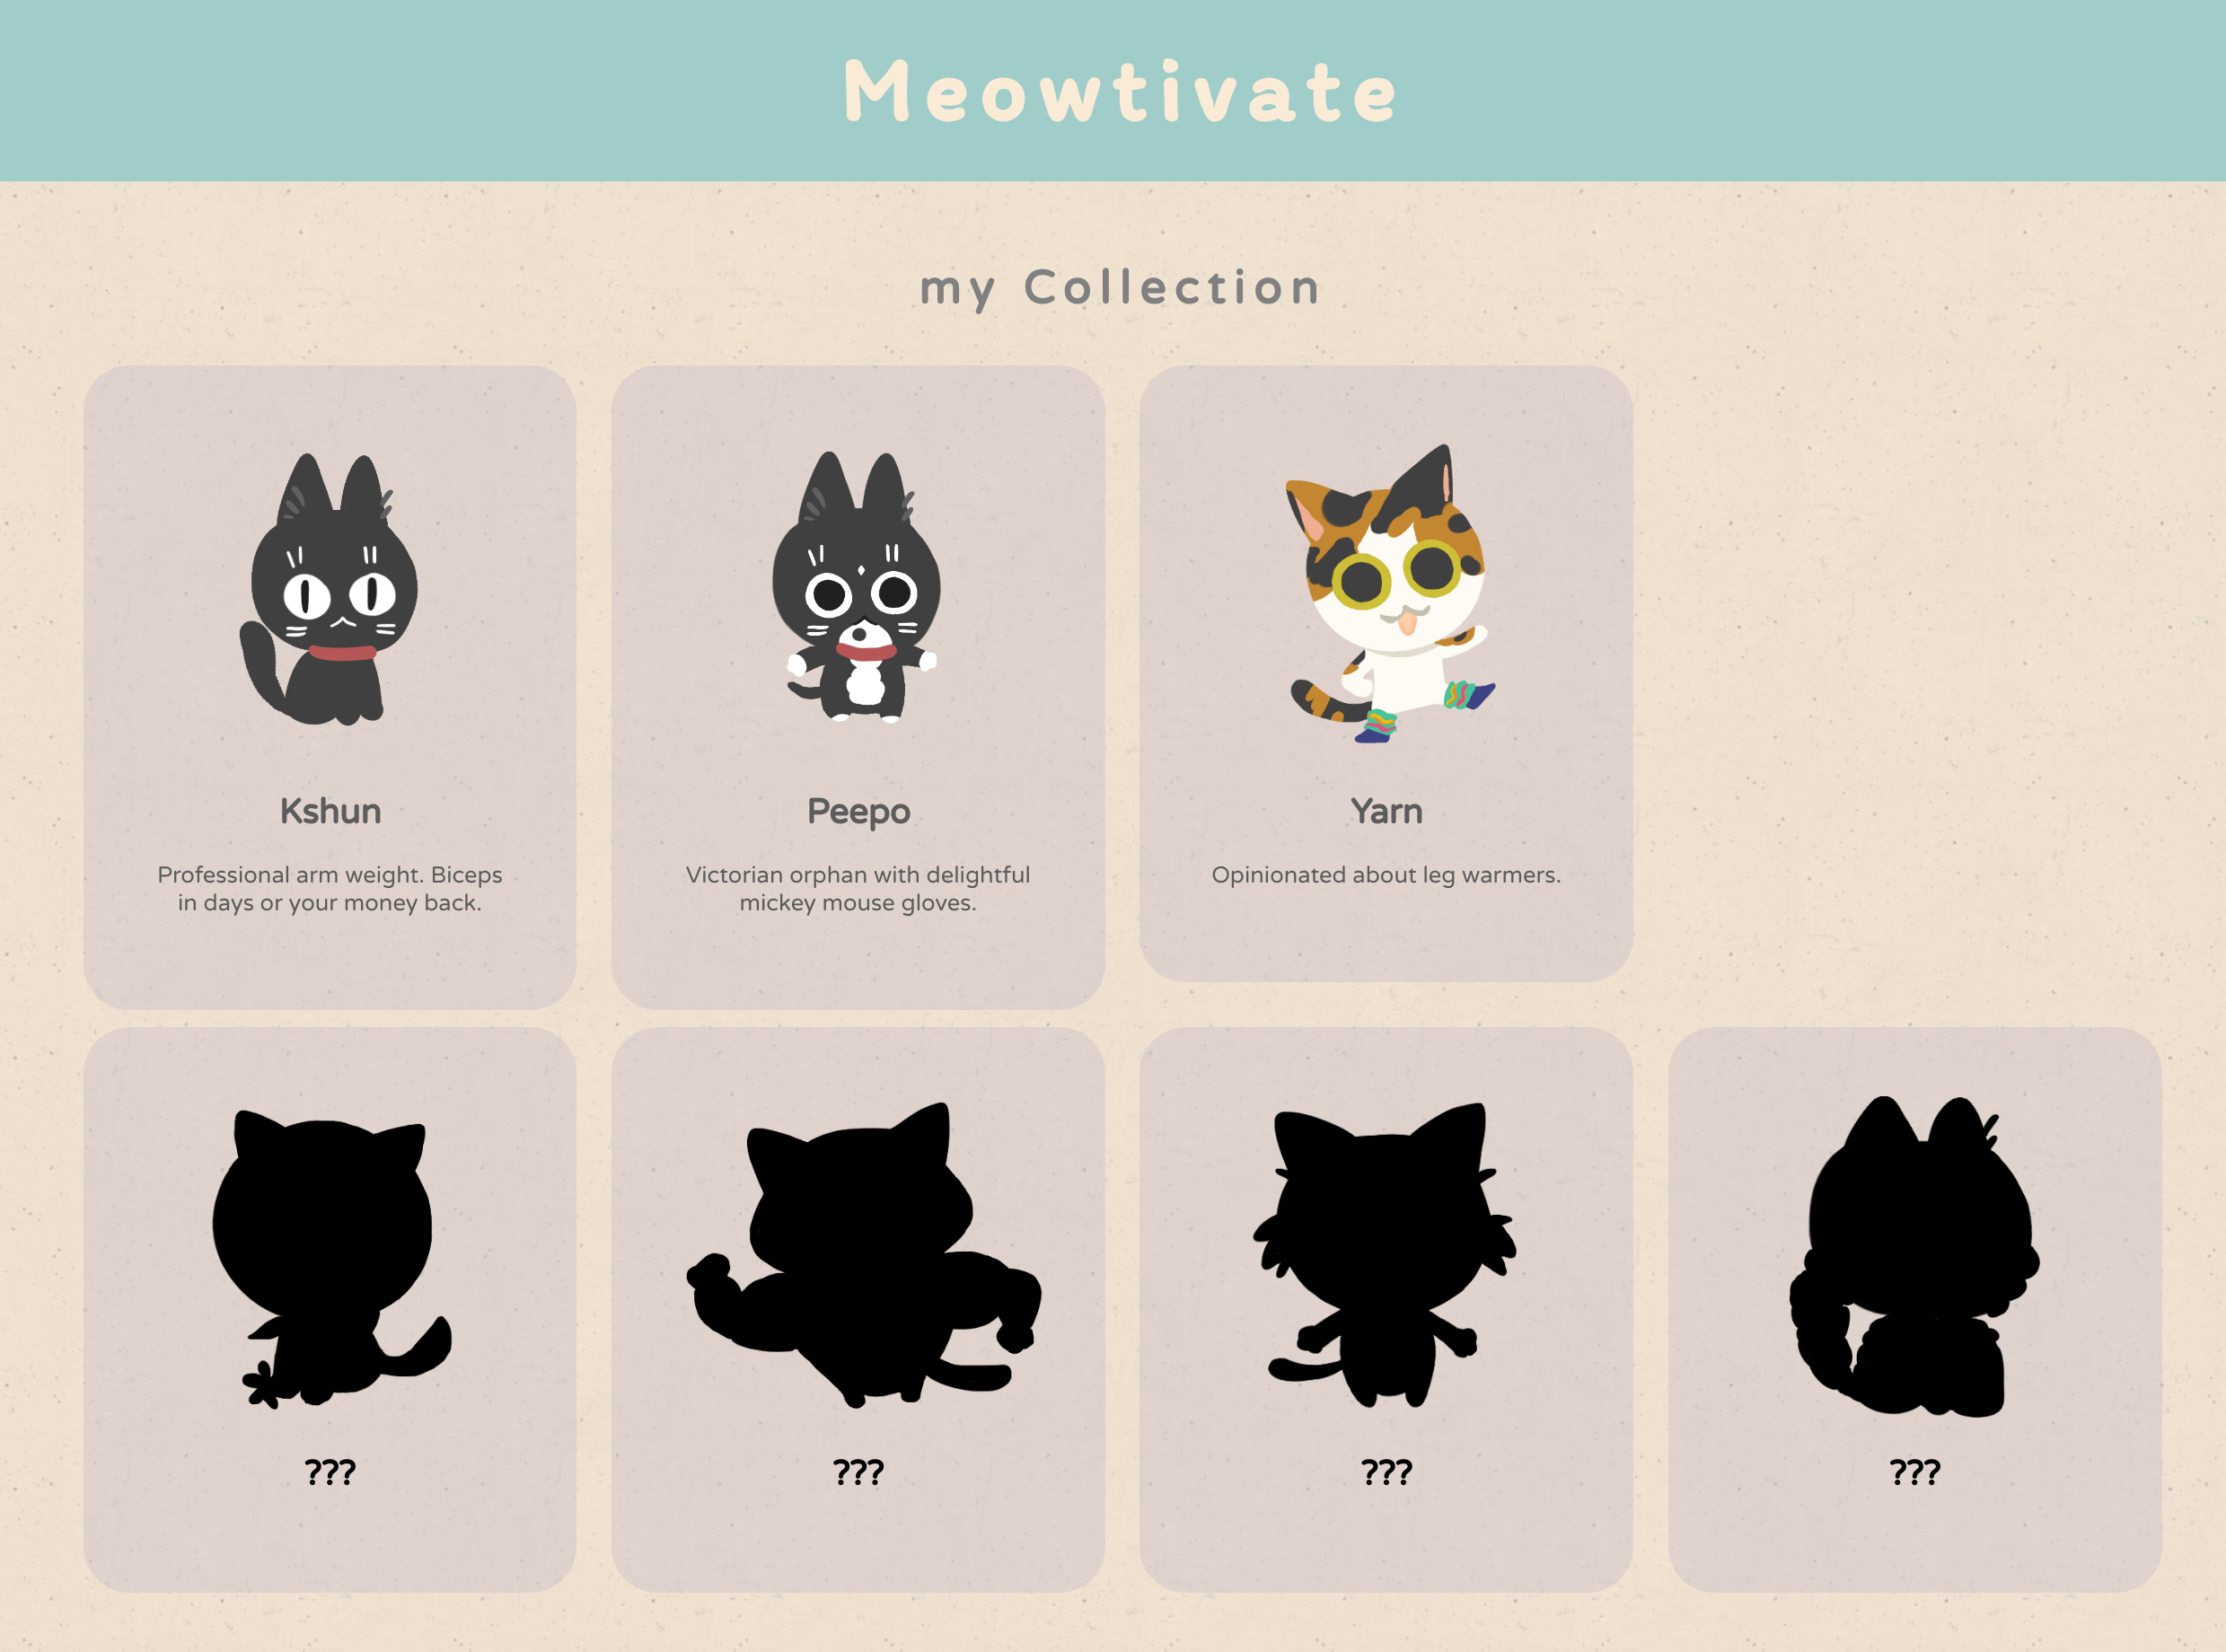
- Unlock cats by completing all your tasks (to-do & daily tasks combined)
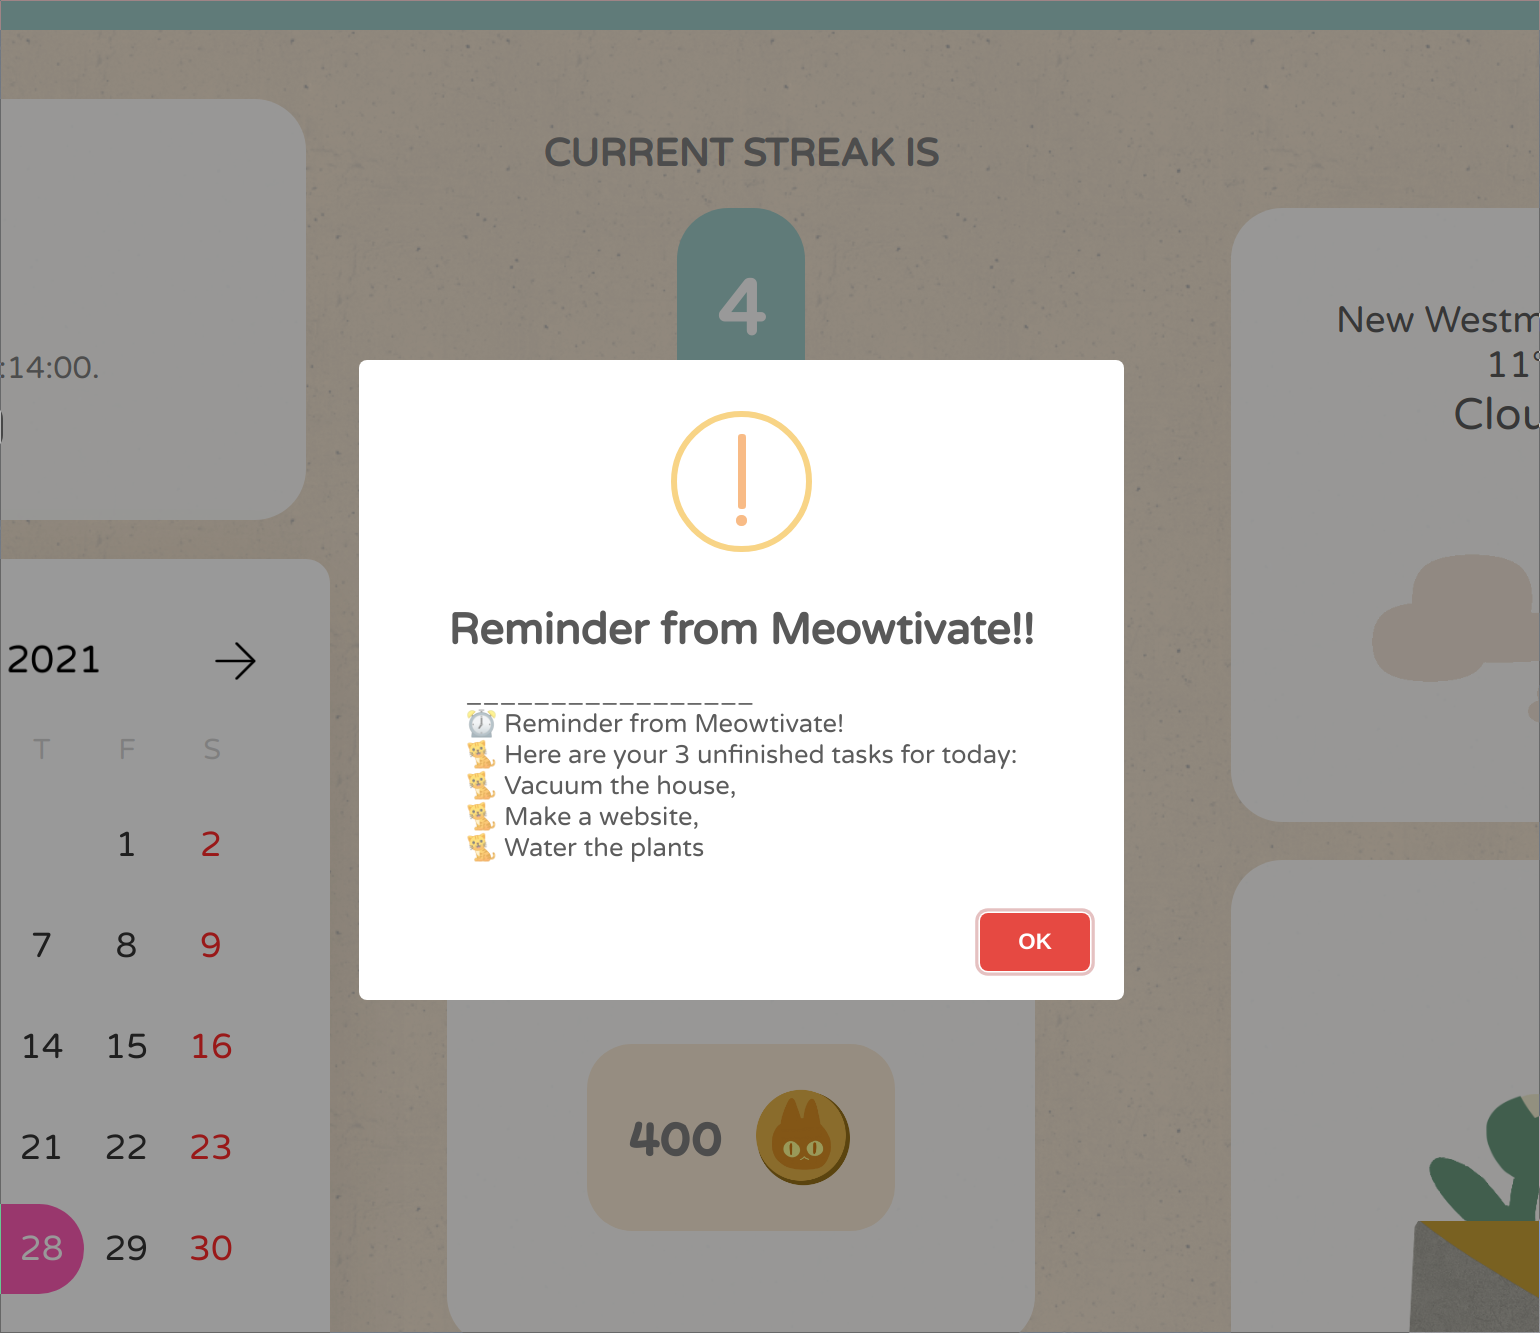
- Finish your daily tasks and maintain your streak to obtain big meowcoin rewards
- Shop for new pots to customize your plant
- Want a reminder? Set a timer to have your unfinished tasks sent to you through SMS
Enjoy!


.png?raw=true)
All our plants and images displayed in the app are drawn by Monica and Connie.
Thanks to Kshun, Peepo and all the other cats for letting us use your portraits as reference!
-
You will need vagrant / psql in your machine for the back-end
-
Go to back-end and front-end and follow the instructions below.
-
For the weather api & twilio text message to work: after you create your version of .env referencing the .env.example in back-end folder, you will need to enter your own api keys (Sorry, it's not provided)
- If you want to concurrently start both of the front-end and back-end after you npm install front-end and back-end individually, come back to your main folder and do the following
npm inpm start
front-end starts at
http://localhost:3006/
back-end starts at
http://localhost:5001/
-
Create the .env by using .env.example as a reference: cp .env.example .env
-
Update the .env file with your correct local information
-
vagrant up->vagrant ssh -
psql -U vagrant -d template1 -
CREATE DATABASE final OWNER labber; -
On host machine: cd into meowtivate/back-end
-
Run
npm run db:reset -
If entering
pg_configin terminal doesn't yield a path, follow the instructions here to install. -
npm i -
In case you want to start back-end separately your command is :
npm run dev
-
Create the .env by using .env.example as a reference: cp .env.example .env
-
Update the .env file with your correct local information
-
npm i -
In case you want to start front-end separately your command is :
npm start
"@fontsource/itim": "^4.1.0",
"@material-ui/core": "^4.11.2",
"@material-ui/icons": "^4.11.2",
"axios": "^0.21.1",
"concurrently": "^5.3.0",
"fontsource-itim": "^4.0.0",
"nodemon": "^2.0.7"
"twilio": "^3.55.0"
"body-parser": "^1.19.0",
"cookie-session": "^1.4.0",
"cors": "^2.8.5",
"dotenv": "^8.2.0",
"express": "^4.17.1",
"express-pino-logger": "^5.0.0",
"node-schedule": "^1.3.2",
"nodemon": "^2.0.7",
"pg": "^8.5.1",
"pg-native": "^3.0.0",
"web-push": "^3.4.4"
-
Connie Leung
-
Monica Li
-
Angie Xu