WordOps documentation sources files are stored in this repository.
Anyone can contribute and improve WordOps documentation. Pull requests are warmly welcome.
You can either edit page content from Github or fork the repository before cloning it on your computer to work with the text editor of your choice.
If you have any question about this documentation, feel free to join us on Slack or to ask your question on WordOps Community forum
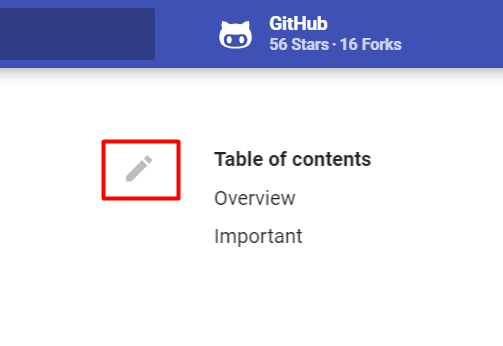
- Browse the documentation and use the edit button available on the top right to open the file with Github editor
- Edit content directly from Github by browsing the folder docs and by using the button "edit this file" available on the right.
- Github will automatically fork the repository (copy the repository in your account)
- After you finished making changes, you will be able to commit changes (saving changes with a message which describe what was added/changed/removed).
- The last step to apply changes on this repository is to open a PR(pull request). We will review the commits you made and if everything is okay, we will merge the PR.
If you want to work on WordOps documentation on your computer, you just have to:
-
Fork the repository using the button "Fork" available on the top right of this page
-
clone the forked repository:
- with the CLI:
git clone https://github.com/YourUsername/docs.wordops.net.git - or using Github Desktop App
- with the CLI:
-
create/edit markdown files
-
commit your modification
git add . && git commit -am "your commit message" -
push your modification
git push -
open a pull request
Documentation source files are stored inside docs directory.
Here the current structure:
├── commands # commands folder
│   ├── clean.md
│   ├── debug.md
│   ├── info.md
│   ├── log.md
│   ├── maintenance.md
│   ├── secure.md
│   ├── site.md
│   ├── stack.md
│   └── update.md
├── commands.md # Page -> commands Overview
├── getting-started
│   ├── creating-sites.md
│   ├── installation-guide.md
│   ├── post-install-steps.md
│   └── prerequesites.md
├── guides # guides folder ( add your extented guides & tutorials inside)
│   └── migration-from-easyengine.md
├── guides.md # Page -> Guides Overview
├── how-to # how to folder (add your short tutorial inside)
│   └── wp-language.md
├── how-to.md # Page -> How to Overview
Each part of the documentation is stored in a separated folder. how-to is the folder used for any short tutorial or explanation about WordOps usage. guides is the folder used for any extended guide or tutorial about WordOps.
Example:
I want to write a tutorial to explain how to use WordOps with a remote MySQL server.
Create the file remote-mysql-server.md in the folder how-to.
WordOps documentation is built with mkdocs and mkdocs-material.
Mkdocs provide the ability to build a static documentation site, with source files written in Markdown, and configured with a single YAML configuration file. MkDocs builds completely static HTML sites that you can host on GitHub page or anywhere else.
You can install Mkdocs locally to use the site live preview feature.
- install mkdocs:
- guide for windows
apt install mkdocs -yon debian/ubuntu
- start mkdocs built-in web-server
mkdocs serveormkdocs.exe serveinside the repository folder - browse documentation live preview on http://127.0.0.1:8000
You can learn more about mkdocs usage on the official documentation