
Brought to you by Willliam Wadman, Max Hur and Cheever Esler. The project was built off of a node skeleton provided by Lighthouse Labs, utilizing Leaflet and a few of its compatible tile layer providers.
The midterm overall required the following stack, along with a list of possible projects:
- ES6 for server-side (NodeJS) code
- NodeJS
- Express
- RESTful routes
- One or more CSS or UI "framework"s
- jQuery
- A CSS preprocessor such as SASS, Stylus, or PostCSS for styling -- or CSS Custom properties and no CSS preprocessor
- PostgreSQL and pg (with promises) for DBMS
- git for version control
The project we chose to work on was the "Wiki Map" option, which also came along with a set of requirements in order to reach a minimum viable product:
- users can see a list of the available maps
- users can view a map
- a map can contain many points
- each point can have: a title, description, and image
- authenticated users can create maps
- authenticated users can modify maps (add, edit, remove points)
- users can favourite a map
- users have profiles, indicating their favourite maps and maps they've contributed to
- use http://leafletjs.com/ or https://developers.google.com/maps/
- Node 10.x or above
- NPM 5.x or above
- PG 6.x
Packages:
- chalk
- cookie-session
- cors
- dotenv
- ejs
- express
- morgan
- pg
- sass
Optional dev package:
- nodemon
- Clone this repo into a new directory. You will need to have access to a postgres database.
- Create the
.envby using.env.exampleas a reference:cp .env.example .env - Update the .env file with your correct local information
- username:
labber - password:
labber - database:
midterm
- Install dependencies:
npm i - Fix to binaries for sass:
npm rebuild node-sass - Reset database:
npm run db:reset
- Check the db folder to see what gets created and seeded in the SDB
- Run the server:
npm run local
- Note: nodemon is used, so you should not have to restart your server
- Visit
http://localhost:8080/
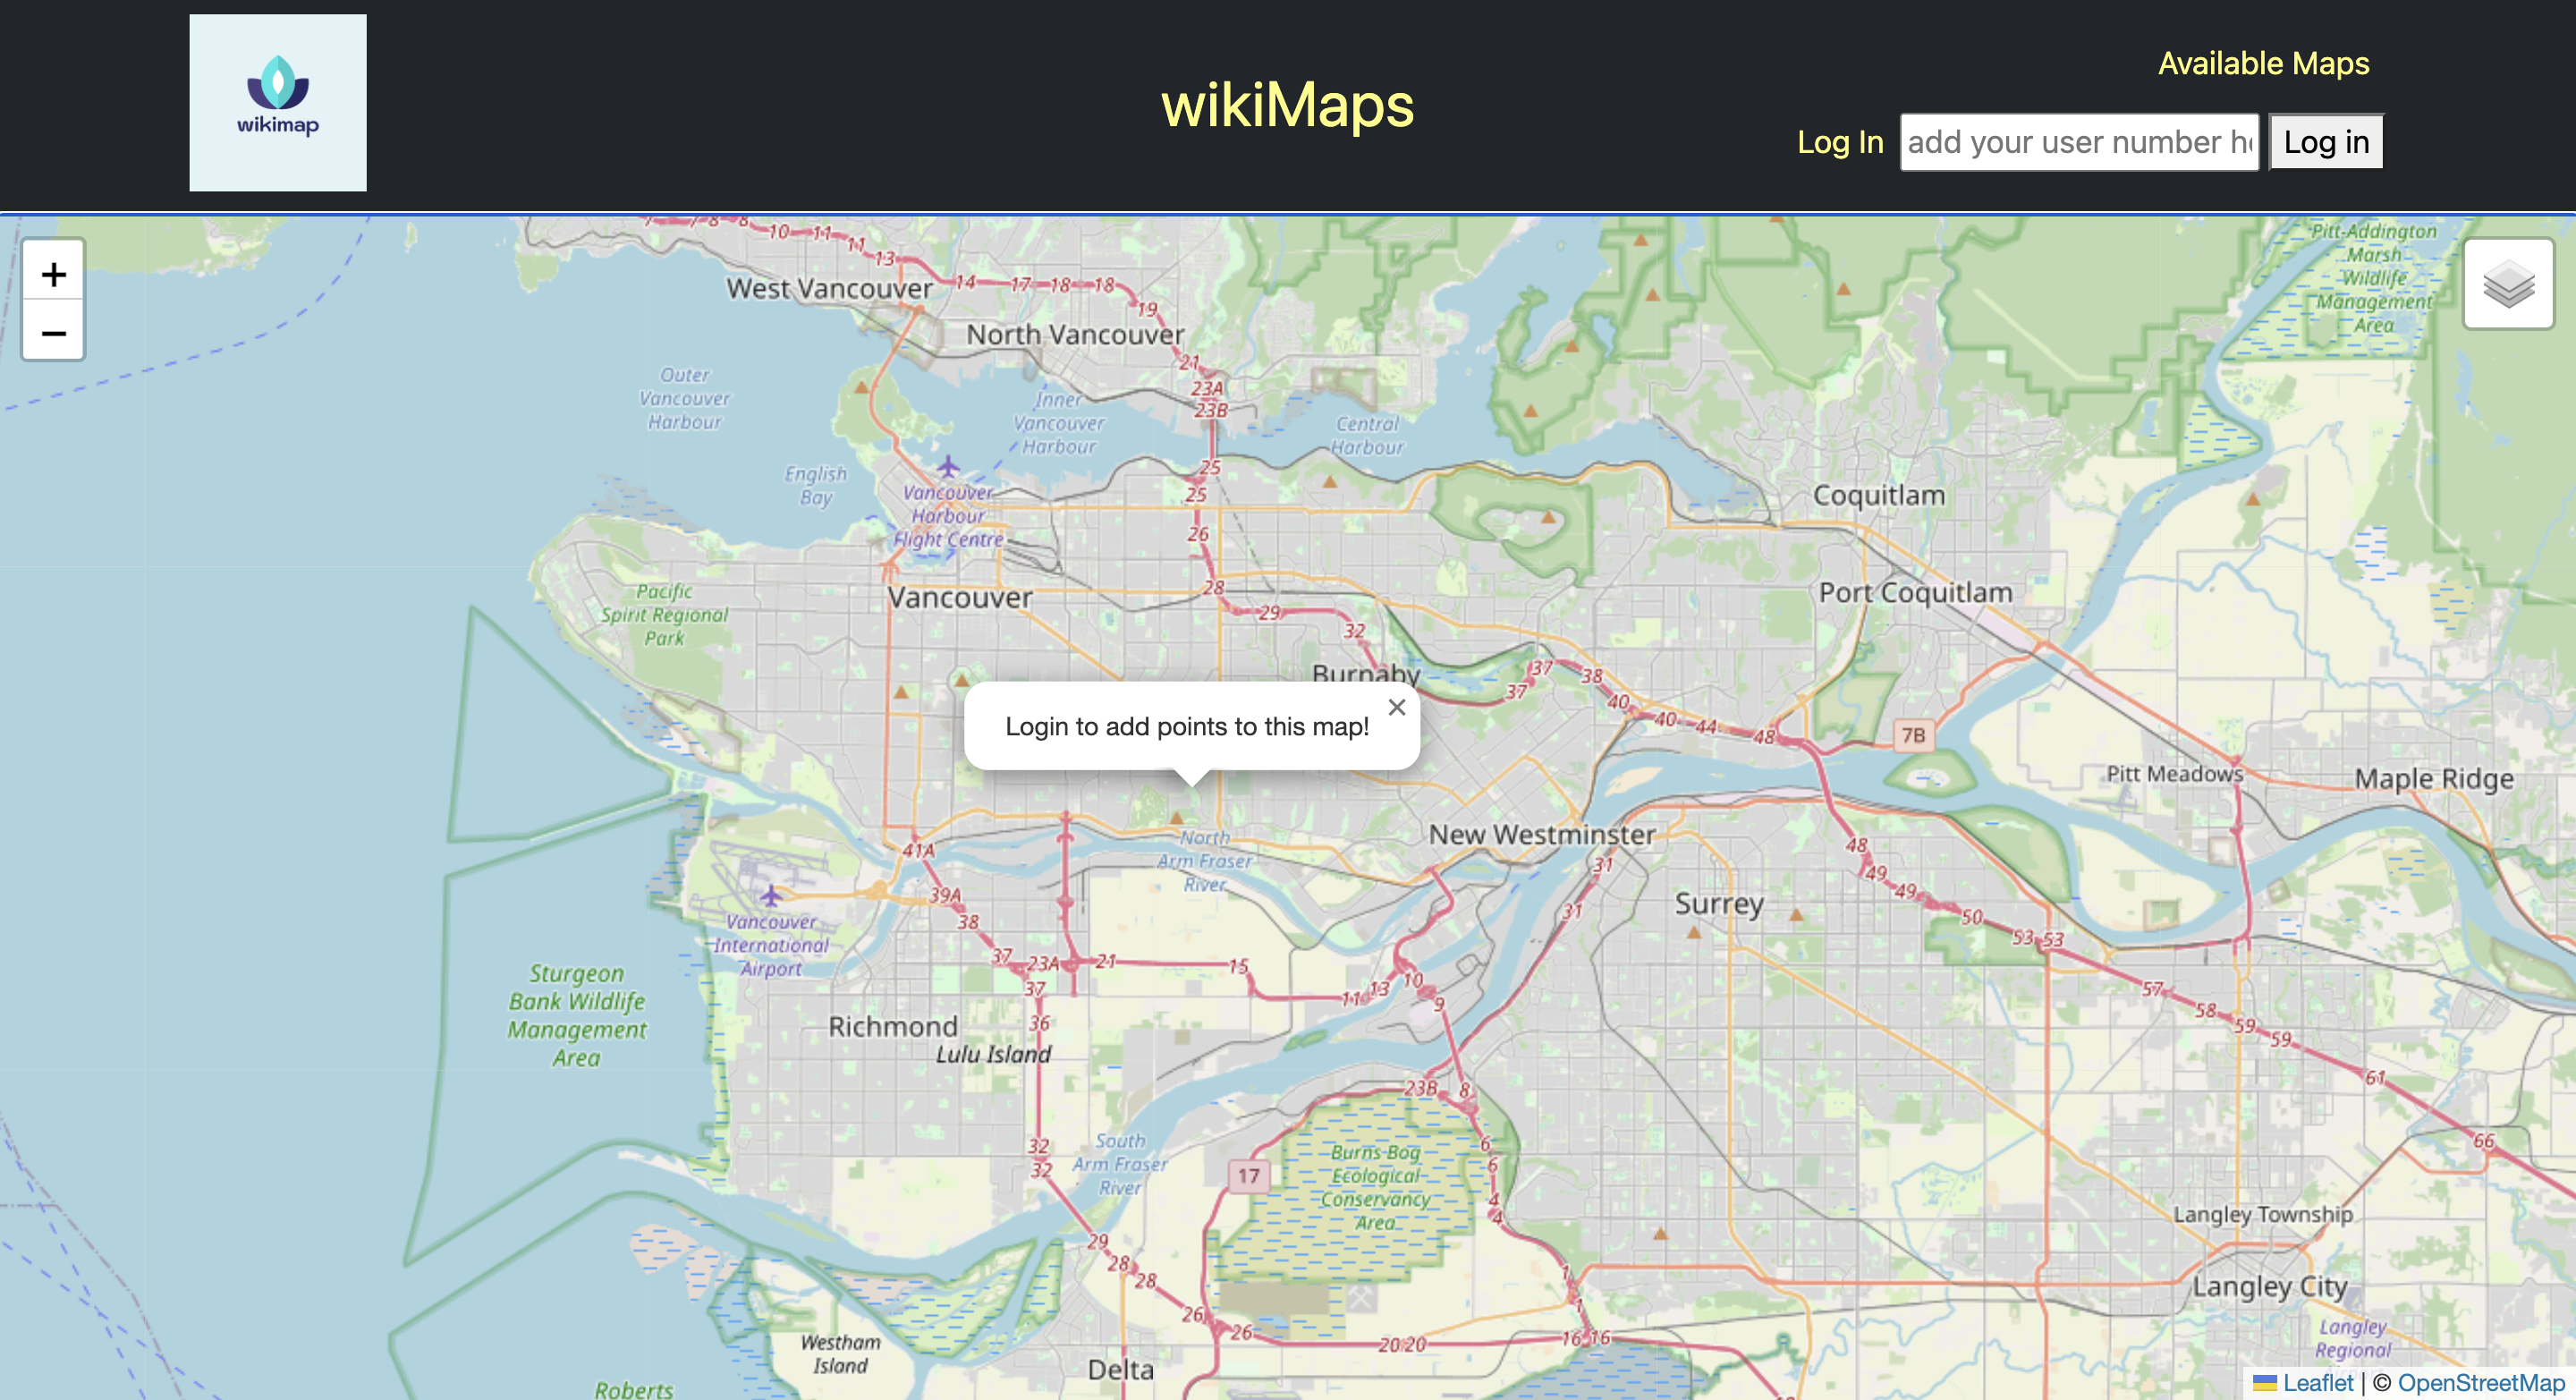
From the main page, the layer icon  can be used to render different tile layers on the map. An unauthenticated user is still able to see a list of available maps via link in the top right corner.
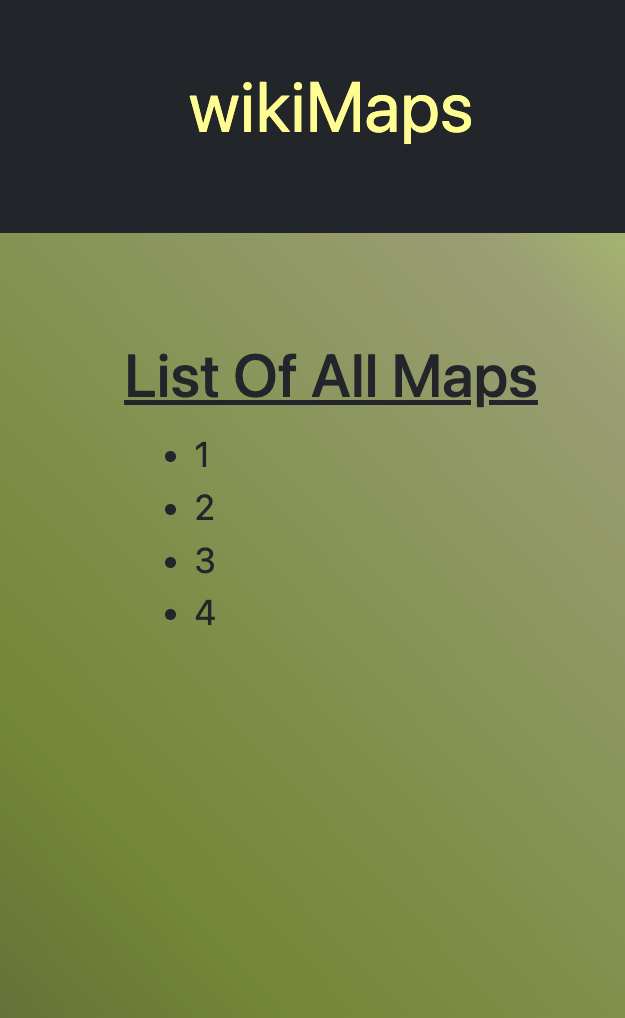
From the available maps page, manual navigation is required in order to view each map. Users would simply replace all in the url with a chosen map number and hit enter/return to navigate to a specific map.
Each map has a set of points on it that the user will be able to select and view some information related to that point (including a title, description and image), but they will not be able to edit or delete anything. Clicking on the map will simply popup a prompt to log in.
For the purposes of this project, the login/authentication layer was not a top priority. To log in, a user would navigate back to the home directory http://localhost:8080/, enter a number between 1 and 5 in the login bar at the top right and hit Log in.
Once logged in, a few more options will be displayed:
- a button to add the current map to a 'favourits' collection.
- a nav link to see your list of favourited maps (and any maps that the user has added points to).
- a nav link to create a brand new map.
Creating a new map will render a new instance of a map with no pre-existing points on it.
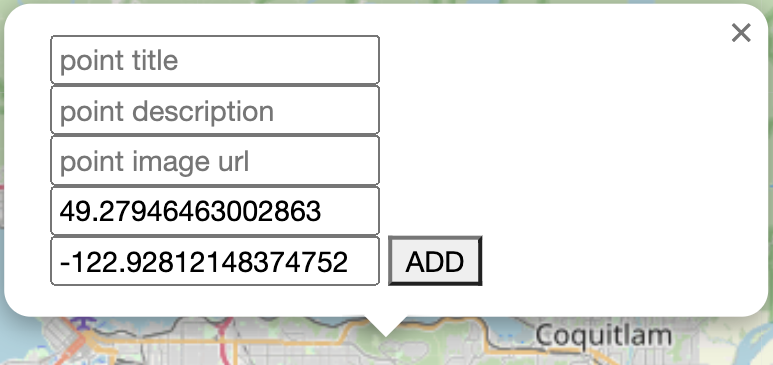
Now, when the map is clicked, a form will be displayed to add a new point. 🟡 NOTE ON CURRENT BUG 🟡: a valid image link must be used in the image url, otherwise later on, selecting that point will crash the server.
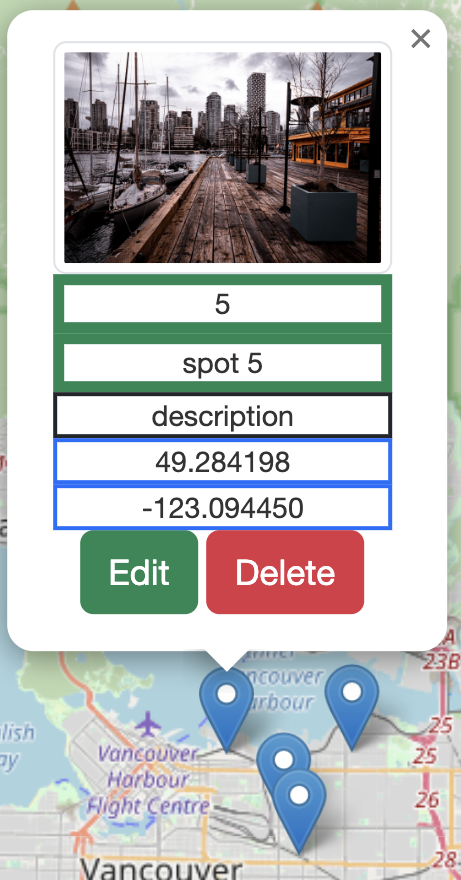
Any point on any map can also now be edited or deleted at will!