Note: TensorFlowSharp plugin has been deprecated, instead Unity uses its new Barracuda inference engine. See the new example. It's better in terms of performance and ease of use for certain models.
This is an example of using model trained with TensorFlow in Unity application for image classification and object detection. It's a quick port of TF Classify and TF Detect examples from TensorFlow repo, using TensorFlowSharp for gluing it all together.
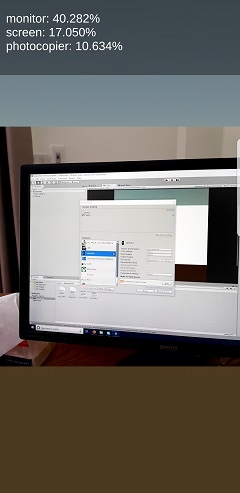
Classify results:


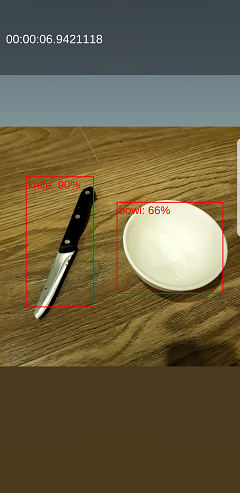
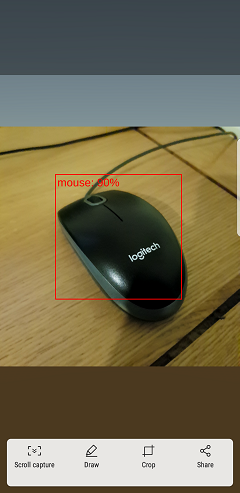
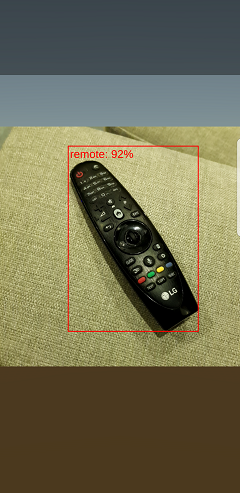
Detect results:
Note that performance is worse than in TensorFlow Android example and at this moment I'm not quite sure how to improve that. Hopefully this will be enough to get you started.
You'll need Unity 2019.2 or above and Unity TensorFlow Plugin.
- Open the project in Unity.
- Install TensorFlow plugin.
- Open Classify or Detect scene in Assets folder.
- In
Edit -> Player Settings -> Other settingsaddENABLE_TENSORFLOWto theScripting Define Symbolsfor the target platform. - In
Other settingsalso setScripting runtime versionto.NET 4.6 Equivalent. - Build and run.
Important: in new versions of Unity you might see error "Multiple assemblies with equivalent identity have been imported...". In that case, you'll need to go into 'Assets/ML-Agents/Plugins/Android' folder and manually delete all .dll files that are specified in the error message.
"Unloading broken assembly..." error can be safely ignored.
For iOS, folow this additional instructions: ios-additional-instructions-for-building
More info can be found here.
To use your own model:
- Make sure your model trained with TensorFlow 1.4 if you use 0.3 version of the Unity plugin that I linked above. You can also try 0.4 version that uses TensorFlow 1.7.1.
- Change extension of your model from .pb to .bytes.
- Put your model and labels in Resources.
- Set Model file and Labels file to your model and labels in main camera object of the scene you chose.
- If neccesary, change
classifyImageSize,IMAGE_MEAN,IMAGE_STD,INPUT_NAMEandOUTPUT_NAMEto suit your model.
I'm not a Unity expert, so if you found any problems with this example feel free to open an issue.