
A high-resolution, high-speed 3.5" TFT display for your Raspberry Pi.
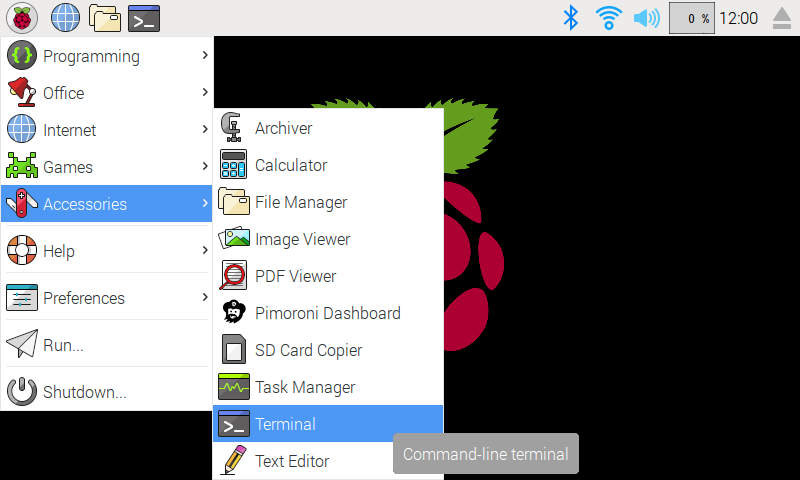
We've created an easy installation script that will install all pre-requisites and get your HyperPixel up and running with minimal efforts. To run it, fire up Terminal which you'll find in Menu -> Accessories -> Terminal on your Raspberry Pi desktop, as illustrated below:
In the new terminal window type the command exactly as it appears below (check for typos) and follow the on-screen instructions:
curl https://get.pimoroni.com/hyperpixel | bashAlternatively, clone this repository and run:
./setup.sh
reboot. That's all! Enjoy!
HyperPixel uses DPI mode 6, which means you can't use (hardware) I2C or SPI at the same time (the setup.sh script will disable those interfaces for you, but make sure not to reenable them by accident).
In addition, DAC type of products communicatng with the Pi over I2S are also incompatible, as they use the same pins. It is possible to use the on-board audio chip alongside HyperPixel however, provided you force route the audio signal over HDMI, or are happy losing refined control over the backlight (PWM).
Make sure you have the OpenGL video driver disabled. You must use the "Legacy (Non GL)" driver which you can select in the "Advanced Options" section of raspi-config.
First you'll need to grab the files from requirements/boot and place them in the relevant locations in /boot on your Pi.
You can do this either on your Pi, or by inserting your SD card into a host computer.
If you want to hotplug Hyper Pixel, place requirements/usr/bin/hyperpixel-init into /usr/bin/ and run it with hyperpixel-init to initialize the LCD.
Then, add the following to the bottom of your /boot/config.txt
# HyperPixel LCD Settings
dtoverlay=hyperpixel
overscan_left=0
overscan_right=0
overscan_top=0
overscan_bottom=0
framebuffer_width=800
framebuffer_height=480
enable_dpi_lcd=1
display_default_lcd=1
dpi_group=2
dpi_mode=87
dpi_output_format=0x6f016
display_rotate=2
hdmi_timings=800 0 50 20 50 480 1 3 2 3 0 0 0 60 0 32000000 6

# Use a basic GPIO backlight driver with on/off support
dtoverlay=hyperpixel-gpio-backlight
We need to ensure the evdev module is installed for Python. The easiest is to grab our pre-compiled deb file:
sudo dpkg -i ./dependencies/python-evdev_0.6.4-1_armhf.deb
alternatively, you can install it from source like so:
sudo apt-get install python-dev
sudo pip install evdev
Make sure you add uinput to /etc/modules.
Also copy the following:
sudo cp ./requirements/usr/bin/hyperpixel-init /usr/bin/
sudo cp ./requirements/usr/bin/hyperpixel-touch /usr/bin/
sudo cp ./requirements/usr/lib/systemd/system/hyperpixel-init.service /usr/lib/systemd/system/
sudo cp ./requirements/usr/lib/systemd/system/hyperpixel-touch.service /usr/lib/systemd/system/
Make sure the relevant files are executable:
sudo chmod +x /usr/bin/hyperpixel-init
sudo chmod +x /usr/bin/hyperpixel-touch
And ensure the services run on startup:
sudo systemctl enable hyperpixel-init
sudo systemctl enable hyperpixel-touch
After a reboot, you should have a working 800x480 display with touchscreen support up and running!