Home
Welcome to the godot_oculus_quest_toolkit wiki!
The idea of this toolkit is to provide each feature as a .scn file in the OQ_Toolkit/ folder that can be used via drag-n-drop on the appropriate base node in the scene. Examples of how these .scn files can be used can be found in the demo_scenes/ folder.
More details can be found in the Overview of Features
The design of the toolkit allows to also target other devices than the Oculus Quest:
The glue logic of the nodes depends on a single global autoload and requires to use the
provided OQ_ARVROrigin.tscn, OQ_ARVRCamera.tscn, OQ_LeftController.tscn, OQ_RightController.tscn
to be used instead of the ARVR base classes. The steps for a simple setup in your own scene are
-
copy the
OQ_Toolkitfolder and theaddonsfolder to your project. -
Under Project->Project Settings->AutoLoad add
OQ_Toolkit/vr_autoload.gdwith the name vr. -
Setup in you main scene the ARVR nodes (via drag and drop) as:
- SceneRoot
- OQ_ARVROrigin
- OQ_ARVRCamera
- OQ_LeftController
- OQ_RightController
- OQ_ARVROrigin
- SceneRoot
-
In your main
_ready()function callfunc _ready(): vr.initialize();
To add now features to the individual nodes the subfolders in the OQ_Toolkit/ folder contain scripts
that can be added via drag and drop to the respective ARVR nodes in your scene.
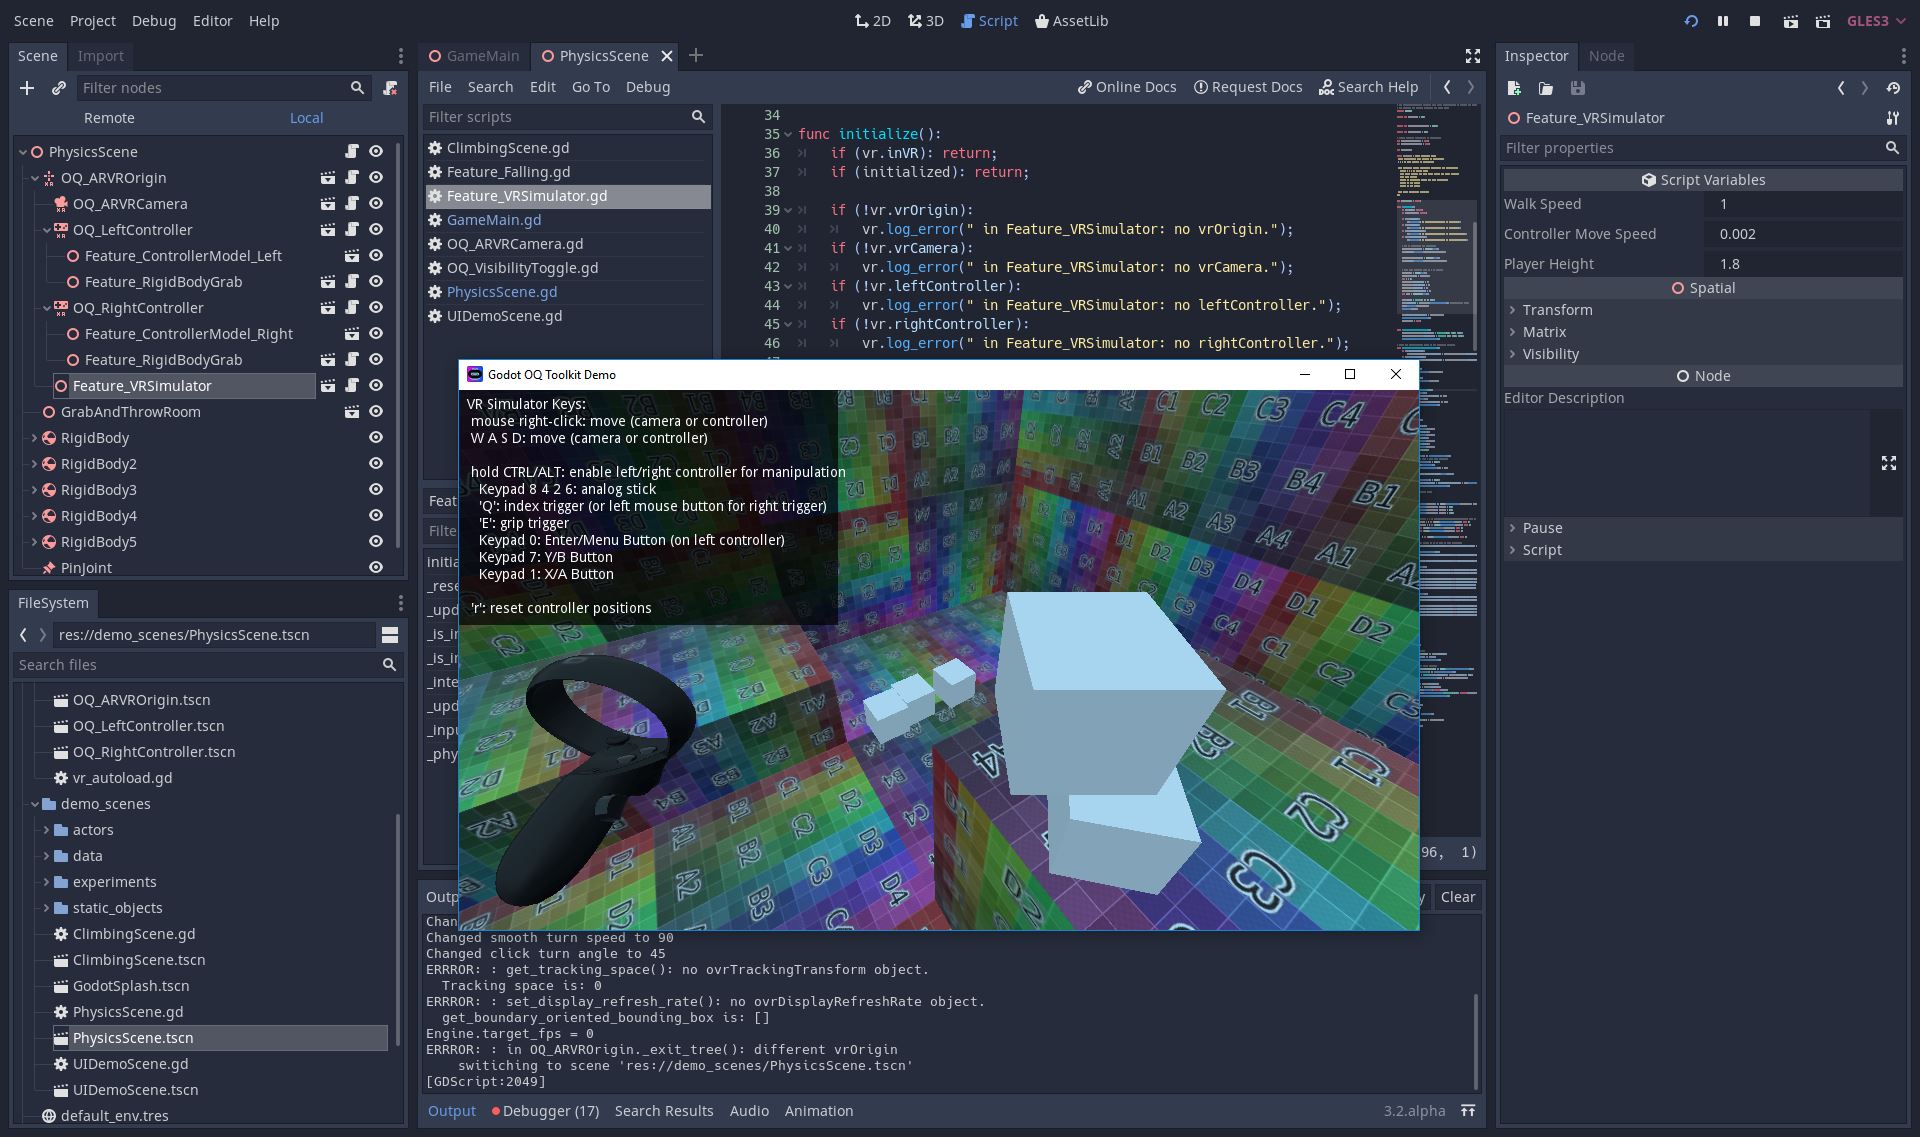
This is an example of the physics demo scene running on desktop using the QO_ARVROrigin/Feature_VRSimulator.tscn node. You can see the feature setup in the scene tree on the left:
In the current version controller button presses are handled via the globally available functions vr.button_pressed(button_id); vr.button_just_pressed(button_id); vr.button_just_released(button_id)
The button mapping enum can be found here: https://github.com/NeoSpark314/godot_oculus_quest_toolkit/blob/9d1775fdc19a8539148f3182ded8371ad7249234/OQ_Toolkit/vr_autoload.gd#L170
Due to some internal decisions this only works robustly when called from inside the _physics_process(dt) function. So make sure all your button handling is in the physics process.
Example of using it:
func _physics_process(dt):
  if (vr.button_just_pressed(vr.BUTTON.ENTER)):
    do_something();
For hand tracking to work on the oculus quest you need to have these settings in your AndroidManifest.xml:
<uses-permission android:name="oculus.permission.handtracking" />
<uses-feature android:name="oculus.software.handtracking" android:required="false" />
These settings are included in the binary package that is part of the godot_oculus_quest_toolkit repository but if you build your own you need to make sure to include these. Else the application will tell you that controllers are required.
Normal scene changes can be fairly jarring in VR as the view freezes while the next scene is loaded. To combat this there is a utility: vr.switch_scene("res://next_scene.tscn") which will fade the view to black, load, then fade back in.
In order to use this you must first set vr.scene_switch_root to the scene that is being switched away from. Usually as such: vr.scene_switch_root = self. In order to allow for script children of the scene root to call vr.switch_scene() without having to worry about who the actual scene root is, you should set vr.scene_switch_root once per screen, in your top level scene.
The Oculus Quest uses a mobile chip for rendering, has a high resolution display and needs to render the scene for each eye. It is thus severely limited in it's computational power. Performance if of utmost importance for VR and having a stable framerate is essential!
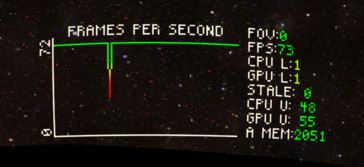
I would strongly suggest to always use a tool like the OVR Metrics Tool and check the current framerate (and other stats) during development. This is how the OVR Metrics tool looks inside the Quest when running:
Even a minor change (like a transparent UI element) might heavily impact the performance and result in an unplayable application/game. These things are hard to find after several changes occurred and extremely time consuming to track down.
Two talks on YouTube from OC5 that provide a good introduction to performance on Quest are Porting Your App to Oculus Quest and Reinforcing Mobile Performance with RenderDoc.
To see the debug log messages from your application while it is running on the quest you need to use the adb tool. Use the following command line to see the relevant log messages from your shell
$ adb logcat -s godot:* GodotOVRMobile:*
You can connect your quest via wifi to adb. For this you need to activate it while it is still connected via cable using
$ adb tcpip 5555
You can query your device ip address via
$ adb shell ip route
Once activate you can then connect via
adb connect xxx.xxx.xxx.xxx:5555
Please note that you need to acivate it again after your quest was rebooted.