PicoPak64 uses a Raspberry Pi Pico to emulate the n64 controller pak SRAM and saves data directly into the FLASH ROM non volatile storage. It is able to manage this without the need for overclocking. Using TinyUSB, it is able to USB mount the data saved to the FLASH ROM to be able to be copied to and from the computer for easy backup.
The first thing to mention is the N64 controller works off of a 3.3V supply, which means I am able to power the RP2040 core directly and don't need any voltage level translation on any of the GPIO. This makes for a 1:1 connection to the appropriately mapped pins.
The SRAM that was originally used was documented as having a 200ns response time. This seems to allow me to emulate the SRAM without the need for any overclocking, however further testing is still needed to verify this.
All of the code is loaded into the RAM to be executed. This is absolutely needed to be able write to the FLASH ROM without causing the pico to halt code execution. This also provides a modest speed increase which is a bonus for this project.
Given a N64 Controller Pak is 32kb in size, and given the current Pico boards 2MB FLASH ROM this allows for a maximum of 64 controller paks that could be stored, however given there needs to be some space for the program data it will be less than this. As of the moment the memory card is stored offset 1MB from the start location of the FLASH ROM. If the program data ever reaches this size, there are other issues to content with.
Plug the pak into a N64 controller and load a game that uses it. Upon first use, the game should complain something to the effect that the data is corrupt and needs to be restored. You need to allow this restore to happen so that the data is properly formatted to be used. Wait 6 seconds for the LED to flash to ensure the data is stored to the FLASH ROM.
*** Data will not write to the Picos FLASH ROM immediately. You must wait approximately 6 seconds for the LED to flash on and then off to ensure data is properly stored to the flash rom. If you do not wait for this, you will loose your data. You must do this every time you save a game. ***
To access the data from a PC, simply plug it into a USB port. Ensure you ARE NOT holding down the BOOTSEL button while doing this.
To copy data from PC back to the card, ensure you backup your data first! Name the file you wish to transfer to the pico "MEMPAK.MPK" without the quotes. Copy this file over the existing file on the Pico. The led will flash to show that data is being stored to the FLASH ROM. This feature has not been thoroughly tested, if it doesn't work the first time around try unplugging the pico, plugging it back in and recopying the file. The idea is the FAT and directory structure must remain the same. This has not been tested on any OS other than Windows.
Avoiding saving data back to the pico more often than is necessary, this includes saving games while playing. Although robust, the FLASH ROM is only rated for 100k erase/write cycles. Normal use is unlikely to ever hit this limit.
-- allow for multiple Controller Paks to be stored
-- have an erase/write cycle counter stored somewhere.
-- implement some wear level code to avoid writing more data than is necessary to the FLASH ROM.
-- create a CAD model for the PCB so it can be sent to a mill
-- create STL model for the casing so it can be 3d printed, etc
-- repurpose PIN 26 as another button or LED?
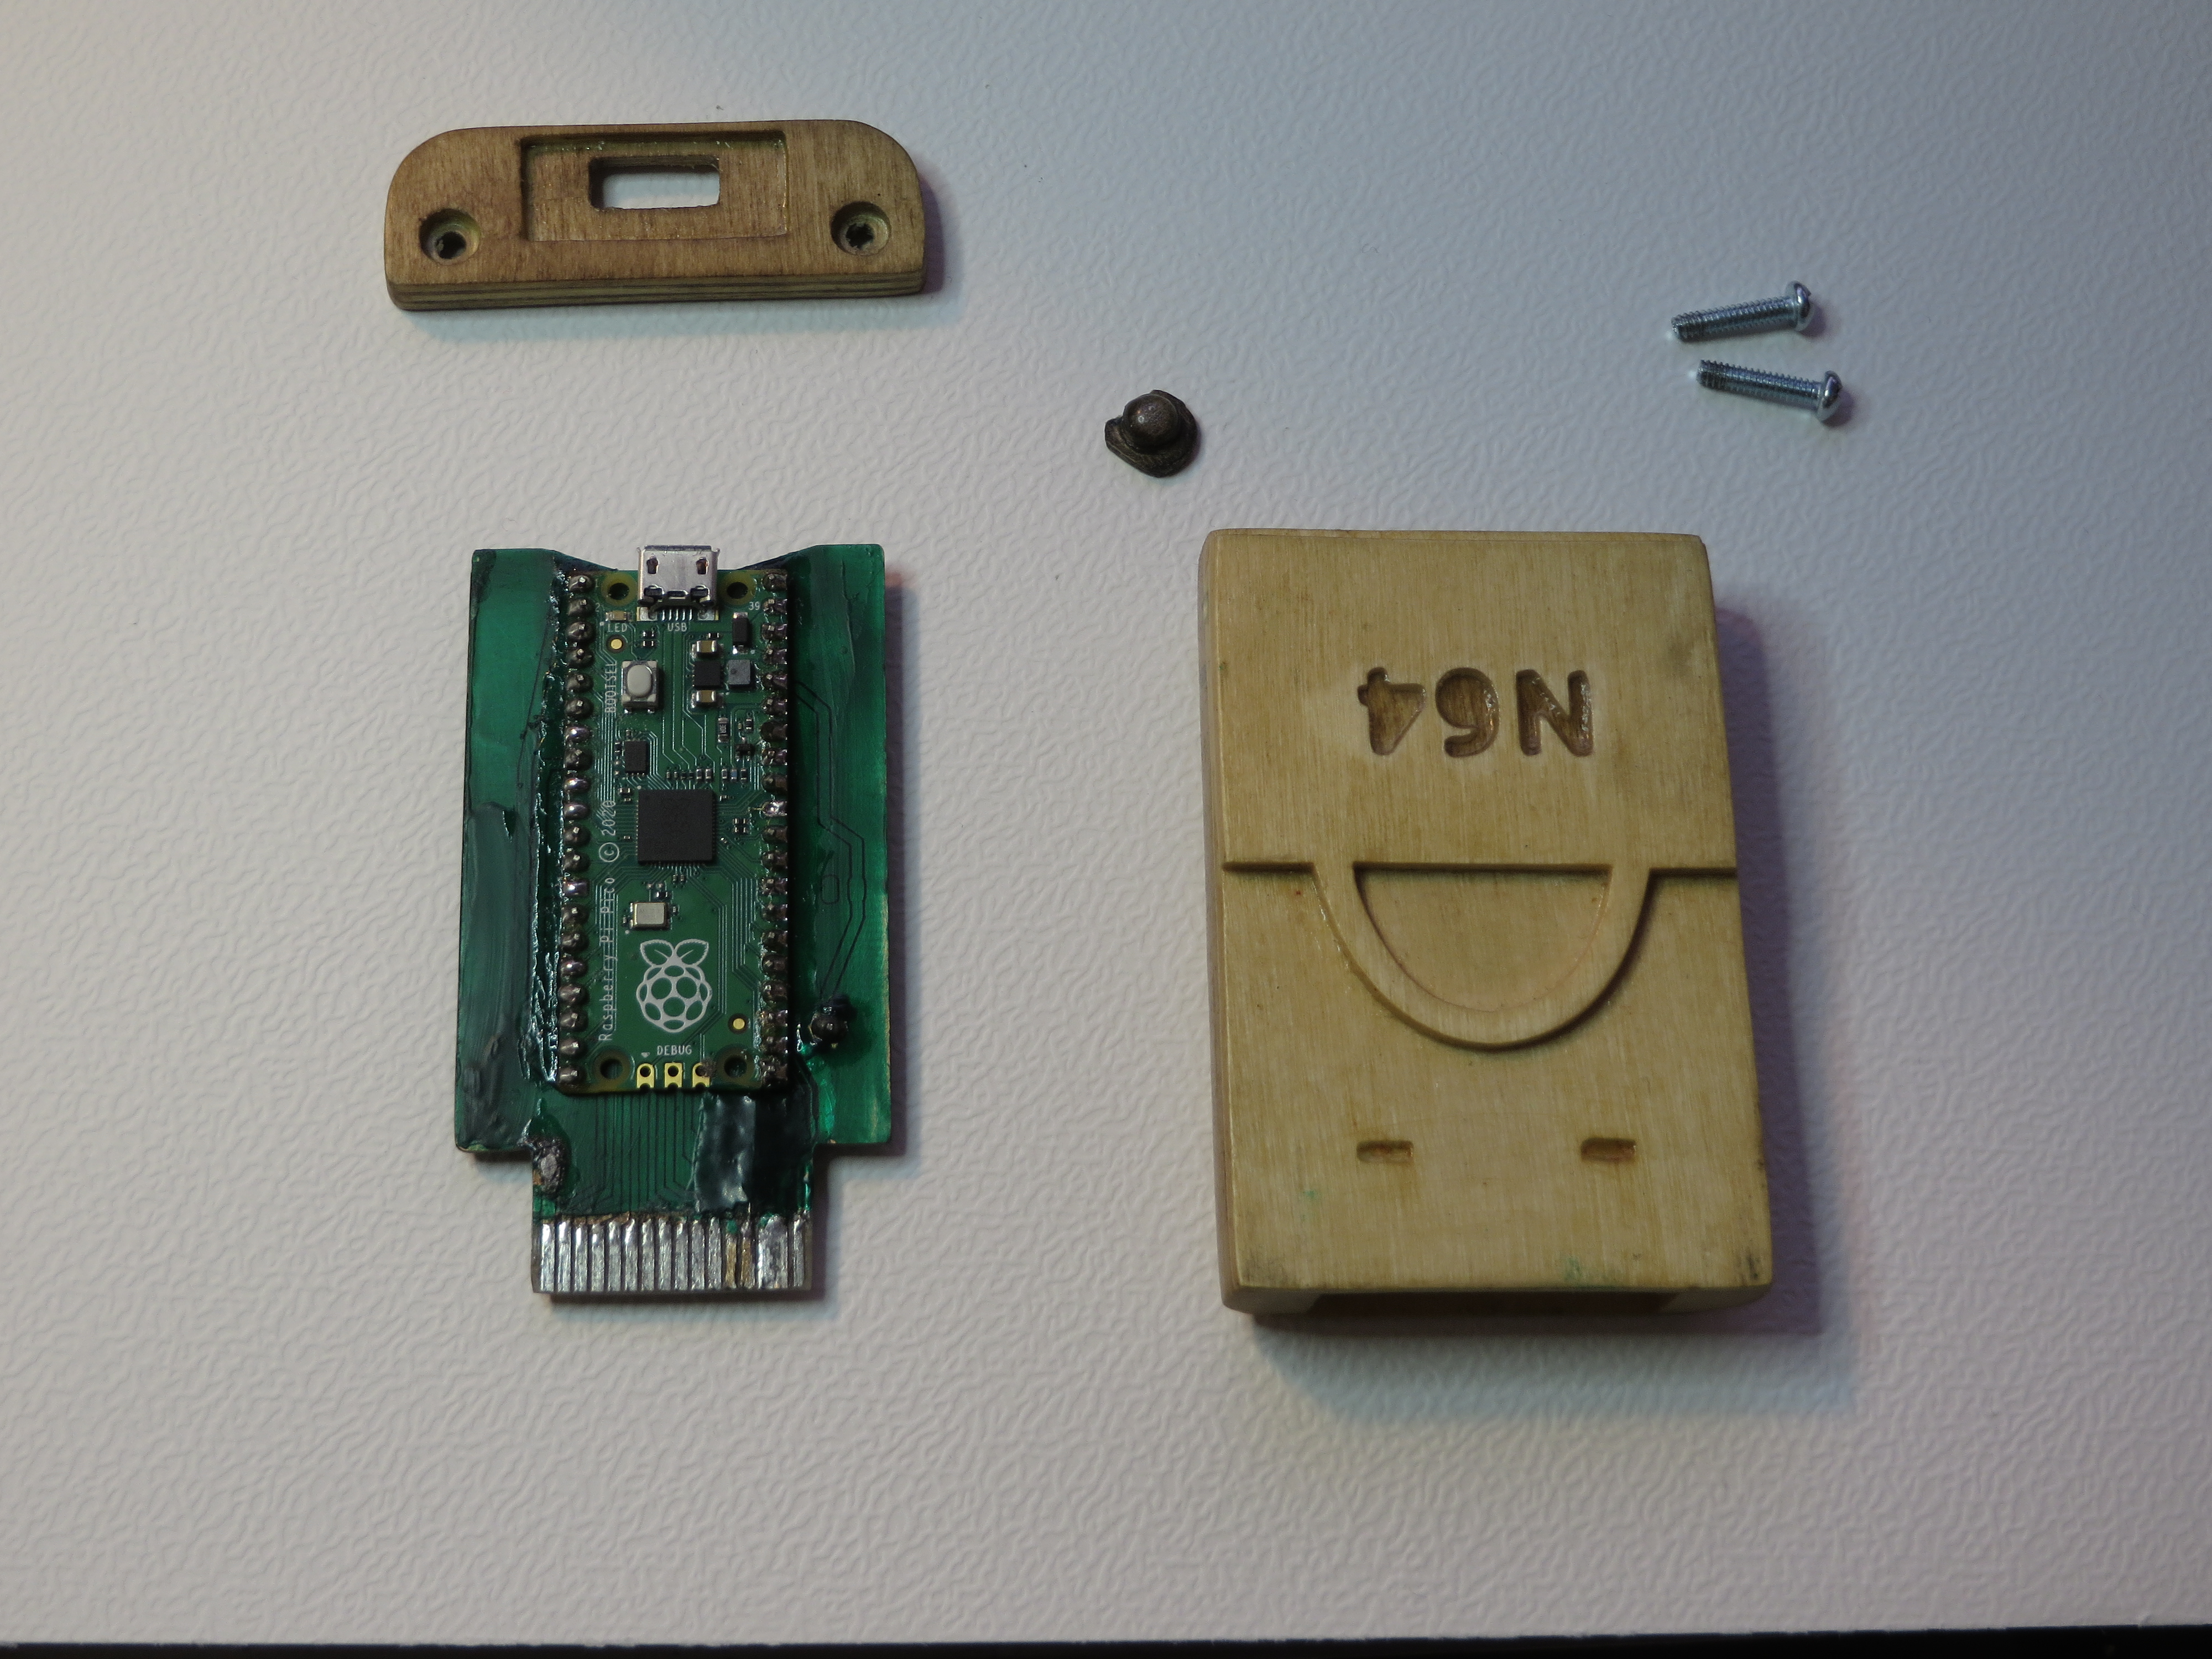
Prototype board with casing made from wood. Had lots of little hardware failures that needed repairing while working on this board. It looks as if its melted but its not. I used acrylic conformal coating to prevent shorts between pins because I didn't leave enough of a solder pad to solder to.

Circuit Block Diagram
