Group 10
Members: Anna, Đurđija, Ion, Jianan, Raül, Simona, Wenjie
GameManager in the report, now it has been renamed to GameController. In other word, GameController ( = GameManager) refers to .\src\main\java\controller\game\GameController.java
Roborally-group10-v2.0, which is a bit different from the latest release we submitted. It's good to try the latest release, which will bring you a better game experience.
The aim of this project was to design a simplified version of the popular board game RoboRally, created by Wizards of the Coast. The original idea of the board game is to 'program' a robot to move in a factory, while avoiding dangerous obstacles. The first robot to collect all their checkpoints in order wins. Our simplified version consists of a packaged software visualised using a user-friendly GUI intended to make the gaming experience as intuitive and smooth as possible.
The general structure is
.
└───src
    ├───main
    │   ├───java
    │   │   ├───app
    │   │   ├───content
    │   │   ├───controller
    │   │   │   ├───game
    │   │   │   └───server
    │   │   ├───exception
    │   │   ├───gui
    │   │   │   ├───cover
    │   │   │   ├───game
    │   │   │   ├───login
    │   │   │   ├───room
    │   │   │   └───waiting
    │   │   ├───model
    │   │   │   └───game
    │   │   │       ├───board
    │   │   │       │   ├───map
    │   │   │       │   │   └───element
    │   │   │       │   └───mat
    │   │   │       └───card
    │   │   │           └───behaviour
    │   │   └───utils
    │   └───resources
    │       ├───images
    │       └───maps
    └───test
        ├───java
        │   └───client
        │       └───test
        └───resources
└───featureFilesWe use maven to manage this project.
java == 13.0.2

# dependencies
io.cucumber.cucumber-java == 7.2.3
io.cucumber.cucumber-junit == 7.2.3(1) Choose the destination folder and run the command in terminal:
git clone https://github.com/JiananAlvin/02160_agile_OOSD_final_project.git(2) Alternatively, you can download the .jar file from the latest release.

(1) go to ./src/main/java/app run ClientRunner.java.
(2) Alternatively, you can run the .jar file in terminal directly:
java -jar .\group10_roborally-0.0.1-SNAPSHOT-jar-with-dependencies.jarOur server is based on node.js. So we need to install it before run our server. You don't need to modify our client application because our client can detect the local server automatically with higher priority than the server on Heroku.
Firstly check your version of npm and Node.js to see if you already have Node.js and npm installed and check the installed version by following commands:
node -v
npm -v
If some edition information is shown without any error, you can skip next step and run server directly.
If you're using Windows, use one of the installers from the Node.js download page. Be sure to install the version labeled LTS.

Once it has been installed, run the command in section 3.1 again to check if you install it successfully.
Firstly clone our server to your PC:
git clone https://github.com/neluchetraru/server.gitThen go into this folder and turn on the command line to use npm to install all necessary packages.
cd server
# use npm to install packages needed
npm i
Finally, run the serve
node .\server.jsThe server runs successfully once you see this output 😃

- M1 - Robot's independent movement
- M2 - Interaction of the robots with the environment
- M3 - Multiplayer game
- M4 - User interface
-
O1 - Generation of factory layouts according to complexity criteria
-
O2 - Advanced Obstacles
-
O3 - Persistency layer
-
O4 - Improved graphical representation
-
O5 - Advanced multiplayer mode
-
O6 - Timer, multithreading techniques
Our version of RoboRally has somewhat different rules than the original one, so here are the ones included in our game:
-
When the game starts, the player is able to enter his name, pick a robot character, choose a desired map (indicating the difficulty level of the game) and decide if he wants to create a room or join already existing one.
-
Players are placed randomly on the available initial position, which are start points, around the antenna.
-
Once the game is all setup, the programming phase starts and each player is given 9 cards from which he picks 5. Those 5 programming cards represent his moves for the round.
-
Along with this, players will automatically be given 5 lives once they start the game, but as the factory floor is dangerous, players might easily lose them.
-
Finally, players activate their robots following the programming cards chosen strategically to get faster to all the checkpoints. The first one who gets all the checkpoint tokens in order wins.
-
The game is done if someone collects all the checkpoints in a numeric order.
Note: If a robot stays in the same location for several consecutive registers, it will only be affected by the element once. (For example: the robot moves 1 and hits the laser, thus his life is reduced by 1. In the next register is turn right, ie. robot stays on the same position with the laser, but nothing happens).
| Image | Name of the element | Description |
|---|---|---|
 |
Laser | reduces 1 life when the robot passes through it |
 |
Oil stain | reduces 2 lives when the robot passes through it |
 |
Rotating gear: (1) clockwise | rotates the robot 90 degrees when robot passes through it |
 |
Rotating gear: (2) counter clockwise | rotates the robot 90 degrees when robot passes through it |
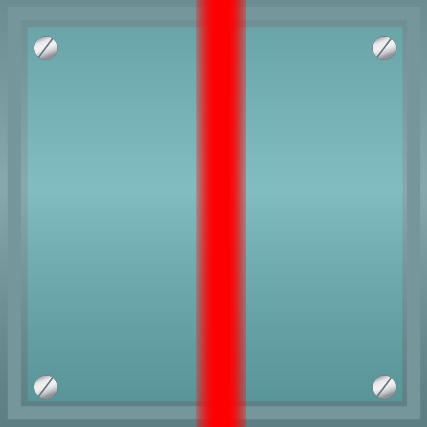
 |
Wall | stops the robot |
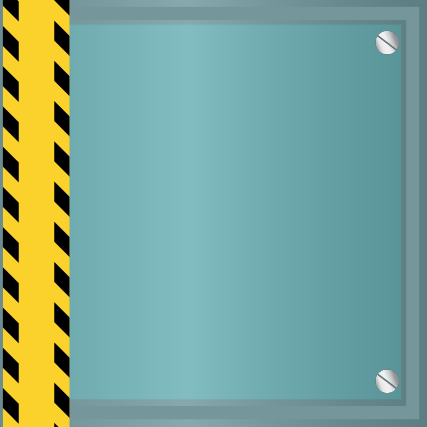
 |
Conveyor belt: (green) | transmits the robot from the beginning to the end of the conveyor belt when he moves on the belt in the same direction as the conveyor belt |
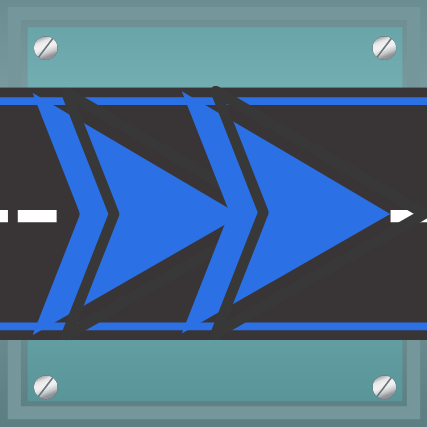 |
Conveyor belt: (blue) | moves the robot in the same direction when moved on the belt, twice fast |
 |
Charger | gives one life to the robot (it will not exceed 5) |
 |
Pit | delivers the robot to the reboot point; lives are set to 5; lose all obtained checkpoint tokens |
 |
Reboot point | nothing happens, if a robot passes through the reboot point |
 |
Start point | robots will be set on one of the start points by the room owner randomly |
 |
Antenna | decides the priority of each robot after executing each register. If they have the same distance to antenna, observe them clockwise and determine the priority |
 |
Checkpoint | robot gets a checkpoint token only when he stops on it, not when passing through it (it must follow the numeric order: 1, 2, 3) |
*If a robot moves off or is pushed off of the board, it will be delivered to the reboot point, its lives will be set to 5 and the player will lose all obtained checkpoint tokens.
- Robot Lasers: When all players have executed the current register, each robot will simultaneously fire a laser in the direction it is facing. the range of the robot laser has no limit. Any robot in the line of sight is shot. Robot lasers cannot fire through walls or shoot more than one robot. If a robot is shot by a laser, it will be reduced 1 life.
- Pushing other robots: If a robot enters a space occupied by another robot, the robot in motion will push the other robot in the direction the pushing robot is moving until it ends its move. Robots do not change the direction they are facing when they are pushed. Robots can be pushed almost anywhere on the board, including into a pit. They can even be pushed off the side of the board! Robots cannot be pushed through walls.