This is an extension to Marcos David's blog post from 2014 which can be found here.
All steps to create a functional Red Hat 5.2 machine with network support are listed below.
- Create a directory to store everything
mkdir qemu-redhat52 - Enter the directory
cd qemu-redhat52 - Download the redhat-5.2.iso from archive.org
- Install QEMU
- Create a disk image:
qemu-img create -f qcow2 redhat52.img 1G - Use this command
qemu-system-i386 -hda redhat52.img -cdrom redhat-5.2-i386.iso -m 256 -vga cirrus -net nic,model=ne2k_pci -net userto start the virtual machine. "The-vga cirrusparameter is essential to get a desktop later on" [1]. The-net nic,model=ne2k_pci -net useris needed for the network setup. - Free your mouse with
CTRL+ALT+g - Follow the (textual or visual) installation instructions
The installation prompts you several times. Format: WINDOW HEADLINE (OPTION) - CHOICE.
- Welcome to Red Hat Linux! -
ENTER - Red Hat Linux -
Ok - Choose a language (
English) -Ok - Keyboard Type (
us) -Ok - Installation Method (
Local CDROM) -Ok - Insert your Red Hat CD -
Ok - Installation Path -
Install - Installation Class -
Workstation - Bad Partition Table -
Initialize - Warning partitions -
Ok - Warning data loss -
Yes - Probing Result PS/2 mouse -
Ok - Configure Mouse (
Generic Mouse) -Ok - PCI Probe -
Ok - Monitor Setup (Custom) -
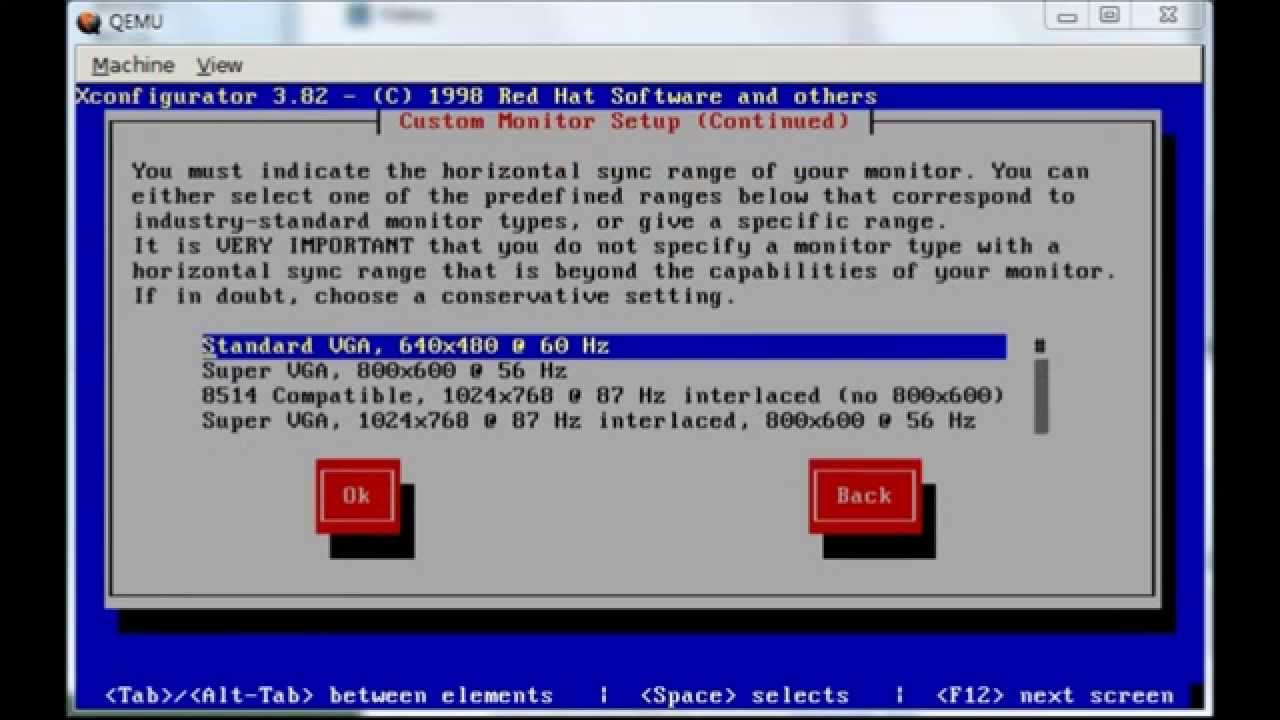
OK - Custom Monitor Setup -
OK - Custom Monitor Setup Continued 1 (
Super VGA 1024x768) -Ok - Custom Monitor Setup Continued 2 (
50-70) -Ok - Screen Configuration -
Probe - Probing to begin -
Ok - Probing finished: -
Let Me Choose - Select Video Modes (
24 bit "800x600") -Ok - Network Configuration: -
Yes - Load module (
NE2000 PCI) -Ok - Module Options (
Autoprobe) -Ok - Boot Protocol (
DHCP) -Ok - Configure Timezones (
US/Eastern) -Ok - Configure Printer -
No - Root Password (
password,password) -Ok - Bootdisk -
No - Done -
Ok - localhost login:
root,password
Click on the image to watch the video on Marcos David's YouTube channel. For network setup please refer to the textual installation step 23-26.
Since ftp is already installed we use it to get nc.
- Connect to ftp.pbone.net via
ftp 93.179.225.212 - Name
anonymous, Password"" - Enable passive mode
pass - Navigate to package
cd mirror/archive.download.redhat.com/pub/redhat/linux/5.2/en/os/i386/RedHat/RPMS - Download the package with
get nc-1.10-1.i386.rpm - Exit the ftp server with
exit - Install
ncwithrpm -i nc-1.10-1.i386.rpm
From now on you can transfer files from and to your host machine via Netcat as described here.
[1]
Marcos David (28 July 2014).
Remembering Red Hat Linux 5.2 (from 1998) - Part I (Installation)
https://marcosgildavid.blogspot.com/2014/07/remembering-red-hat-linux-52-from-1998.html [Online, accessed 8th-June-2021]