


Carbon0 Games helps people create carbon negative lifestyles for themselves and their communities, through our web application.
This repository contains the source code for Carbon0, a gamified solution to save the planet!
- About This Project
- Tech Stack
- How to Run Locally
- Creating a Pull Request
- Contributing to Carbon0
- Release Schedule
- Adding Environment Variables
- License
800 million people played Pokemon Go. What if they were playing a different game, a game to reduce their carbon footprint?
This game is called Carbon0! Here's a short product demo for more info.
Carbon0 shows players their impacts using a gamified carbon calculator, and rewards those who take steps to reduce their footprint by awarding them "Zeron" characters. It creates connections, communities and economically empowers environmentally-friendly businesses and charities. All while having fun!
- Django and Django REST Framework - for programming the backend web server using Python 3
- Bootstrap 4 - for building a mobile-friendly UI for web browsers
- PostgreSQL - for installing PostgreSQL on your local machine. Please use Postgres.app for macOS, or check here for Windows installers of PostgreSQL.
- Git and GitHub - for Version Control and Team Collaboration
- WebXR - for displaying AR characters in the browser, with no external hardware required
- Chart.js - for making visualizations the carbon footprints of the players
Please follow these steps to be able to run the project:
Make sure you have the latest version of Docker installed. If you are not on macOS or experience any trouble installing Docker Compose, check out the Docker documentation.
-
Once you have done so and have also cloned the repository locally, you can run the project using
docker-composein the root directory:docker-compose up -
Then you can view the project at http://localhost:8000.
-
If you ever want to run the automated Django tests from within the Docker container, first go to the
carbon0/entrypoint.shfile, and uncomment the tests command on line 27:
# python manage.py test # remove the first "#" to uncomment this line
Then you may run the Docker containers again, using the command below to clear out the old versions of the containers on your machine:
docker-compose down
With that, feel free to run the command in Step 1 once more!
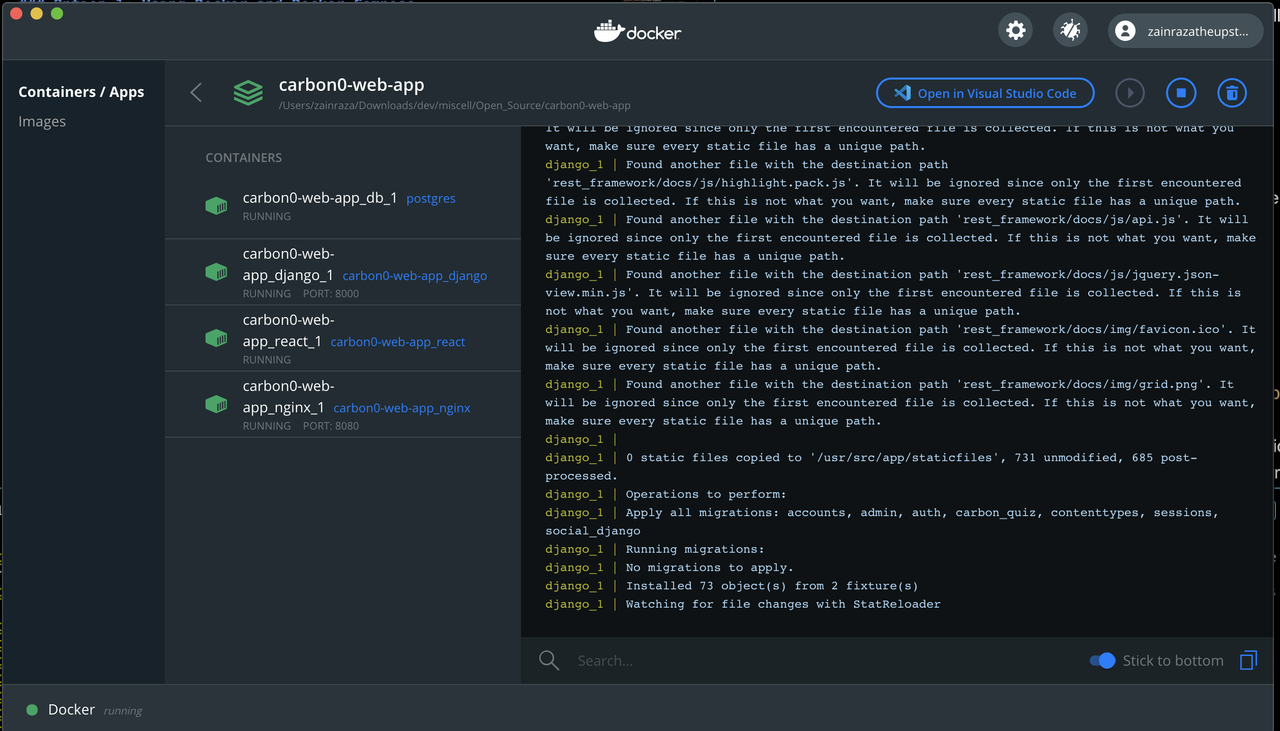
- At any time you can also open up Docker Desktop, and view the health of the
carbon0-web-appcontainer on a panel that will look something like below:
- If you choose to run the project using Docker Compose, most of your changes can be seen with live reload. Notable exceptions to this are the files in the
staticandstaticfilesdirectories, which is one of the issues we are currently working to improve upon.
- In the folder of your choice, type
git clone https://github.com/Carbon0-Games/carbon0-web-app.gitinto the command line. - Setup the folder as you wish while following these instructions
- Create a new db called “carbon0” using this SQL command in your Terminal (and you can install Postgres.app here if you don’t have it yet):
CREATE DATABASE carbon0; - Start a new virtual env, and install Django - this tutorial is a good way to start if you need help to install and setup a virtual env
- From this point on, stay in the virtual env
- Within the outer
carbon0/directory, enter the following to install all the dependencies through your command line:python -m pip install -r requirements.txt - Also run the command
npm installin this directory, to install all the dependencies for Node.js. - Do any db migrations that might be needed, using
python manage.py migrate - Also migrate the initial data for the database, using the
loaddatacommand:python manage.py loaddata carbon_quiz/fixtures/mission_link_data.json carbon_quiz/fixtures/question_data.json garden/fixtures/machine_learning_data.json
- Create a new db called “carbon0” using this SQL command in your Terminal (and you can install Postgres.app here if you don’t have it yet):
-
Make sure all settings are installed and migrations completed, especially after pulling the latest version from master
-
Navigate to the application folder
carbon0/, and run this command to set yourDJANGO_SETTINGS_MODULEenvironment variable. This will tell Django to use the local settings while you work on the project. It only needs to be done once, on the first time before you run the project locally:$ export DJANGO_SETTINGS_MODULE=carbon0.settings.local -
Now, you can use the command to run the project locally:
$ python3 manage.py runserver -
Something similar to the following will be returned in the command prompt:
Performing system checks... System check identified no issues (0 silenced). September 15, 2020 - 15:50:53 Django version 3.1, using settings 'carbon0.settings.local' Starting development server at http://127.0.0.1:8000/ Quit the server with CONTROL-C. -
You can then enter the url into your browser to navigate to the launched project.
When you would like to contribute to the codebase, the following steps are key to keeping the code clean and functional.
Recommended: when doing development work, use virtualenv, Pipenv, or some other tool for Python virtual environments as you run the code locally. Docker is great because it's easy to get up and running, but you may find it harder to do some things such as keeping track of the version numbers for new Python packages you install.
- Non-collaborators: please first make a Fork of this repository, by clicking on the top left button on this page that says "Fork":
- Once you have pull the code onto your local machine, use the command
git checkout -b name_of_your_branch(this both creates your branch and 'moves'; you to that branch to work on. Make sure that when coding that you are working on your branch. You can see which branch your on in the terminal, depending on your terminal setup with oh-my-zsh. You can also see it in the lower left corner in VSCode and lower right Atom)- To travel between branches simply use
git checkout branch_name
- To travel between branches simply use
- code as usual
- If you require access to the Django Admin site while developing locally, you can create a superuser account using
python manage.py createsuperuser(if using a Python virtual environment). Alternatively if you are running the project using Docker, don't worry - this step is already done for you! All you need to do now is access the Admin site at http://localhost:8000/admin, and log in by using the credentials listed in.env.sample, specificallly for theDJANGO_ADMIN_USERandDJANGO_ADMIN_PASSWORD(look to the right of the=sign). - When your commits are made, use
git push origin name_of_your_branchto make sure to push to your branch. - Occasionally check on other peoples branch as well in github by clicking the branch:master button under the commit count in the repo and you can switch branches and see others branches On GitHub, navigate to the main page of the repository.
- In the "Branch" menu, choose the branch that contains your commits.
- Above the list of files, click Pull request.
- Use the base branch dropdown menu to select the branch you'd like to merge your changes into, then use the compare branch drop-down menu to choose the topic branch you made your changes in.
- Type a title and description for your pull request.
- To create a pull request that is ready for review, click Create Pull Request.


*From Creating a Pull Request via Github
We look forward to seeing your work! Once your PR has been merged, we invite you to add yourself to the CONTRIBUTORS file.
On this file, we would love for you to list your name, and perhaps share some details with the community such as:
- Name: who you are
- About Me: where you're from, what your goals are, how you found out about Carbon0, etc.
- Technologies you work with
- and a Fun Fact doesn't hurt!
This can be found on Releases.md.
We are currently using the MIT License. More details on LICENSE.