As part of the 5PP program implementation an R script is used to produce a dashboard image at regular interval, so this project lets you load a folder with images with chronological filenames (i.e. 2020-01-02.jpg) and then view the series in a gallery on a simple webpage.
- Create an account on GitHub if you don't already have one.
- Give your user name to the Red Cross point of contact for the project and request to be given edit access to the project.
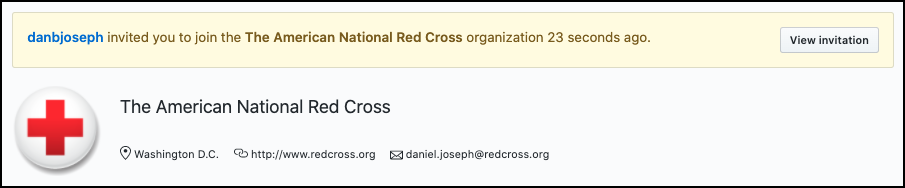
- You should get an email notification, or you can go the organization page on GitHub and you should see an alert.
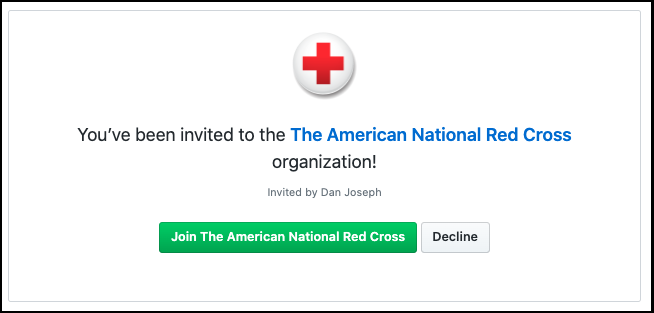
- View and then accept the invitation.
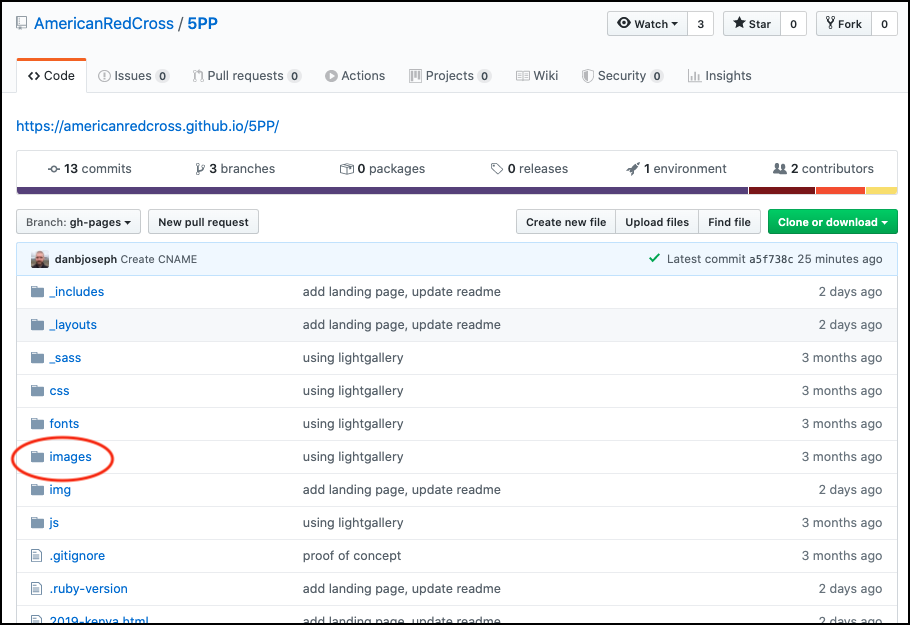
- From the main page for the 5PP project on GitHub, click into the
imagesfolder.
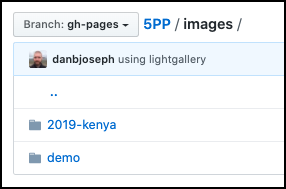
- Click into the folder for the 5PP campaign for which you would like to add dashboard images.
- Click the Upload files button.
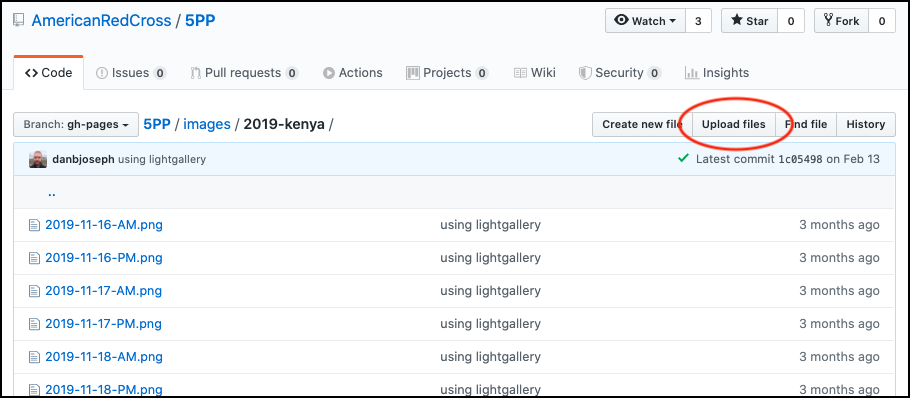
- The images need to sort alpha-numerically to display in the correct order in the gallery. The best way to ensure this is to create filenames using ISO 8601 standards for date and time. Use a four digit year, followed by a 2 digit month, followed by a 2 digit day. For submissions morning and evening, you may append "AM" and "PM" as seen in the screen grab above. Or for multiple submission each day you can append a "T" followed by a zero-padded hour of day. For example,
2020-05-01-T09.pngand2020-05-01-T18.png. - Drag the image(s) to the window where requested or use the choose your files link. Optionally, you can add a short description of the changes in the first text box under Commit changes and you can also add an extended description to provide more details if necessary. More details may be desired if replacing an image or conducting some other more extensive edit.
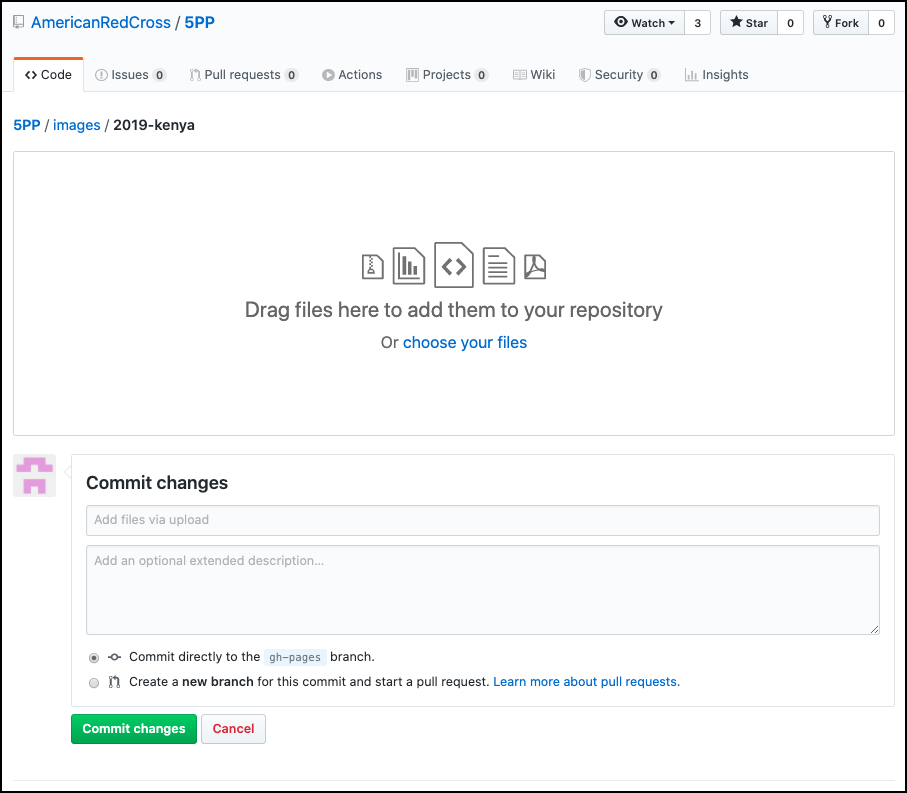
- If you're ready for the images to go to the live website, you can leave Commit directly to the
gh-pagesbranch. selected and then click the green Commit changes button. - The changes should take effect almost immediately. You will need to refresh any webpages that are already open.
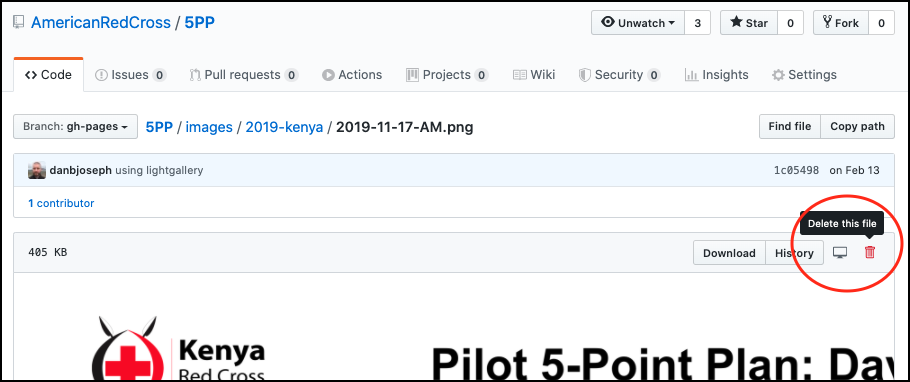
- Follow the above instructions to get into a 5PP campaign folder showing a list of images with the one you want to delete.
- Click the image you want to delete to open the page for the file.
- Click the trash can delete icon.
- Optionally, you can add a short description of the changes in the first text box under Commit changes and you can also add an extended description to provide more details if necessary.
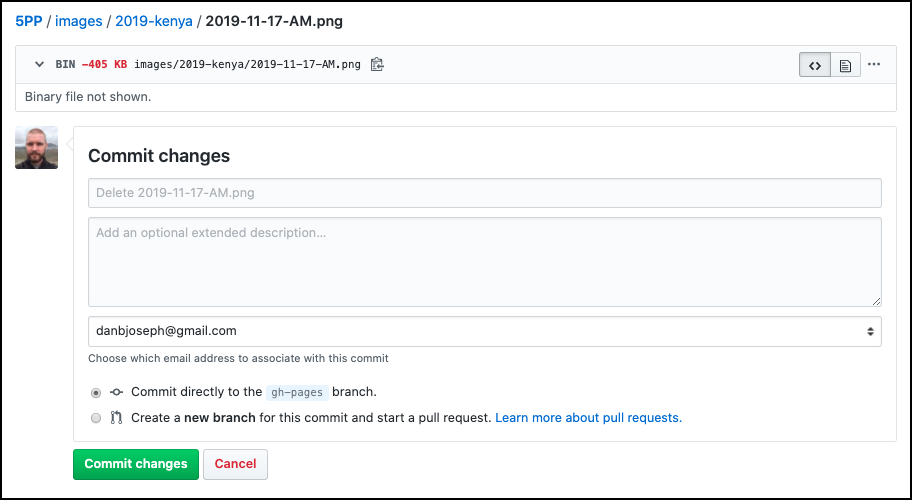
- If you're ready for the images to be removed from the live website, you can leave Commit directly to the
gh-pagesbranch. selected and then click the green Commit changes button. - The changes should take effect almost immediately. You will need to refresh any webpages that are already open.
- Create a new folder in
./imageswith the name you want to be included in your URL.- GitHub ignores empty folders when evaluating changes, so create a
README.mdfile inside the folder if you're going to skip the next step and wait until later to add images. Placing a file into the folder will make the folder available to users in the web interface. The.mdextension is important, the gallery page will ignore that extension when placing files into the image carousel.
- GitHub ignores empty folders when evaluating changes, so create a
- Add images to the folder. The image file names should sort in the order you want them to appear in the gallery. Using ISO 8601 standards for representing dates and times is a good option.
- Add the folder name as a list item under
collections:in the_config.ymlfile. - Create a new
.htmlfile in the main5PPproject folder and give it the same name as your new images folder. - Add the below text into the new
.htmlfile.- Update the title and description.
- Update the order number.
- Change
my-folder-nameto the name of your new folder.
---
layout: default
title: "This is my title"
description: "This is my description."
order: 1
---
{% assign images = site.static_files | where_exp: "item", "item.path contains 'images/my-folder-name'" %}
{% assign imageCount = images | size  %}
{% include images.html %}
{% include footer.html %}
- Install ruby. Suggested to use Ruby Version Manager (RVM).
gem install bundlerto get Bundler.bundle installto get Jekyll.- To run a test server:
bundle exec jekyll serve --baseurl "". - https://learn.cloudcannon.com/jekyll-cheat-sheet/